Azure Setup
The Forward Collector is able to discover and collect Microsoft Azure components like Virtual Networks, Load Balancers, VPN Gateways, Route Tables and Security Groups. The complete list of supported Azure features is published on the Feature Matrix page.
Pre-requisite
A Forward Collector should be installed on-prem.
Setup
To add a Microsoft Azure setup for collection:
- Step 1: Select Cloud Account Type
- Step 2: Provision Service Principal
- Step 3: Enter Service Principal Details
- Step 4: Use a Proxy Server
- Step 5: Select Environment & Subscriptions to Collect From
- Step 6: Name Cloud Setup and Test Connection
- Step 7: Discover Cloud-based Virtualized Devices
To start the setup process, navigate to Sources > Cloud Infra and click the Add a cloud setup button. The wizard will guide you through each step.
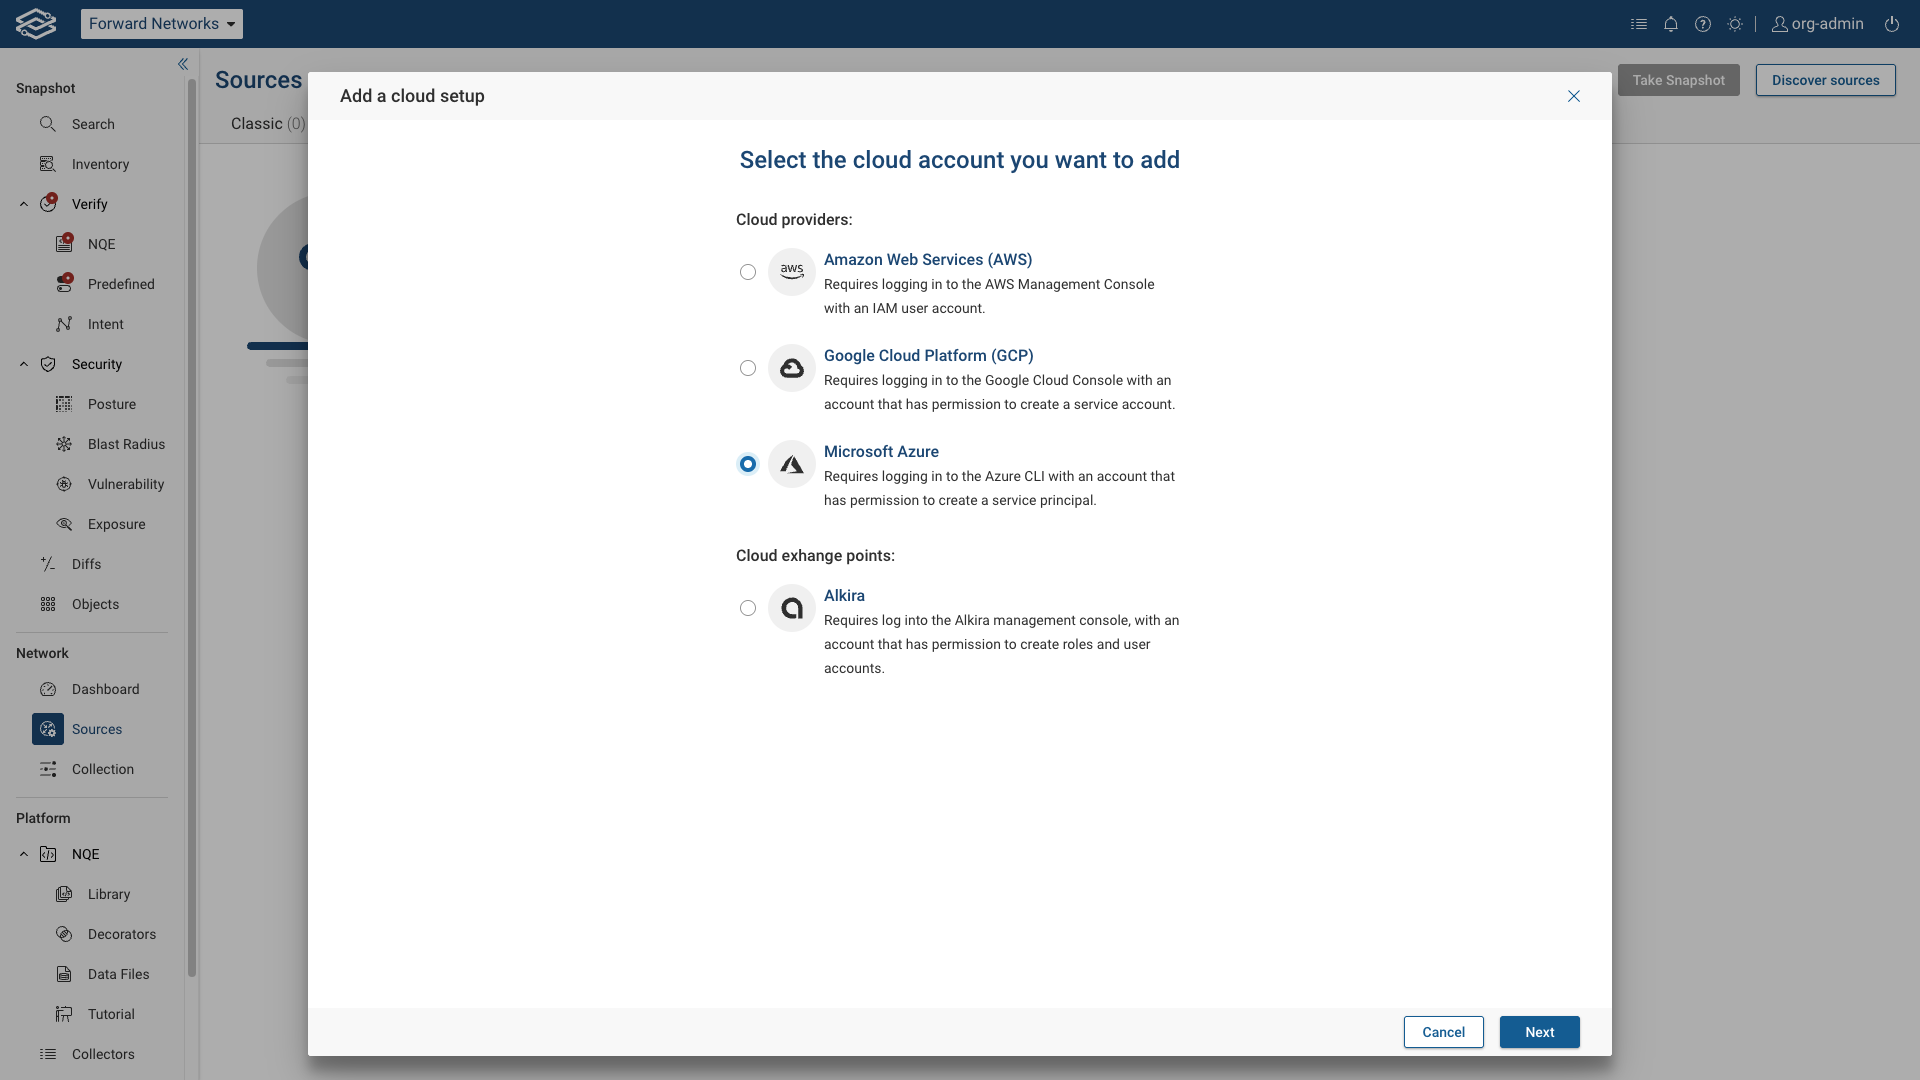
Step 1: Select cloud account type
Select the Microsoft Azure account type and click Next.
Step 2: Provision Service Principal
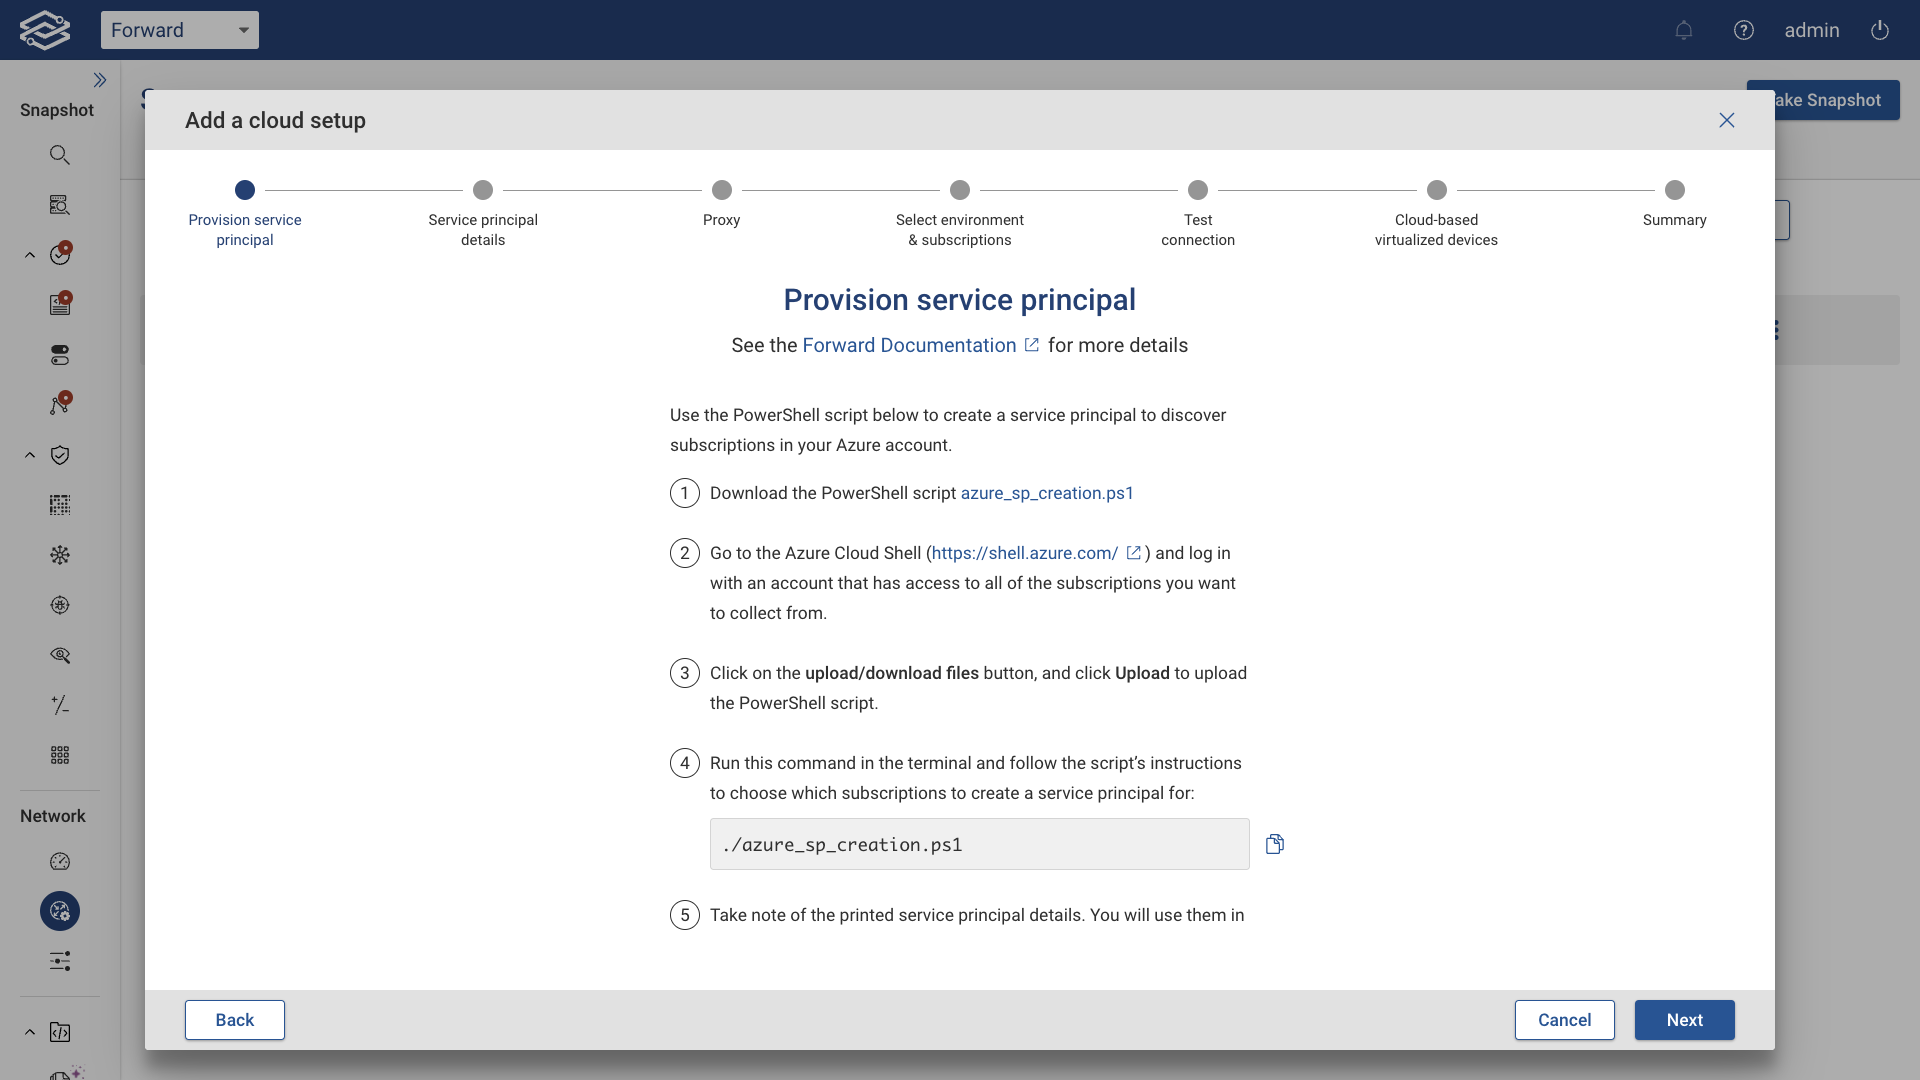
Download PowerShell Script
Use the PowerShell script provided to create a service principal for every subscription that the Azure account has access to. The script file azure_sp_creation.ps1 can be downloaded by clicking the hyperlink.
Azure cloud shell
Navigate to Azure Cloud Shell and log in with an account with access to all the subscriptions you want to collect from.
Upload the Script
On the Azure cloud shell page, click the upload/download files button. Click the Upload option and upload the azure_sp_creation.ps1 file that you downloaded previously.
Run the script
In the terminal, run the following command and follow the script instructions to choose which subscriptions to create service principals for.
./azure_sp_creation.ps1
Service principal details
Take note of the printed service principal details. You will use them in the next step.
Then, click Next.
Step 3: Enter Service Principal Details
Provide the service principal details from the previous step.
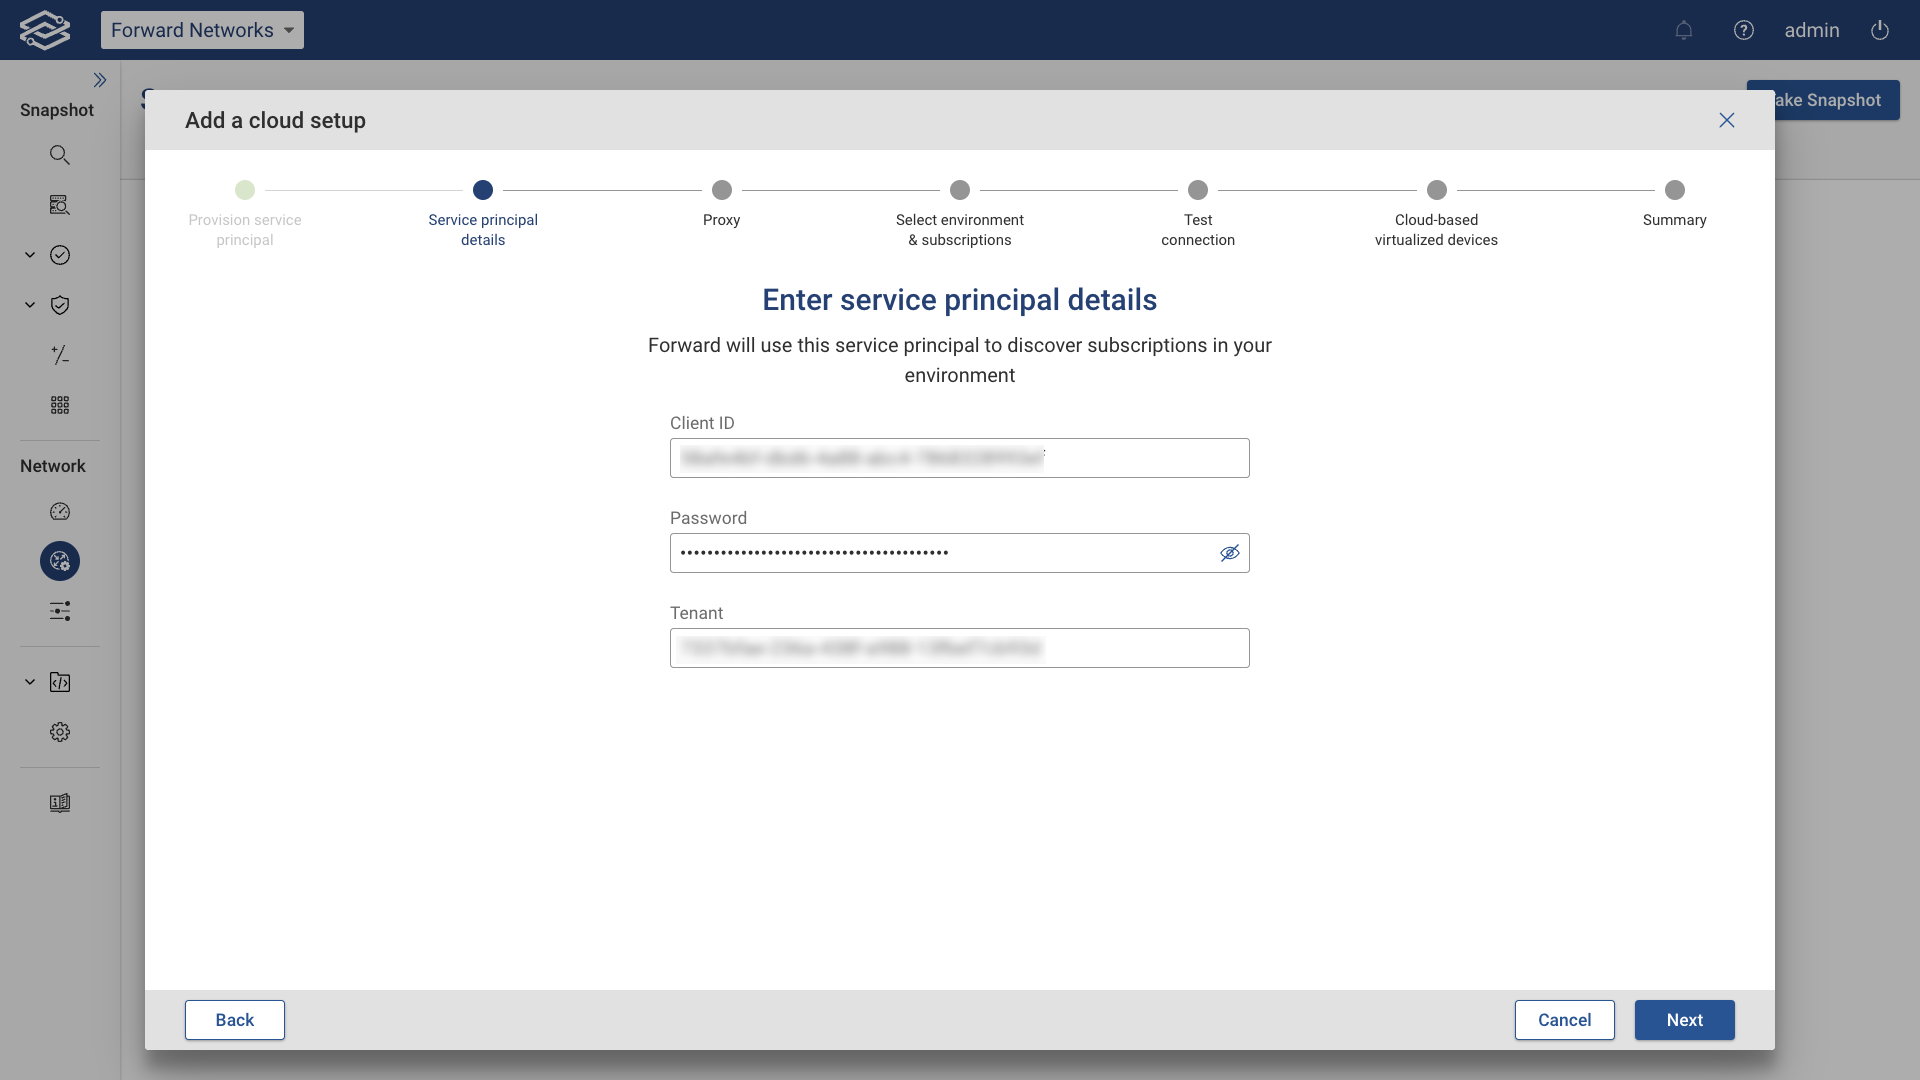
Then, click Next.
Step 4: Use a Proxy Server
Optionally, set up a proxy server and enable the Use proxy server toggle button.
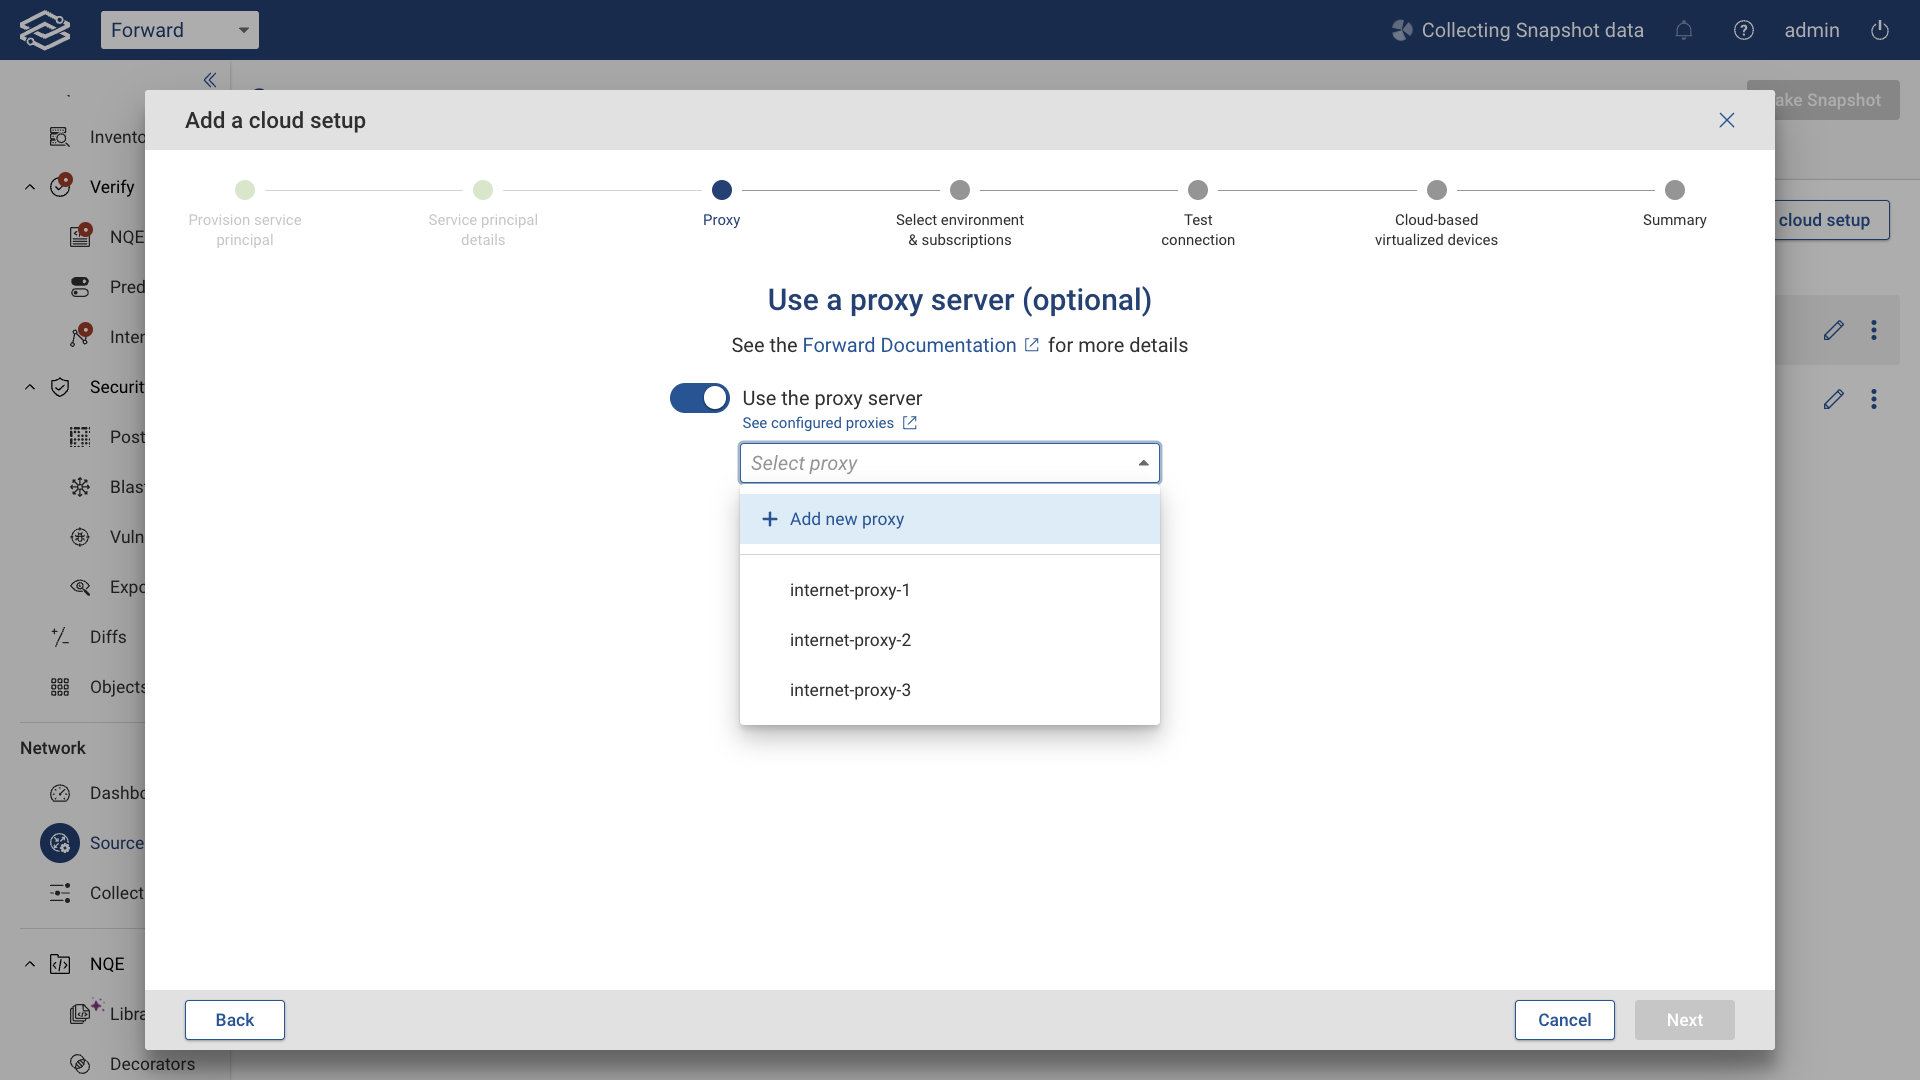
Then, click Next.
Step 5: Select Environment and Subscriptions to Collect From
Select the environment to collect from using the Environment drop-down menu.
When Auto-detect and collect all subscriptions is enabled, the Collector will attempt to collect all subscriptions discovered from this account, including any new subscriptions created in the future. Disable this option to customize subscription selection by manually selecting the subscriptions from the list provided.
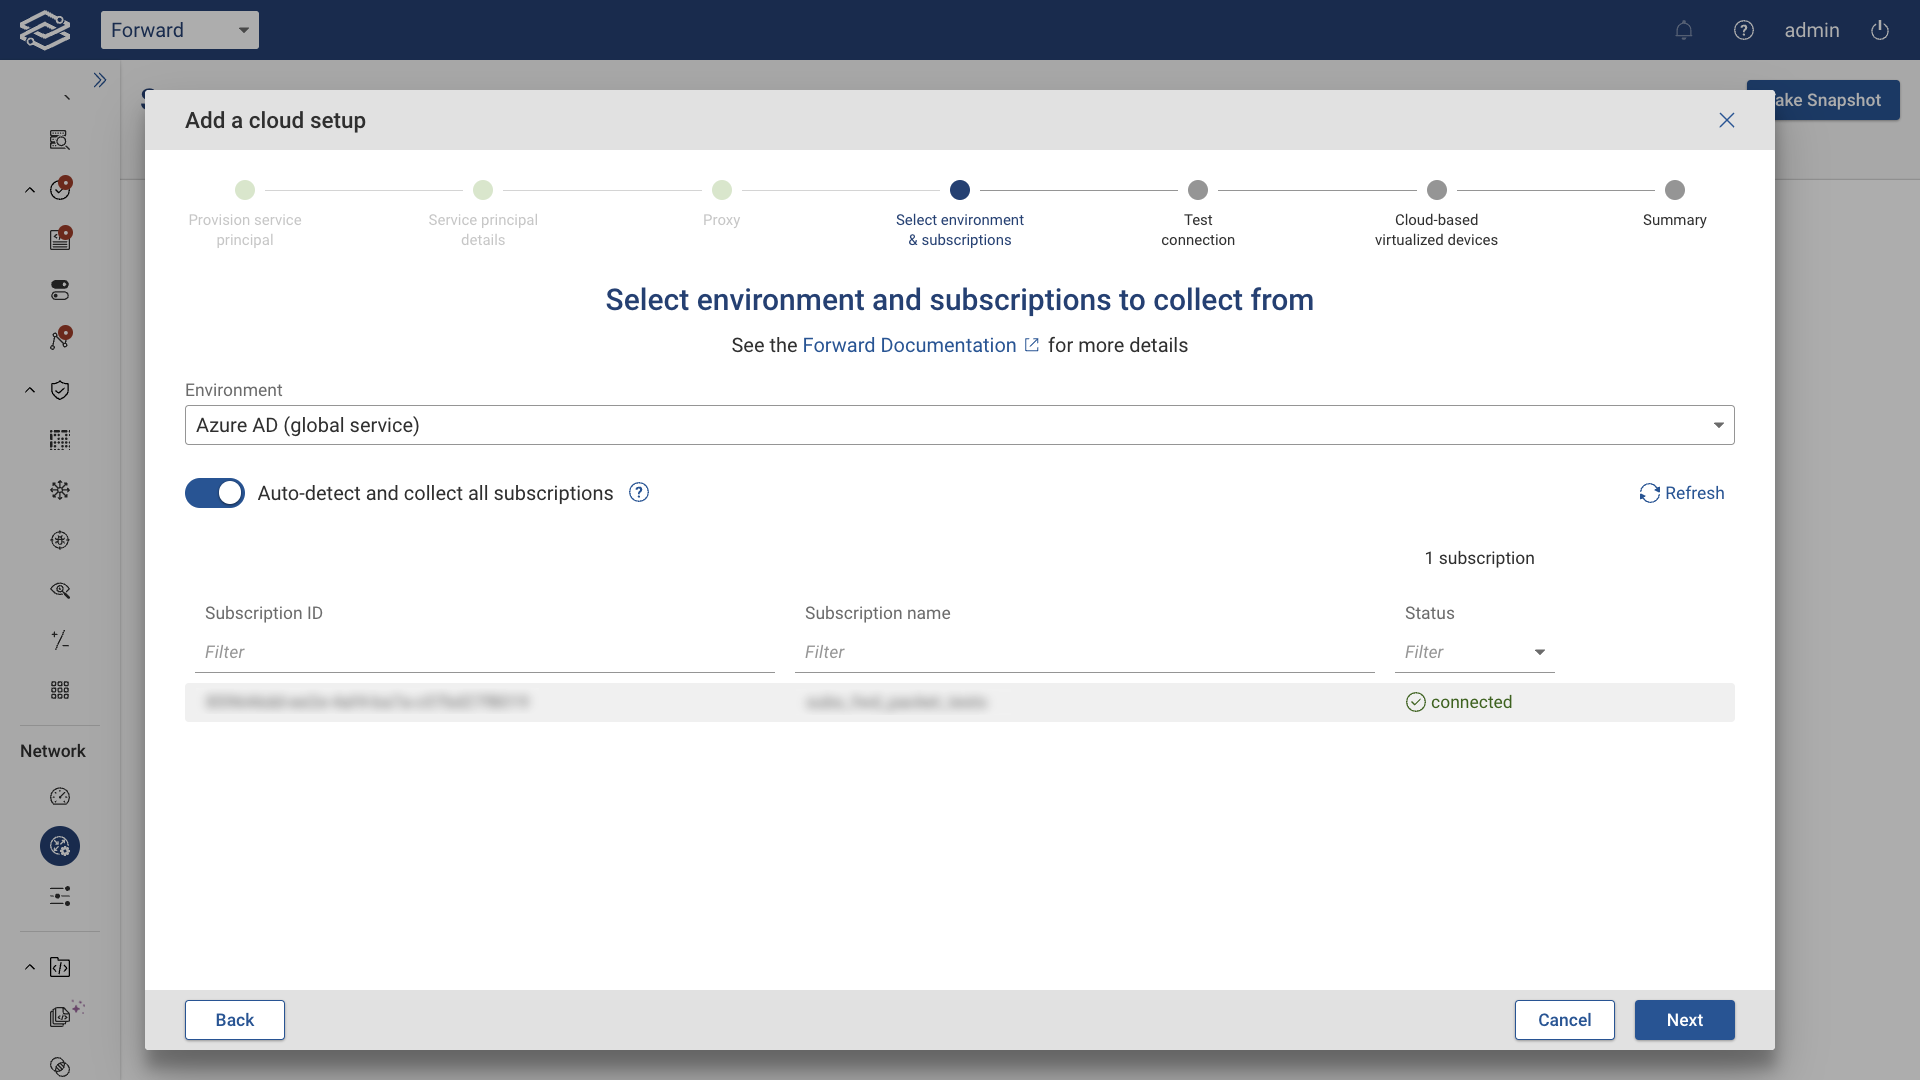
Then, click Next.
Step 6: Name Cloud Setup and Test Connection
Provide a desired name of the Cloud setup, and test the connection.
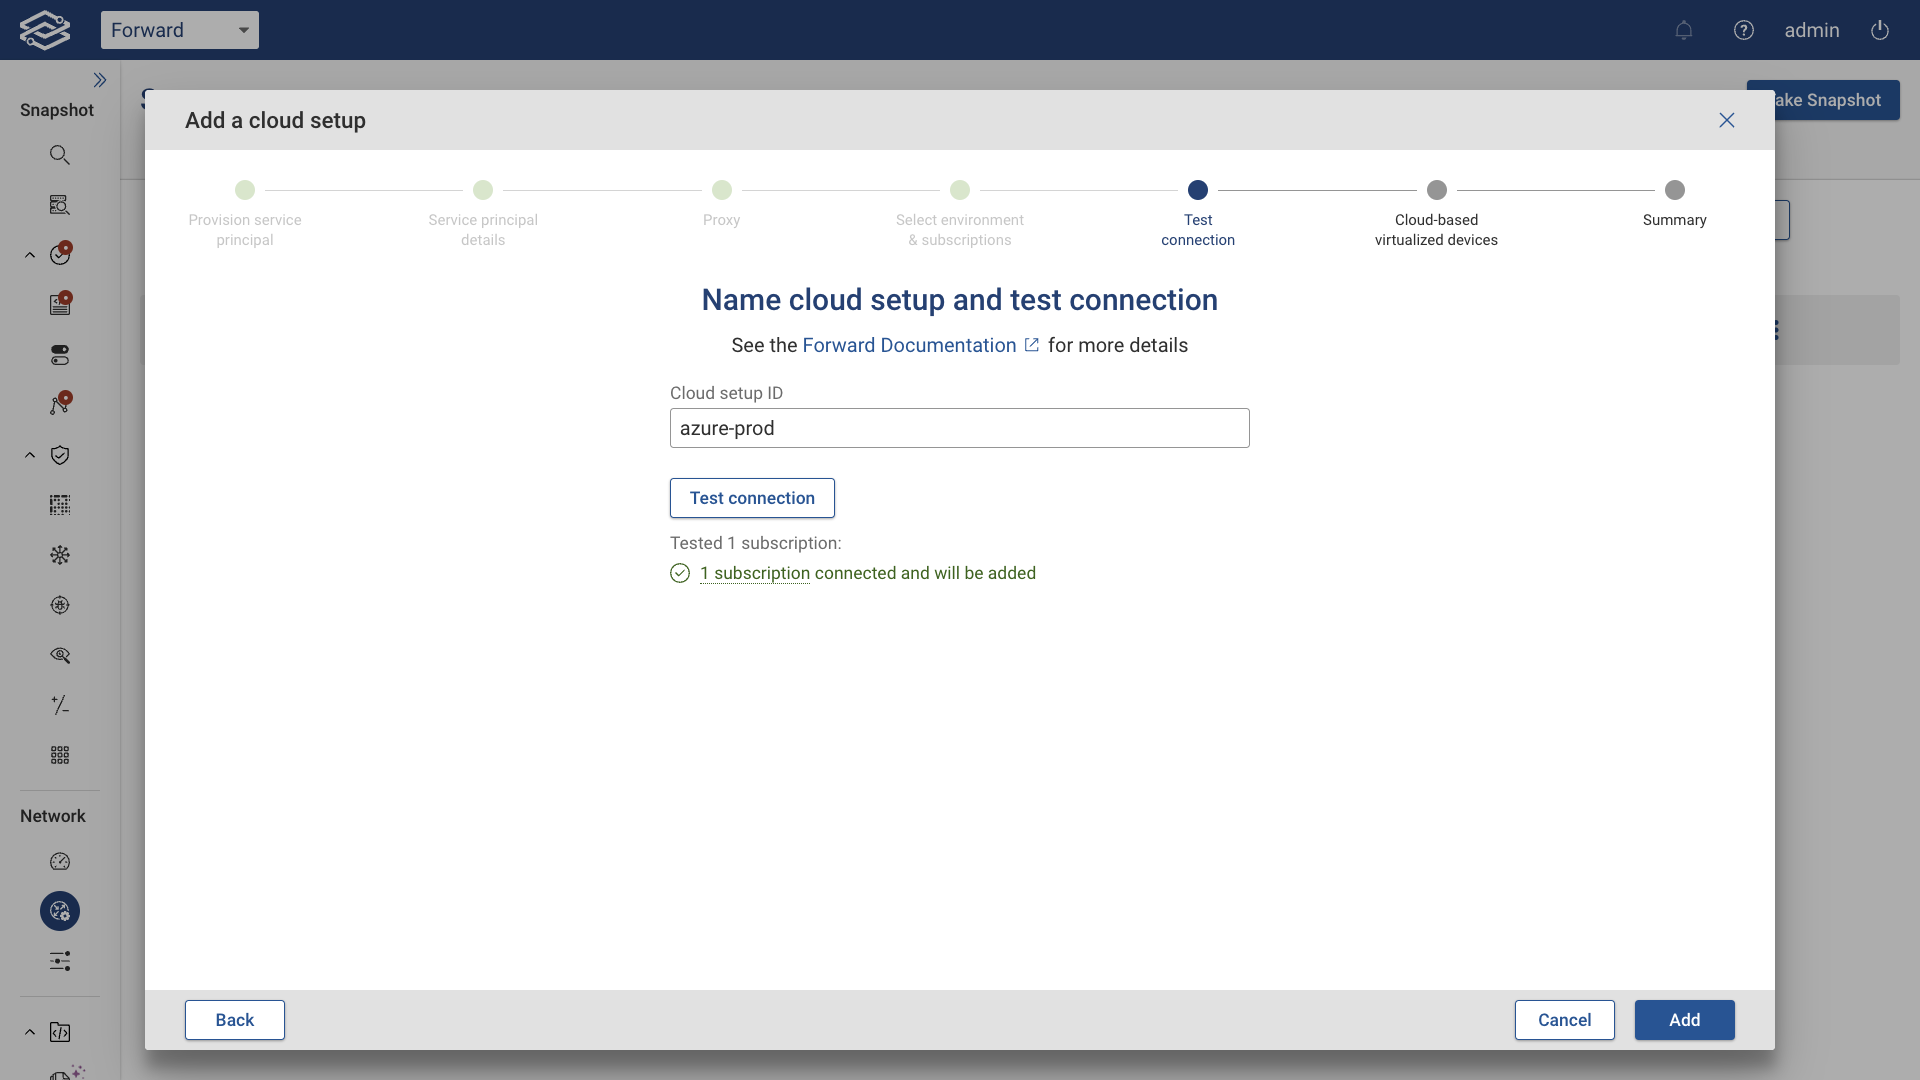
Then, click Add.
Step 7: Discover Cloud-based Virtualized Devices
In this optional step, you can discover and add cloud-based virtualized devices. Click Start discovery to initiate the discovery process.
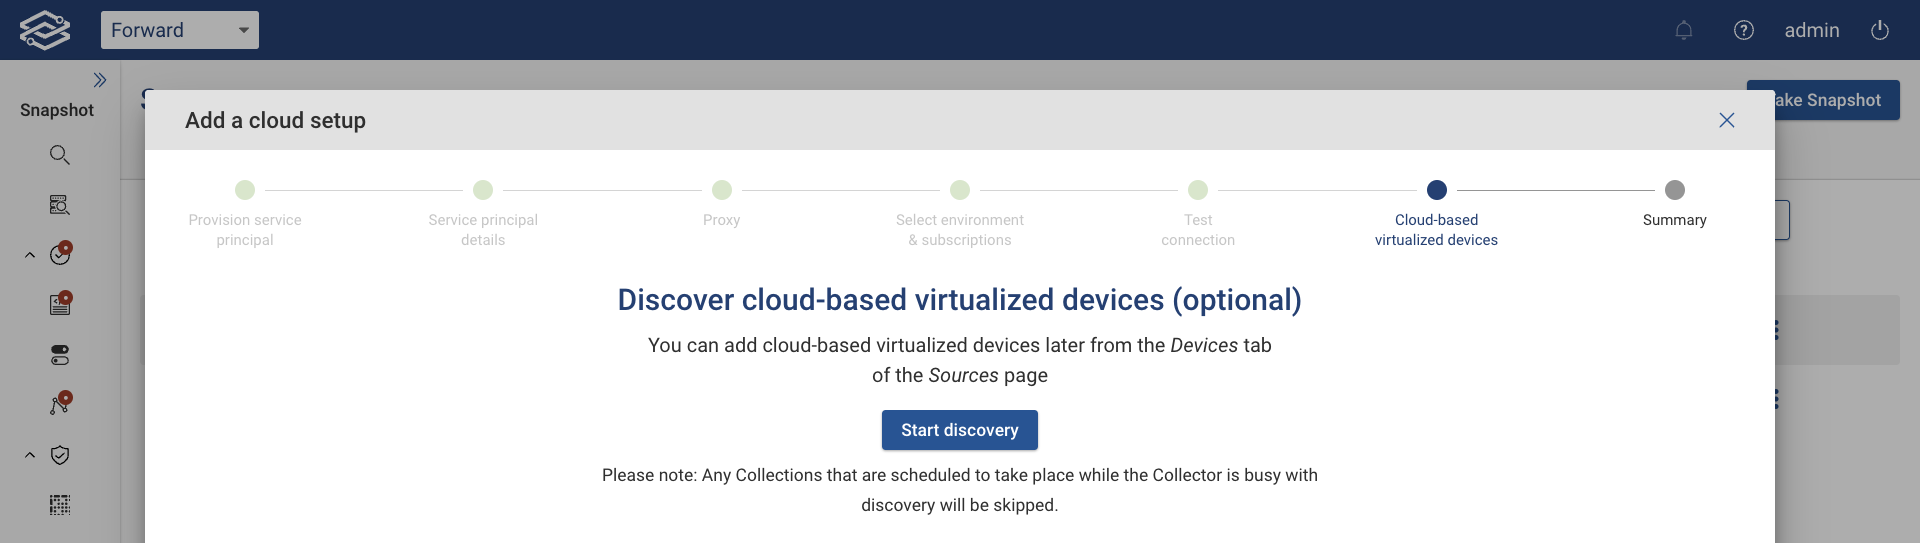
Cloud-based virtualized devices can be added later from the Devices tab of the Sources page.
Then, click Next.
Congratulations!! You have successfully set up an Azure setup!!!
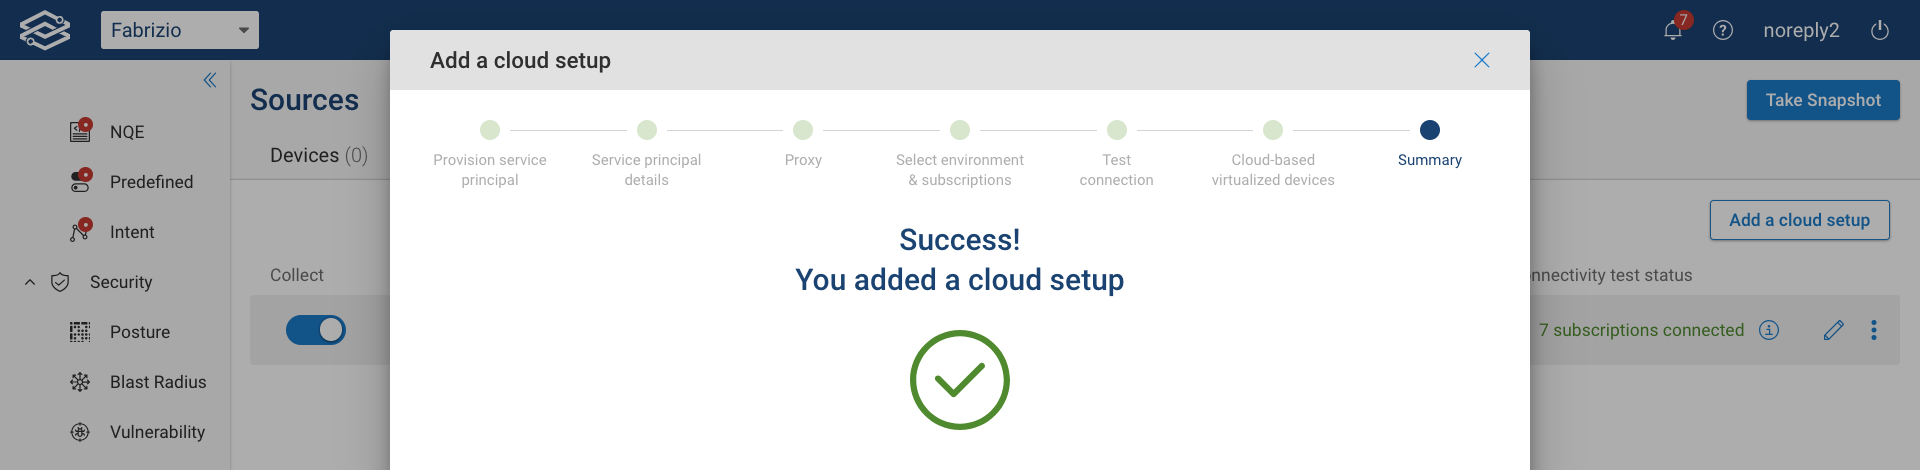
Click Done to close the dialog.
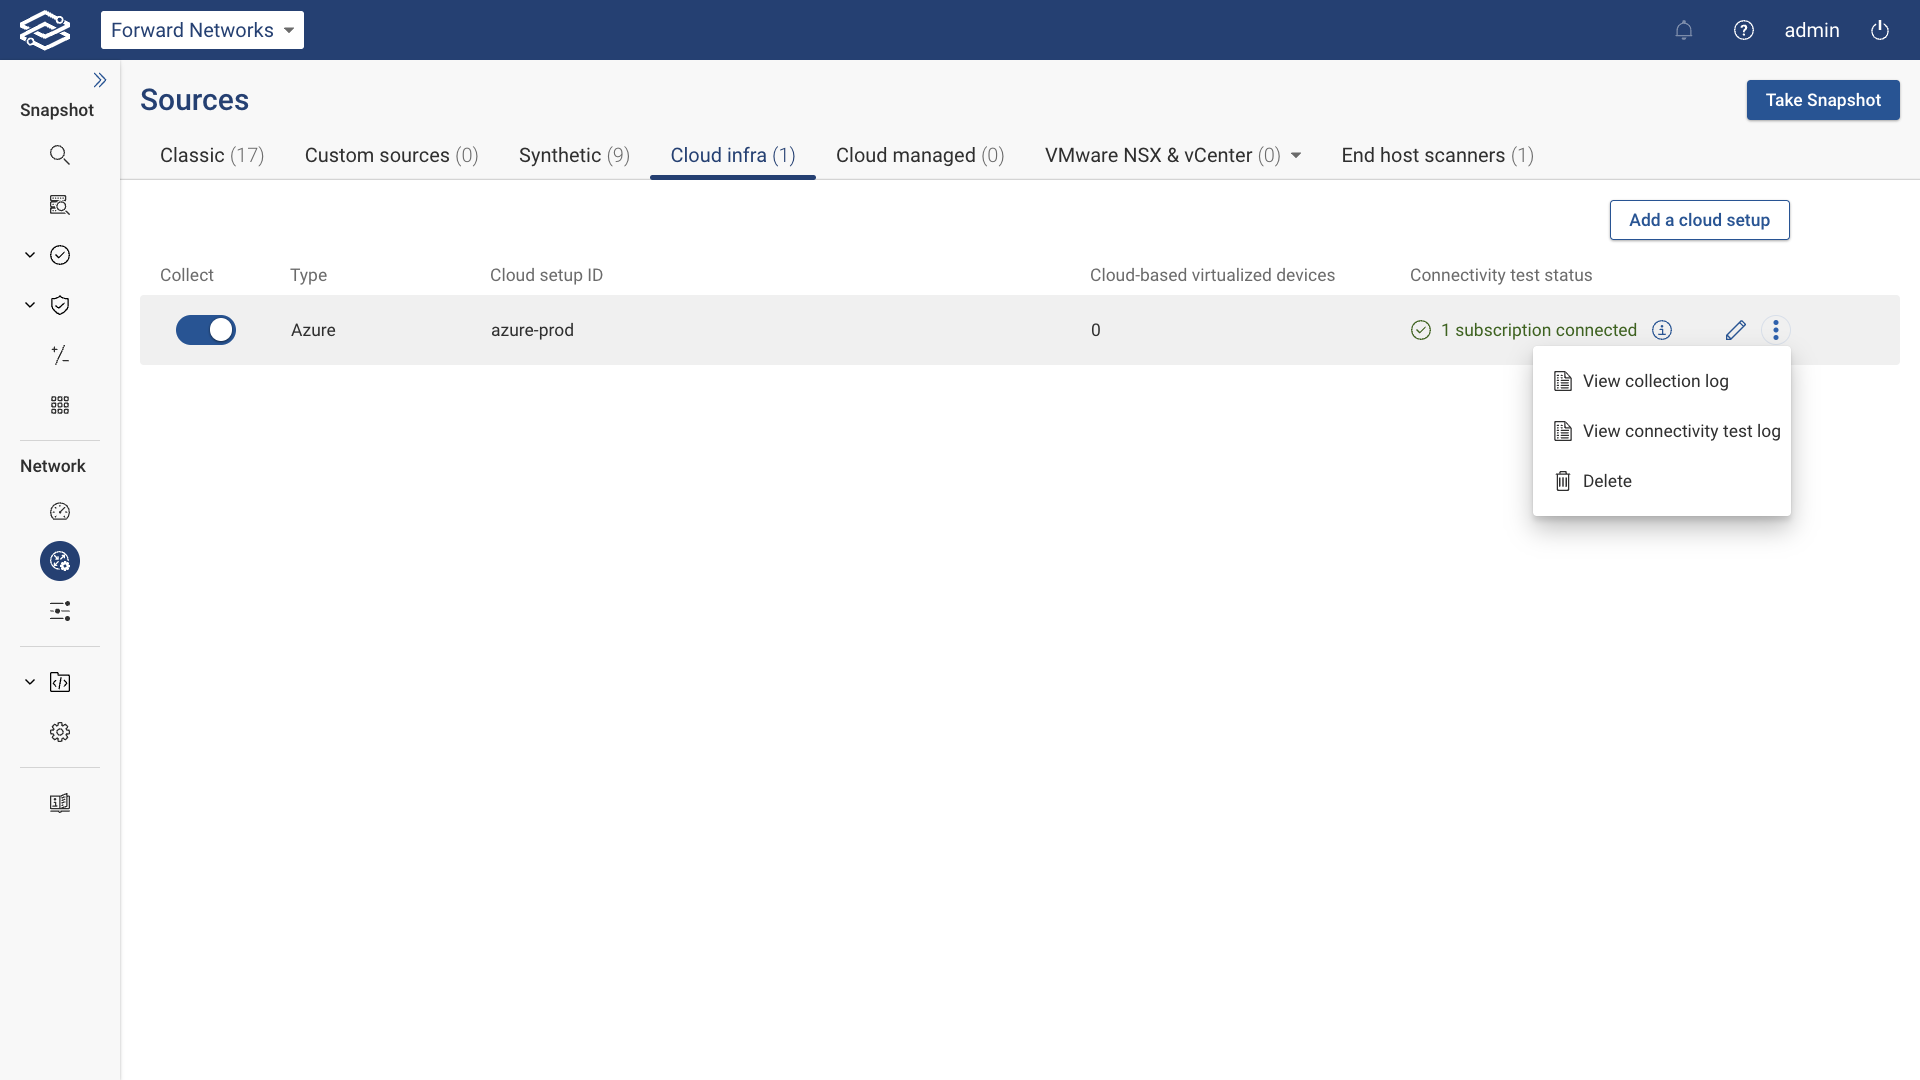
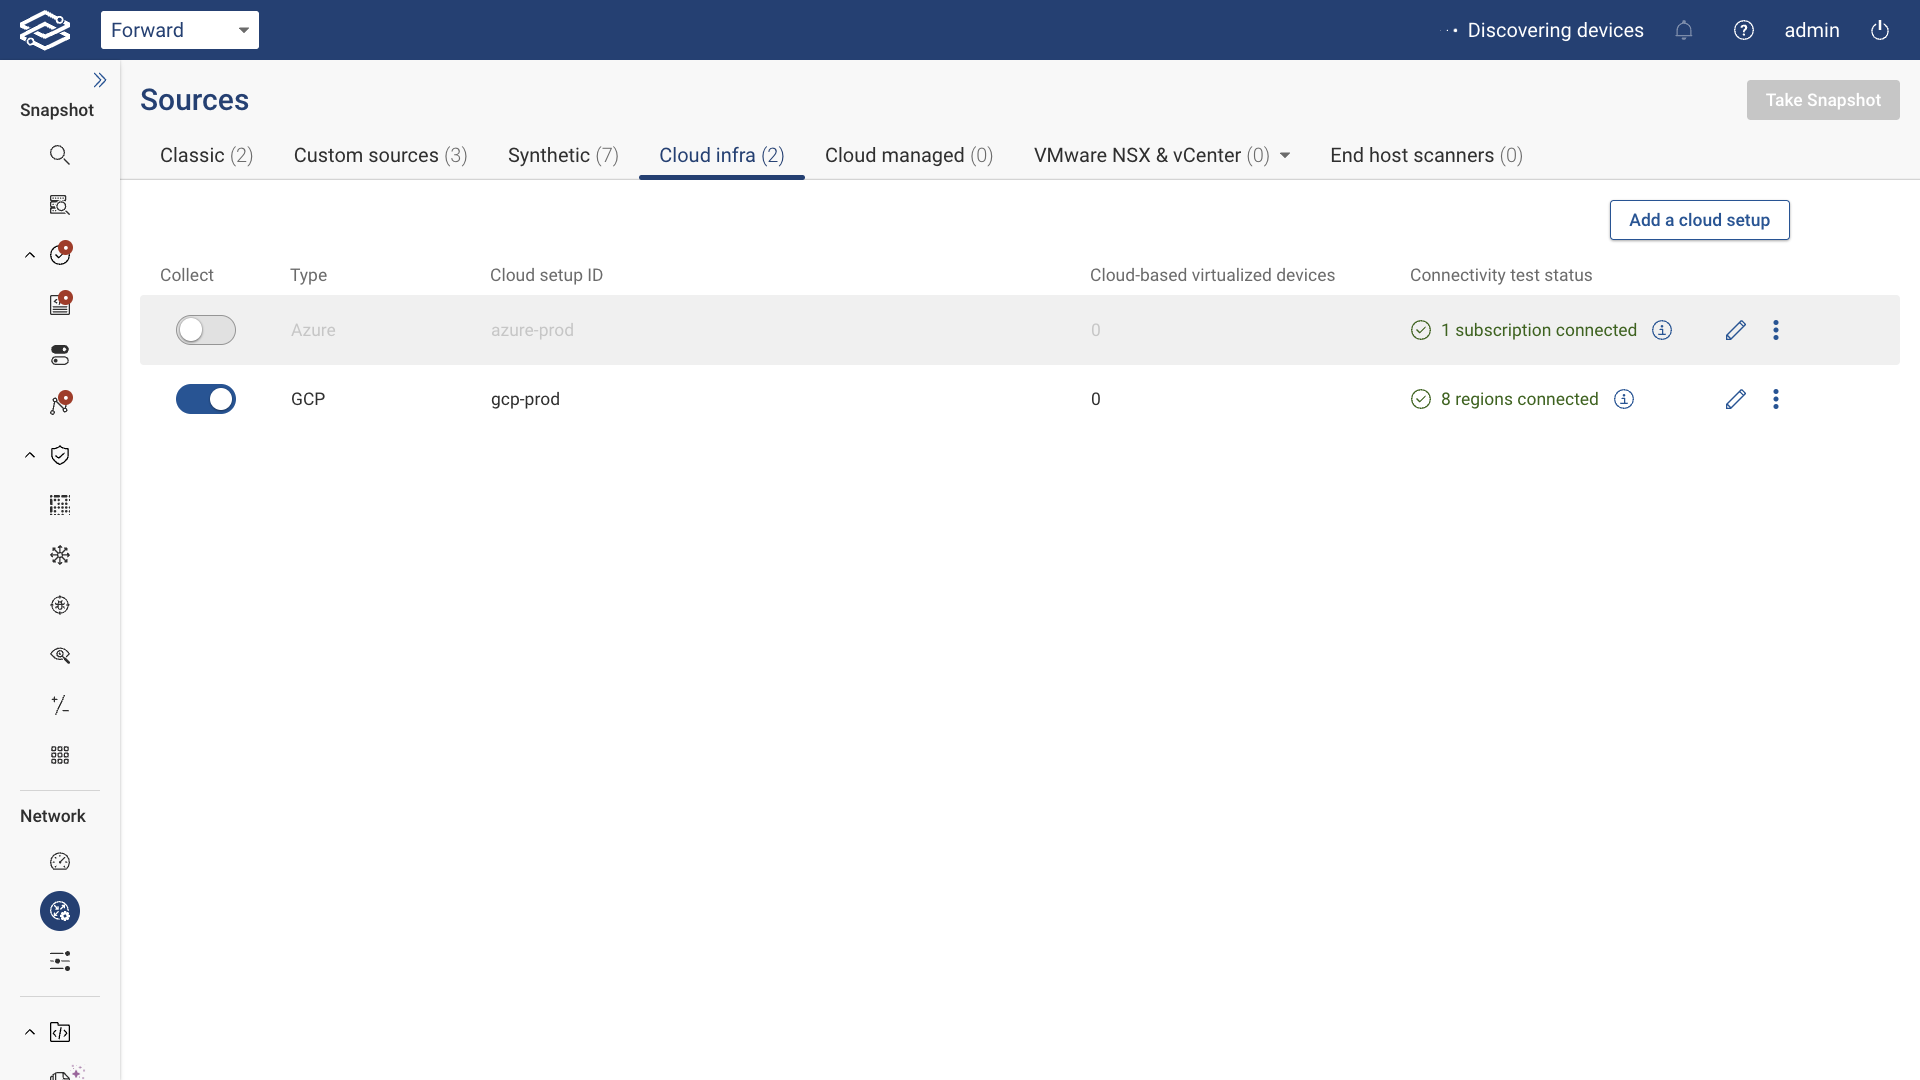
The new setup will show as active in the Cloud Infra tab. At this point, the collection can take place.
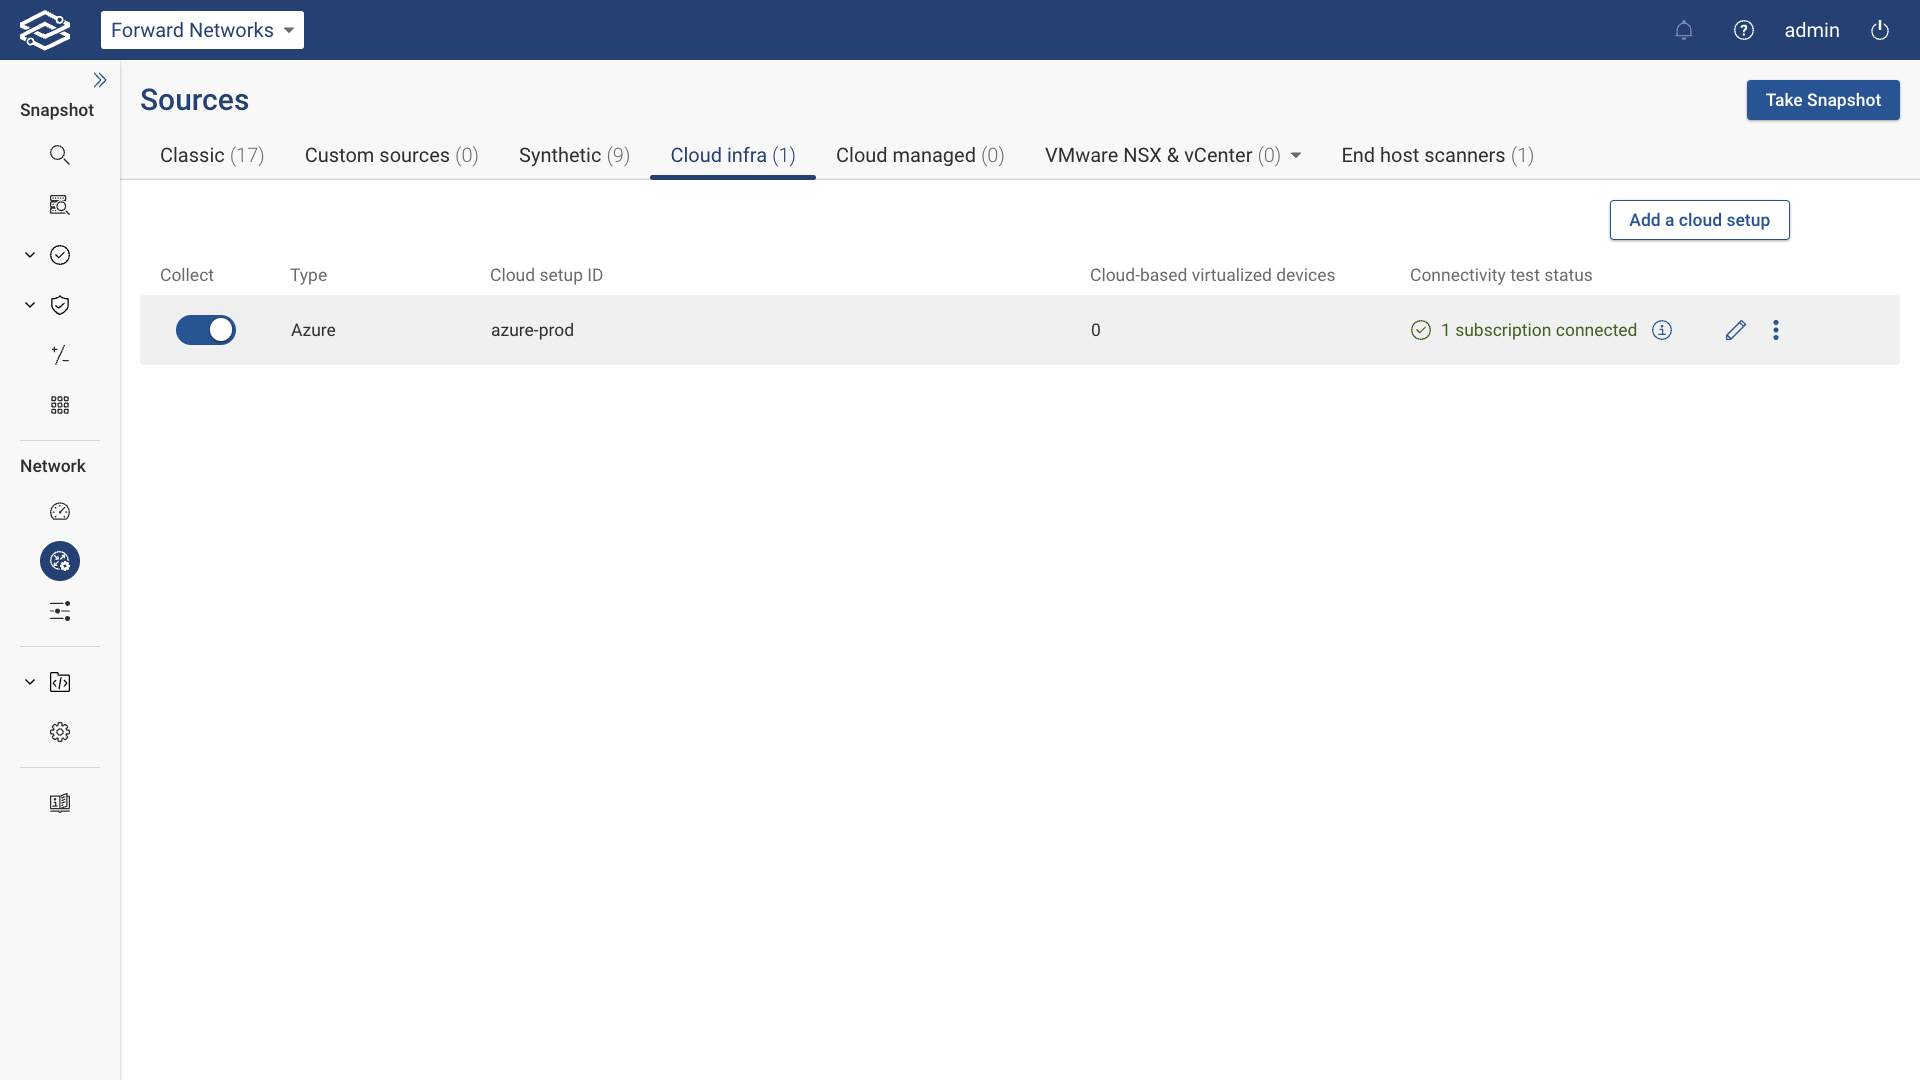
Hovering on the Info icon will show all the subscription IDs configured for collection.
Setup Changes
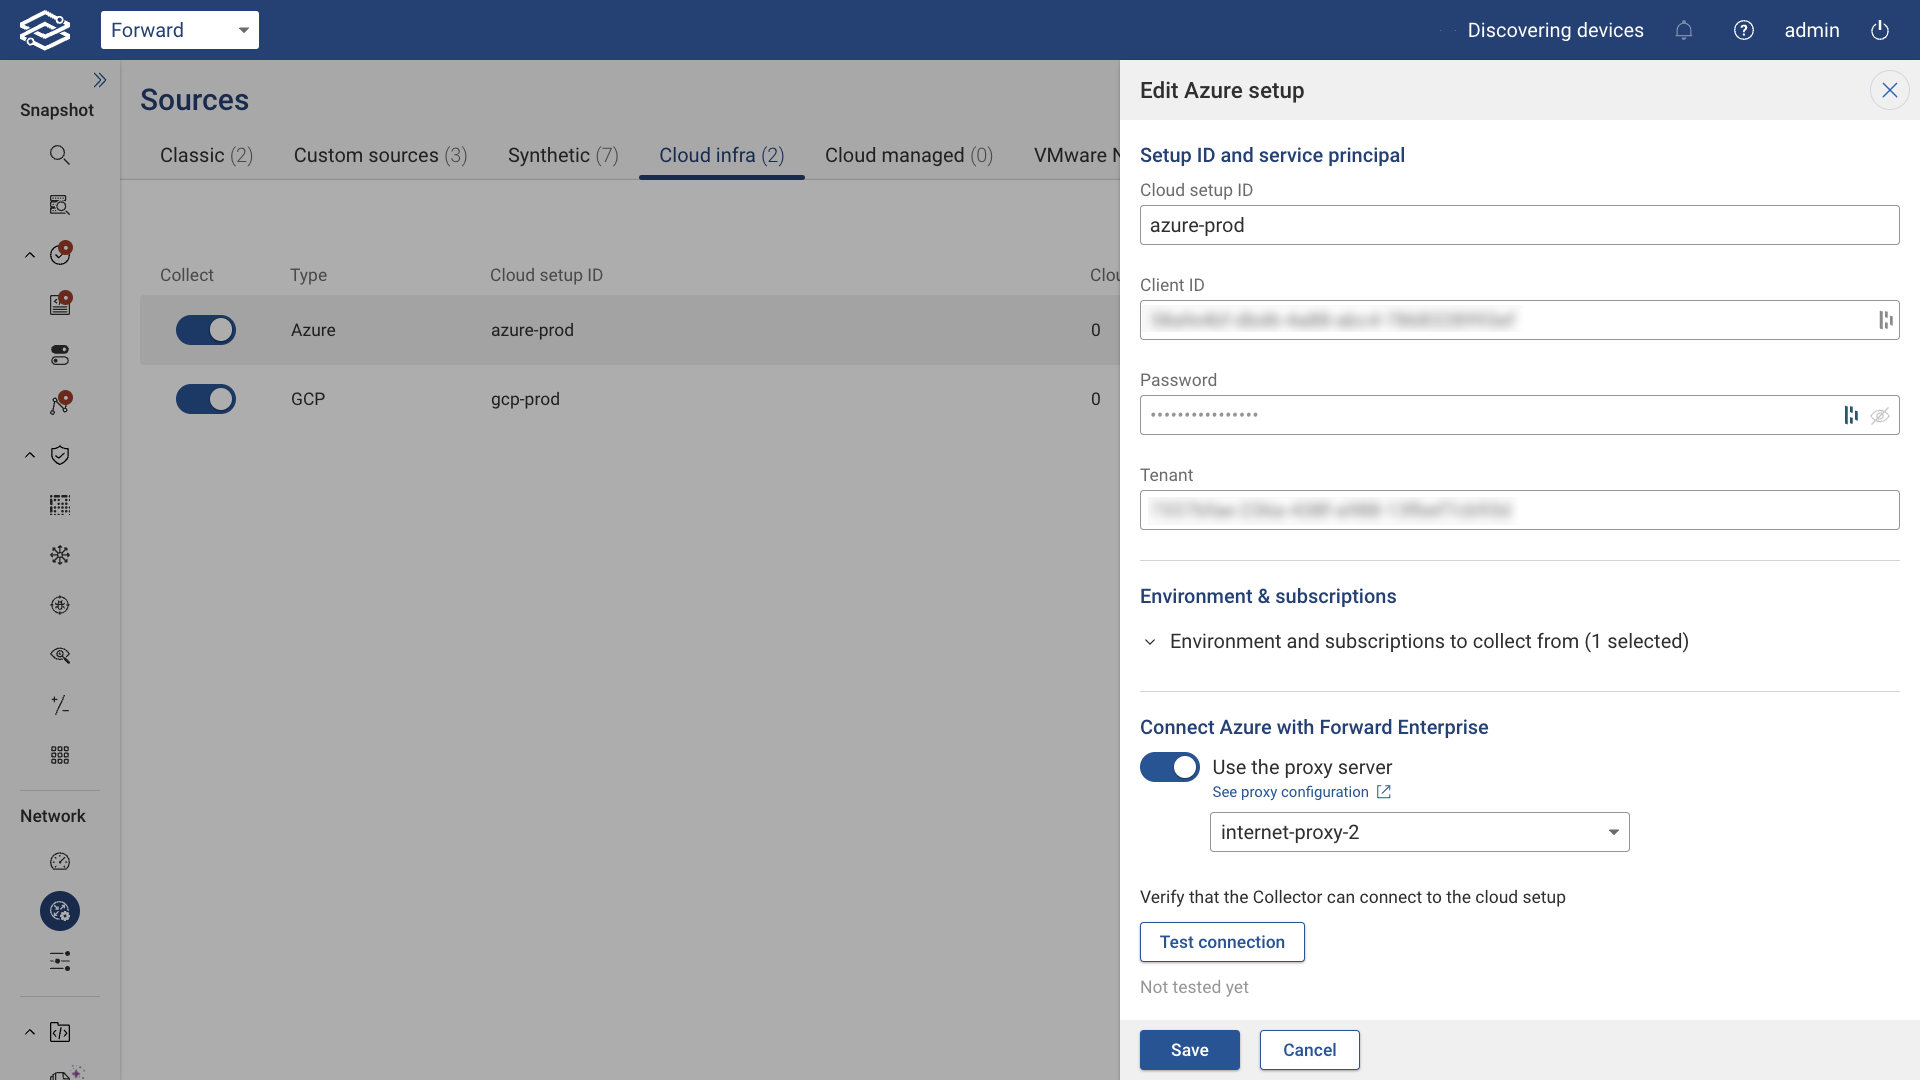
Setup Edit
If you need to make any changes to the setup, click the edit icon on the right side of the setup. For instance, to change the regions to collect from, expand the Regions section, select a different list of regions, test the regions again by clicking Test connection, and finally, click Save to make the changes permanent.
In the screenshots below, you can find examples of a Microsoft Azure network collected by the Forward Collector.
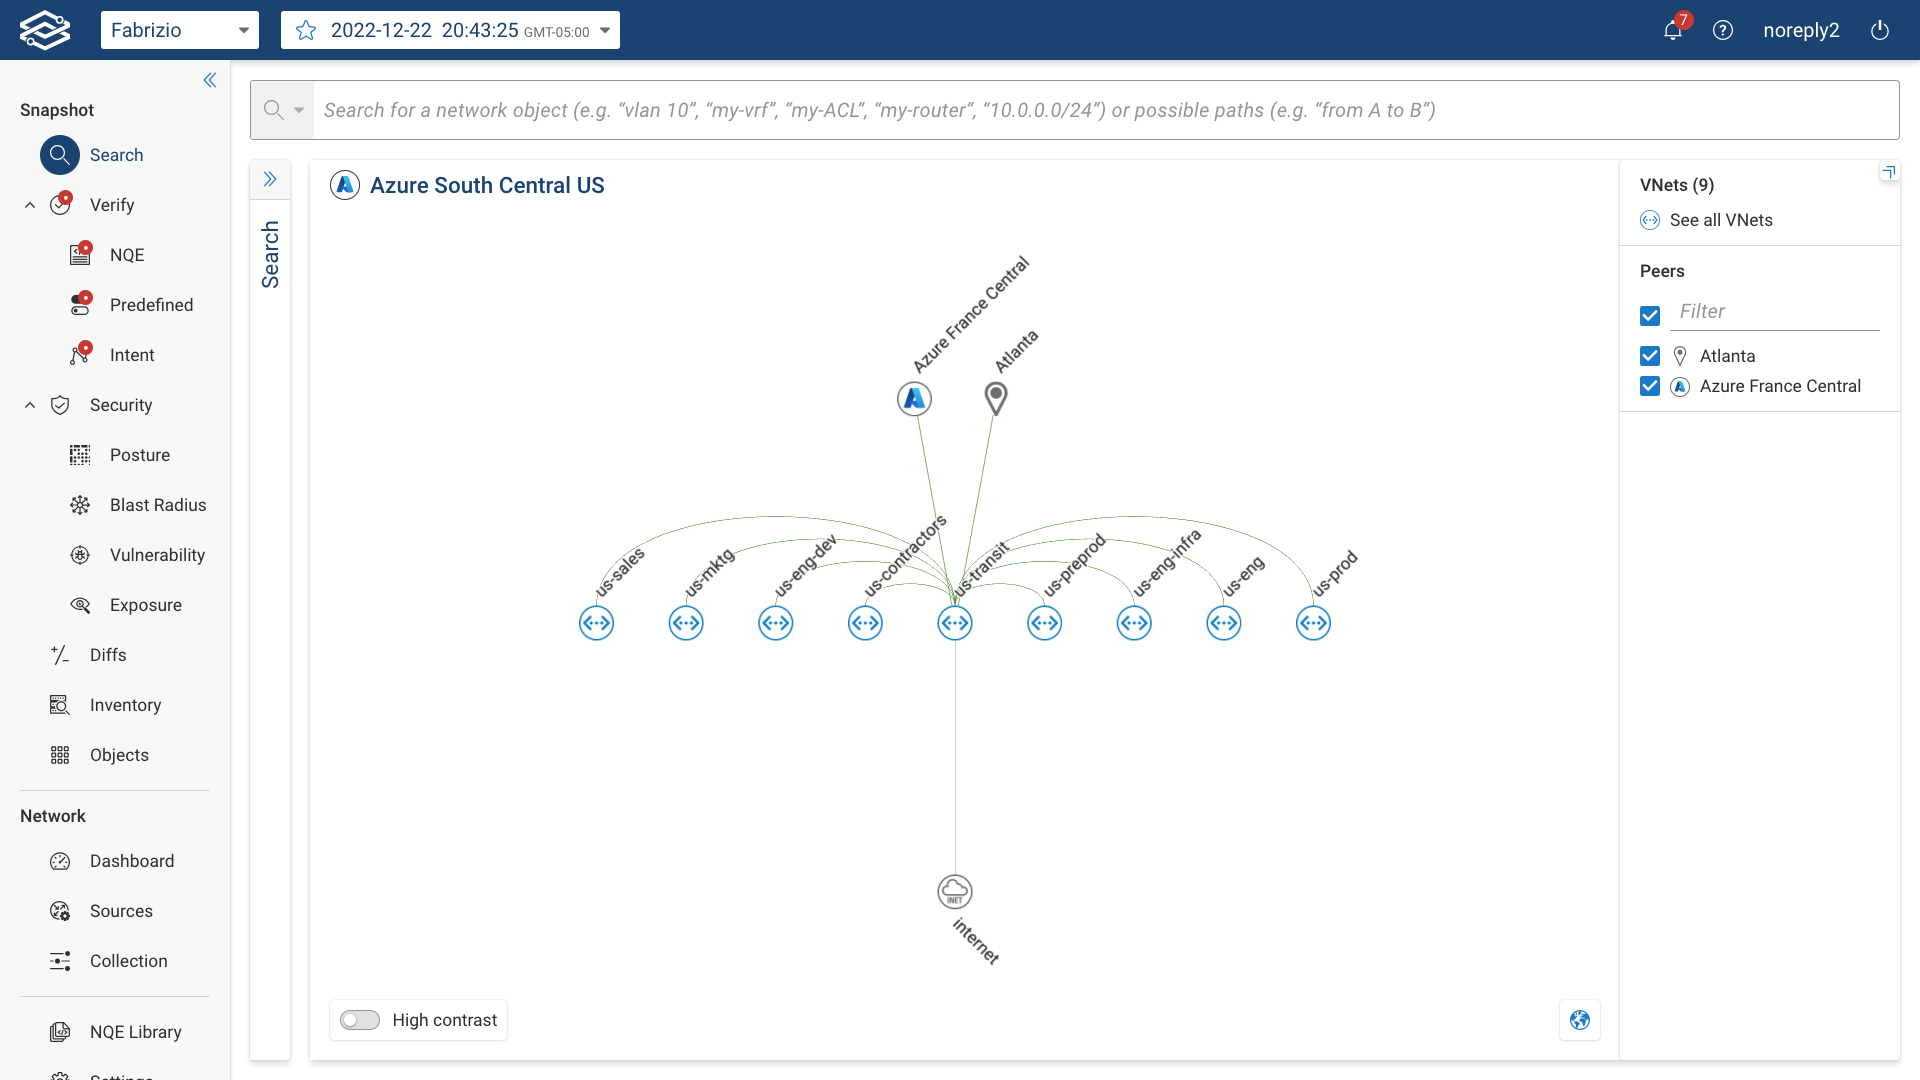
For the Azure network, if the internet device is not collected upon initial collection, Forward Enterprise will automatically add an internet node to the cloud networks for external connectivity and path completion to the rest of the network.
Exclude Setup from Collection
To exclude an Azure setup from collection, simply click the toggle button on the left side of the setup.
Delete Setup
To delete an Azure setup, click the kebab icon on the right side of the setup, click Delete, and confirm the setup deletion: