Adding Devices
Devices are added to Forward from the Sources page. This page covers the supported ways to add devices, including file imports, network discovery, and manual creation.
Prerequisites
Before proceeding, ensure the following:
- SSHv2 is enabled on all devices to be collected. SSHv1 is not supported.
Telnet collection is supported only on IOS devices. - Login credentials are available for network device access. Read-only credentials are sufficient for the Forward Collector to gather the required information. For a list of commands executed on the CLI for each vendor/OS, refer to the latest CLI commands documentation.
- Device credentials are configured in Forward. See Device Credentials
Where devices are added in the UI
Devices are added from Sources under the appropriate category.
For traditional network devices:
- Go to Sources
- Select Network Devices → Classic devices in the left Categories panel
- Use Add devices (and its menu options) to import or discover devices

Search on the Sources page spans categories and shows match counts per category. Devices are still viewed and managed one category at a time.
Importing Devices from File
Import from CSV
Importing from CSV is a common way to add devices. A CSV file can be created manually or exported from an inventory system (CMDB) or another source of truth.
CSV format
- Required columns: device name, IP/host
- Optional third column: SSH port
- File must be comma-delimited
- A header row is optional
- Duplicate devices are skipped automatically during import
Sample CSV file (with header):
hostname, ip_address, ssh_port
device-001,172.168.0.24,23
device-003,10.25.42.112,23
device-332,192.125.255.2,499
Import workflow
- Open the add-device wizard from Sources → Classic devices → Add devices.
- Select Import from .csv, then continue.
- Upload the CSV file (drag-and-drop or Select File), then continue.
- Map CSV columns to device fields.
- If a header row is present, enable the option to ignore the first row.
- Review credentials and add any missing credentials.
- (Optional) Configure jump servers and assign them to devices.
- Review the summary and finish.
At least one set of credentials must exist in the Collector. Device-type auto-detection requires at least one valid set of credentials to exist.
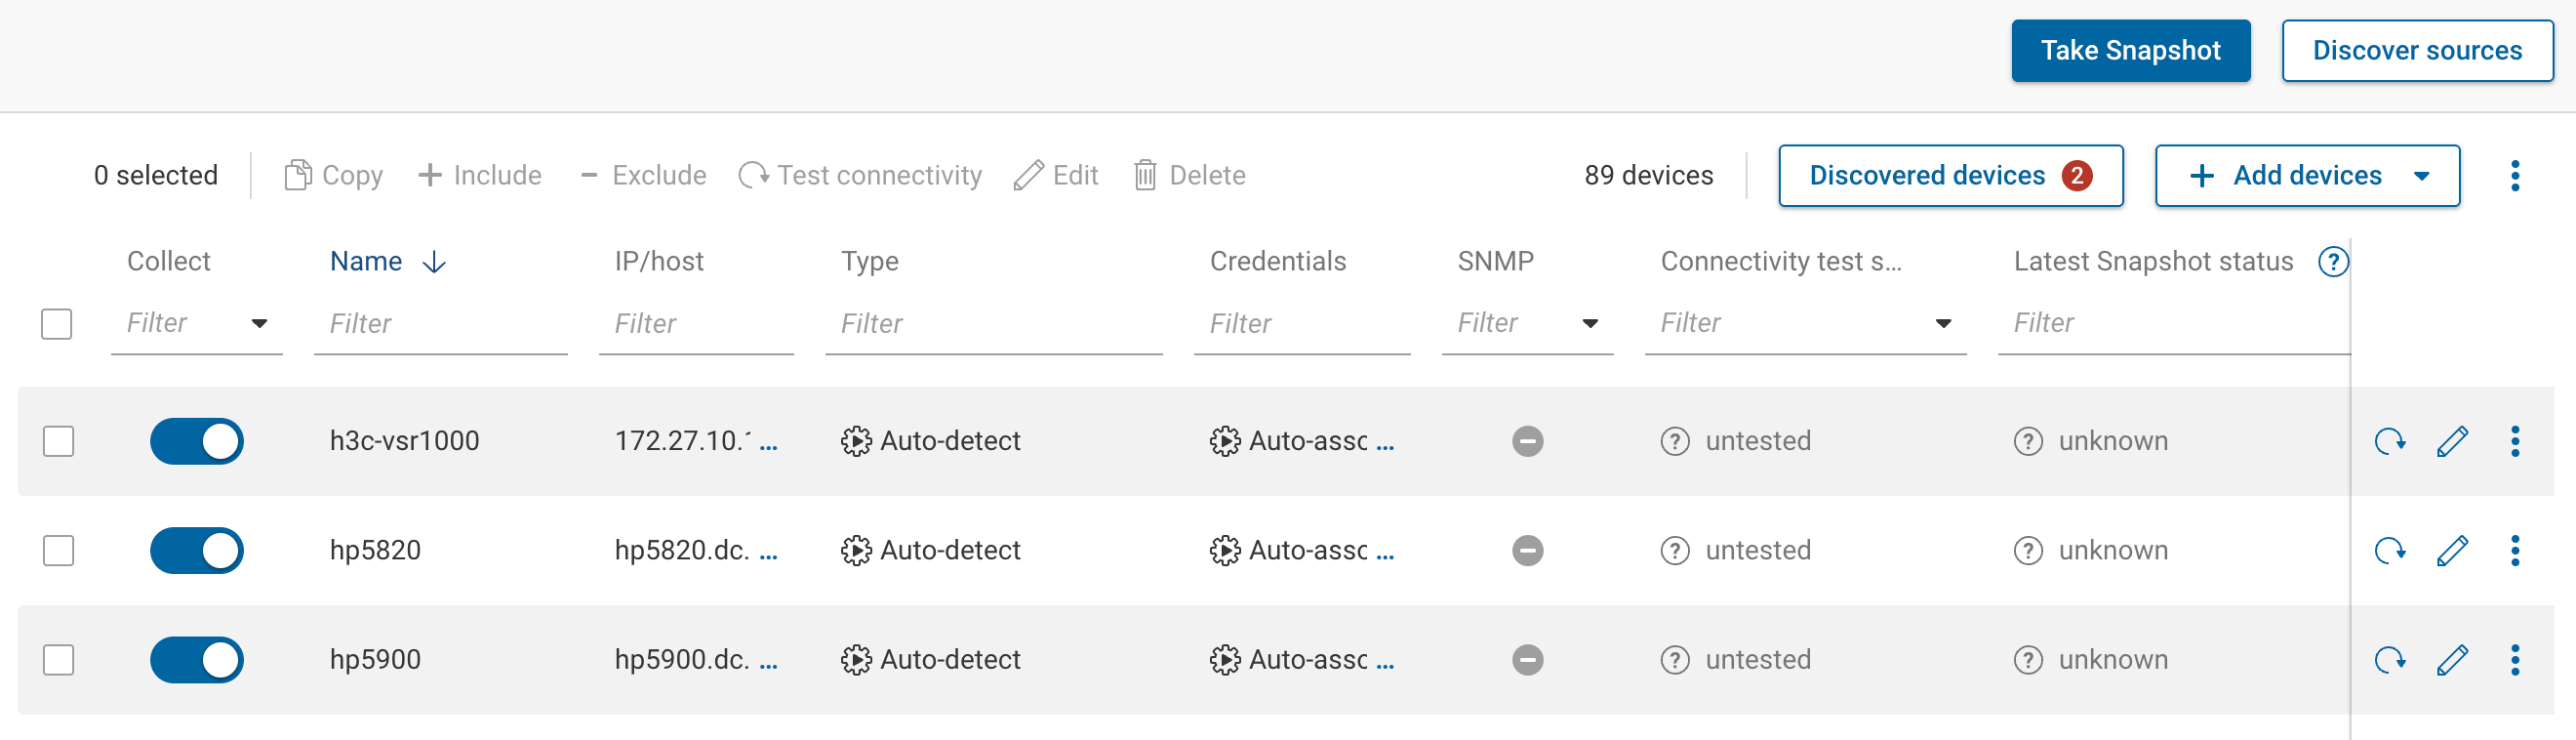
After finishing, newly added devices appear in Sources → Classic devices with a status of Untested.
Import from JSON
Importing from JSON is supported via the Network Setup REST APIs, or by importing directly in the UI.
To import a JSON file from the UI:
- Go to Sources → Classic devices
- Open the kebab menu ⋮
- Select Import .json
Example JSON
{
    "sources": [
        {
            "name": "device-001",
            "host": "172.168.0.24"
        },
        {
            "name": "device-003",
            "host": "10.25.42.112",
            "port": 23
        }
    ]
}
When importing network devices via JSON, the system attempts to merge new devices with devices that are already present. If the imported device name exactly matches an existing device name, the existing device details are overwritten.
Network Discovery
Network discovery helps fill gaps when a complete device inventory is not available. Discovery can add devices using:
- Discovery via seed device
- Discovery via direct neighbor inference
- Discovery via subnet/host scan
Discovery via Seed Devices
Seed discovery discovers neighboring devices starting from one or more known devices.
- Open the discovery wizard from Sources → Discover Sources.
- Select Discover via Seed Devices, then continue.
- Enter one or more seed devices (hostname or IP).
- (Optional) Limit discovery using allowed subnets.
- (Optional) Enable recursive neighbor discovery to use discovered devices as new seeds.
- Review credentials and continue.
- (Optional) Add/select SNMP credentials.
- (Optional) Add/assign jump servers.
- Start discovery, review results, and add selected devices.
- Finish and review the summary.
Discovery via Direct Neighbor Inference
Direct neighbor inference uses techniques such as CDP and LLDP.
- Open the discovery wizard from Sources → Discover Sources.
- Select Discover via Direct Neighbor Inference, then continue.
- Start discovery.
- Review newly discovered devices and add selected devices.
- Review credentials if prompted, then finish.
Run a connectivity test before starting discovery from untested devices.
Discovery via Subnet/Host scan
Subnet/host scan discovers devices by scanning one or more subnets or a list of hosts.
By default, Forward performs a connectivity test for each host using Global connection concurrency in Collection Settings. For very large scans, Forward can first run an initial TCP connection scan on a set of ports and then attempt a connectivity test only for hosts where a TCP session was established. The concurrency for the initial connection scan can be configured separately using Maximum number of connections in Collection Settings.
- Open the discovery wizard from Sources → Discover Sources.
- Select Discover via Subnet/Host Scan, then continue.
- Enter subnets/hosts (one per line), then continue.
- Review credentials, then continue.
- (Optional) Configure jump servers.
- Start discovery and review results.
- Add selected devices and finish.
Close & Notify When Done can close the wizard while the scan continues in the background, with a notification sent when finished.
Discovered Device Results
Selecting Discovered devices generates a report of devices with a status of Not Added, Ignored, and Inaccessible IPs from recent discoveries (including scheduled discoveries).
The Inaccessible IPs view includes devices unreachable during discovery, including authentication failures and SSH connection failures. Export Details to .csv downloads a report including fields such as Error, IP, Host, and JumpServerId.
Discovery Schedule
Network discoveries can be automated using discovery schedules.
- Navigate to Collection → Collection Settings → Schedule
- Select Add discovery schedule
The schedule workflow follows the same steps as regular Network Discovery (seed devices, neighbor inference, subnet/host scan), plus schedule-specific settings.
Schedules can be set to:
- Run discovery after collection (name the schedule and add)
- Custom schedule (name, optional time zone, and schedule options such as Discover / Discover on / Discover at)
Discovered Devices
If discovery ran and some devices were not added, review them via Discovered devices from the Sources page.
The discovered devices view includes devices from all past discoveries, not only the most recent.
Adding Devices Manually
Devices can be added manually from Sources → Classic devices using Add device. The add-device drawer consolidates settings for CLI, SNMP, and optional advanced collection features.
General settings
General settings define the device’s core attributes:
- Name (required)
- Tags (optional)
- IP/host (management IP address or hostname)
- Type (Auto-detect recommended unless a platform must be set explicitly)
- CLI login credentials (select a credential profile or rely on auto-association)
- SNMP credentials (optional; select or rely on auto-association)
- Note (optional)
SNMP credential behavior
Forward supports both manual and automatic SNMP credential assignment. When SNMP credential auto-discovery is enabled,
Forward performs parallel SNMP v2/v3 probes to identify valid credentials. SNMP credential failures affect only SNMP
authentication; CLI collection continues normally.
SNMP configuration/state collection (non-performance)
CLI-collected devices can also gather SNMP configuration and state information. This is useful when:
- Certain attributes exist only as OIDs
- SNMP-based workflows are preferred
- Structured information is best retrieved using OID subtree walks
SNMP configuration/state collection is different from SNMP performance polling:
- Configuration/state data comes from SNMP custom collection groups
- Performance polling is controlled separately under performance SNMP settings
SNMP configuration/state collection is performed only when the device matches one or more SNMP custom collection groups. Specifying SNMP credentials alone does not define what SNMP data is collected.
Custom collection groups are configured via Collection → Collection Settings → Custom collection groups.
Advanced settings
Advanced settings contain controls used in specialized scenarios. Most are documented in Advanced Configuration.
Settings most relevant when manually adding a device include:
- Port (override default protocol ports)
- Jump server (when the device is reachable only through an intermediate host)
- BMP and BGP options (see Advanced Configuration pages for BMP/BGP)
- Enable full collection log (collect a detailed log for troubleshooting)
Performance data collection via SNMP
Enable this only if ongoing performance data is needed. This is separate from custom collection group–based SNMP configuration/state collection.
Location
Assign a location so the device appears correctly in topology visualizations and search results. Leaving a device unassigned keeps it available for collection but without an assigned location.
Completing the setup
Select Add to create the device.
Device Deduplication
To avoid device duplication, Forward uses the following preference order when choosing the winner among duplicates:
- A device that does not use a jump server is preferred
- A device that uses a hostname as device name is preferred over a device that uses an IP address as device name
- A device with a shorter device name is preferred
- If equal length, the device with the lexicographically smaller name is preferred
Next Steps
After devices are added, run a connectivity test as described in the Connectivity Test page.
Depending on the environment, additional optional configuration may be required:
- Jump server connectivity - Utilizing jump servers for connectivity to reach network devices is a common use-case. Navigate to this seciton to get more familiar.
- Cloud modeling setup:
- AWS account setup - Forward Enterprise support for the modeling of AWS VPC environments.
- Google account setup - Forward Enterprise support for the modeling of Google GCP environments.
- Azure account setup - Forward Enterprise support for the modeling of Microsoft Azure environments.
- Cisco ACI setup - Forward Enterprise support for the modeling of Cisco ACI virtualization technology with correlation of Overlay and Underlay.
- VMware NSX account setup - Forward Enterprise support for the modeling of VMware NSX virtualization technology with correlation of Overlay and Underlay.
- Advanced Collector configuration Additional information regarding advanced configuration settings like BMP, OpenFlow, etc.
Once all the devices have been added, run a connectivity test as described within the connectivity testing page.