Network Maps
Overview
Network maps allow you to build a network diagram that spans across any set of devices in your network, regardless of location. A custom network map can help document a service, capture an area of management, or share a focused diagram of any device groups a team manages. Unlike location-based topology views, Network maps let you create custom network diagrams without relying on external tools.
With flexible node placement and powerful appearance tools, Network maps let you build audit-ready topology views for image export. Network maps are dynamic and stay in sync with your network. Device data, links, and interface details refresh with every Snapshot, so the map always reflects the current network state.
Creating a new Network Map
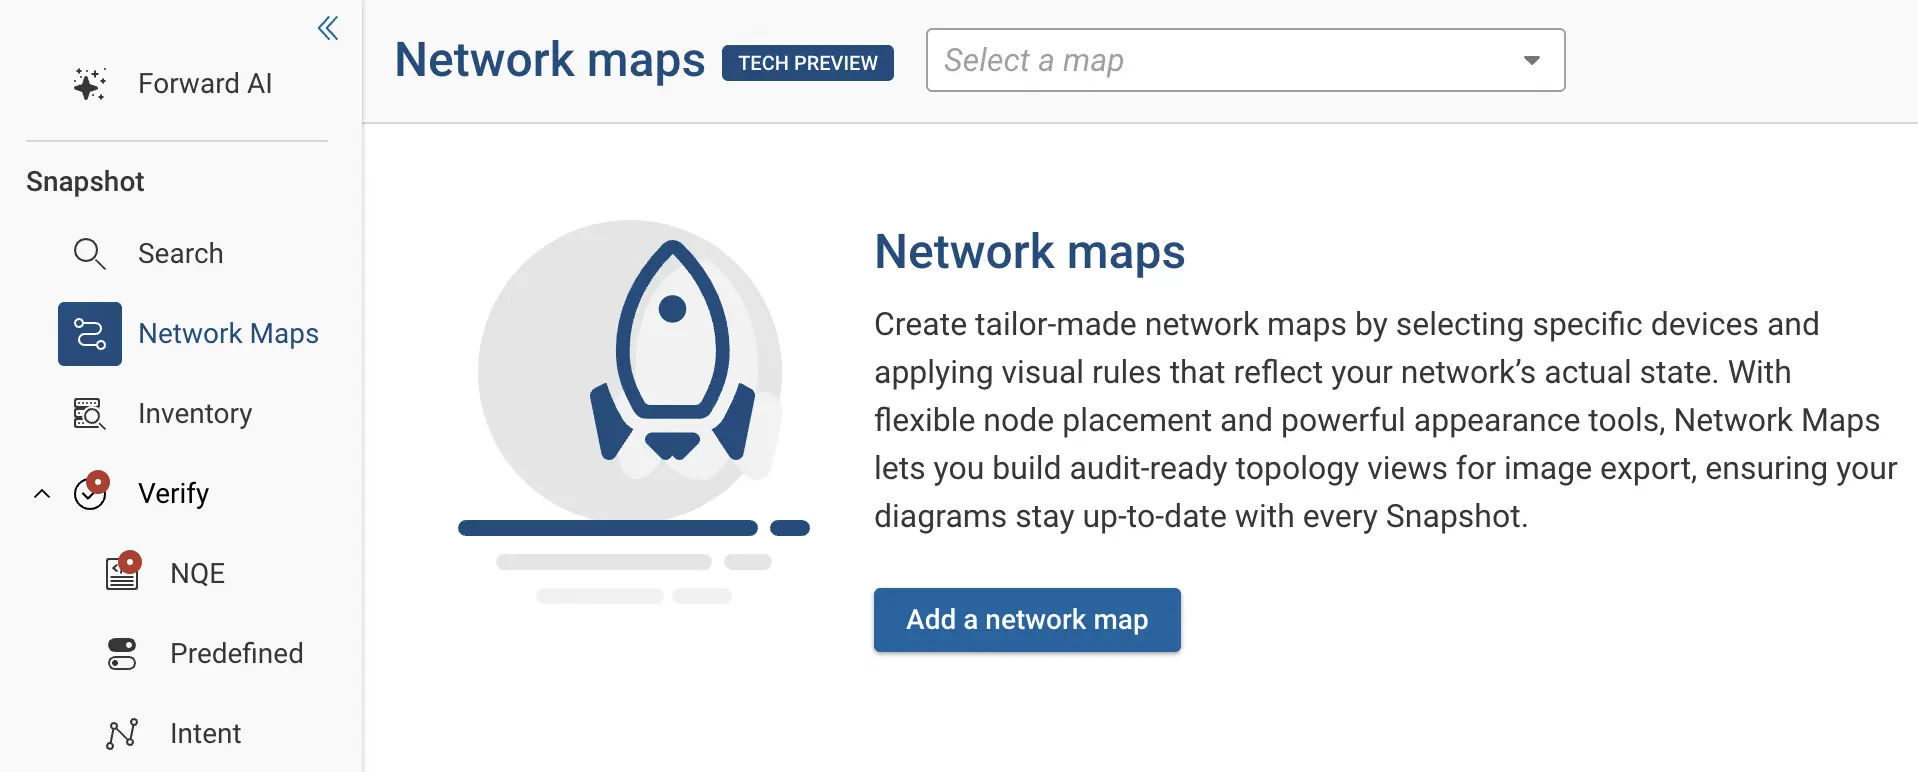
- From the left navigation, open Network Maps.
- Click Add a network map.
- Enter a unique Name for the map and click Next.
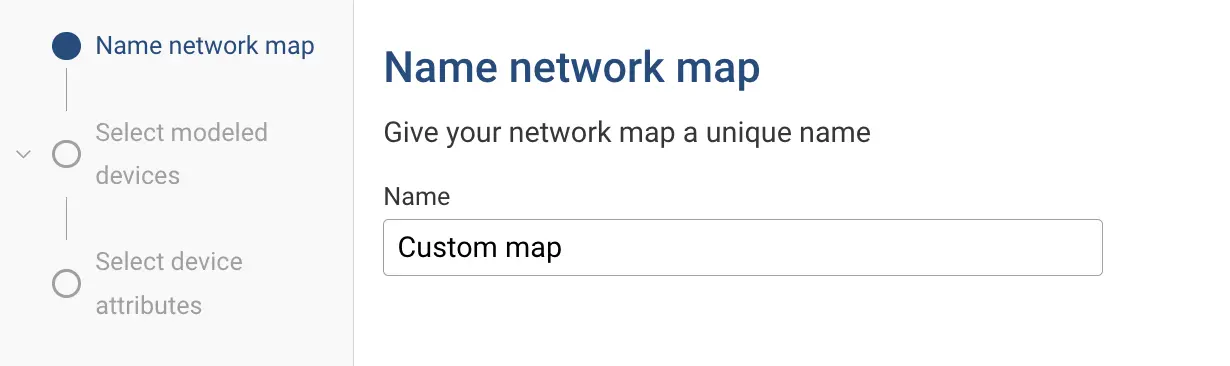
Renaming an existing network map is not supported at this time. Choose the network map name carefully when creating a new map.
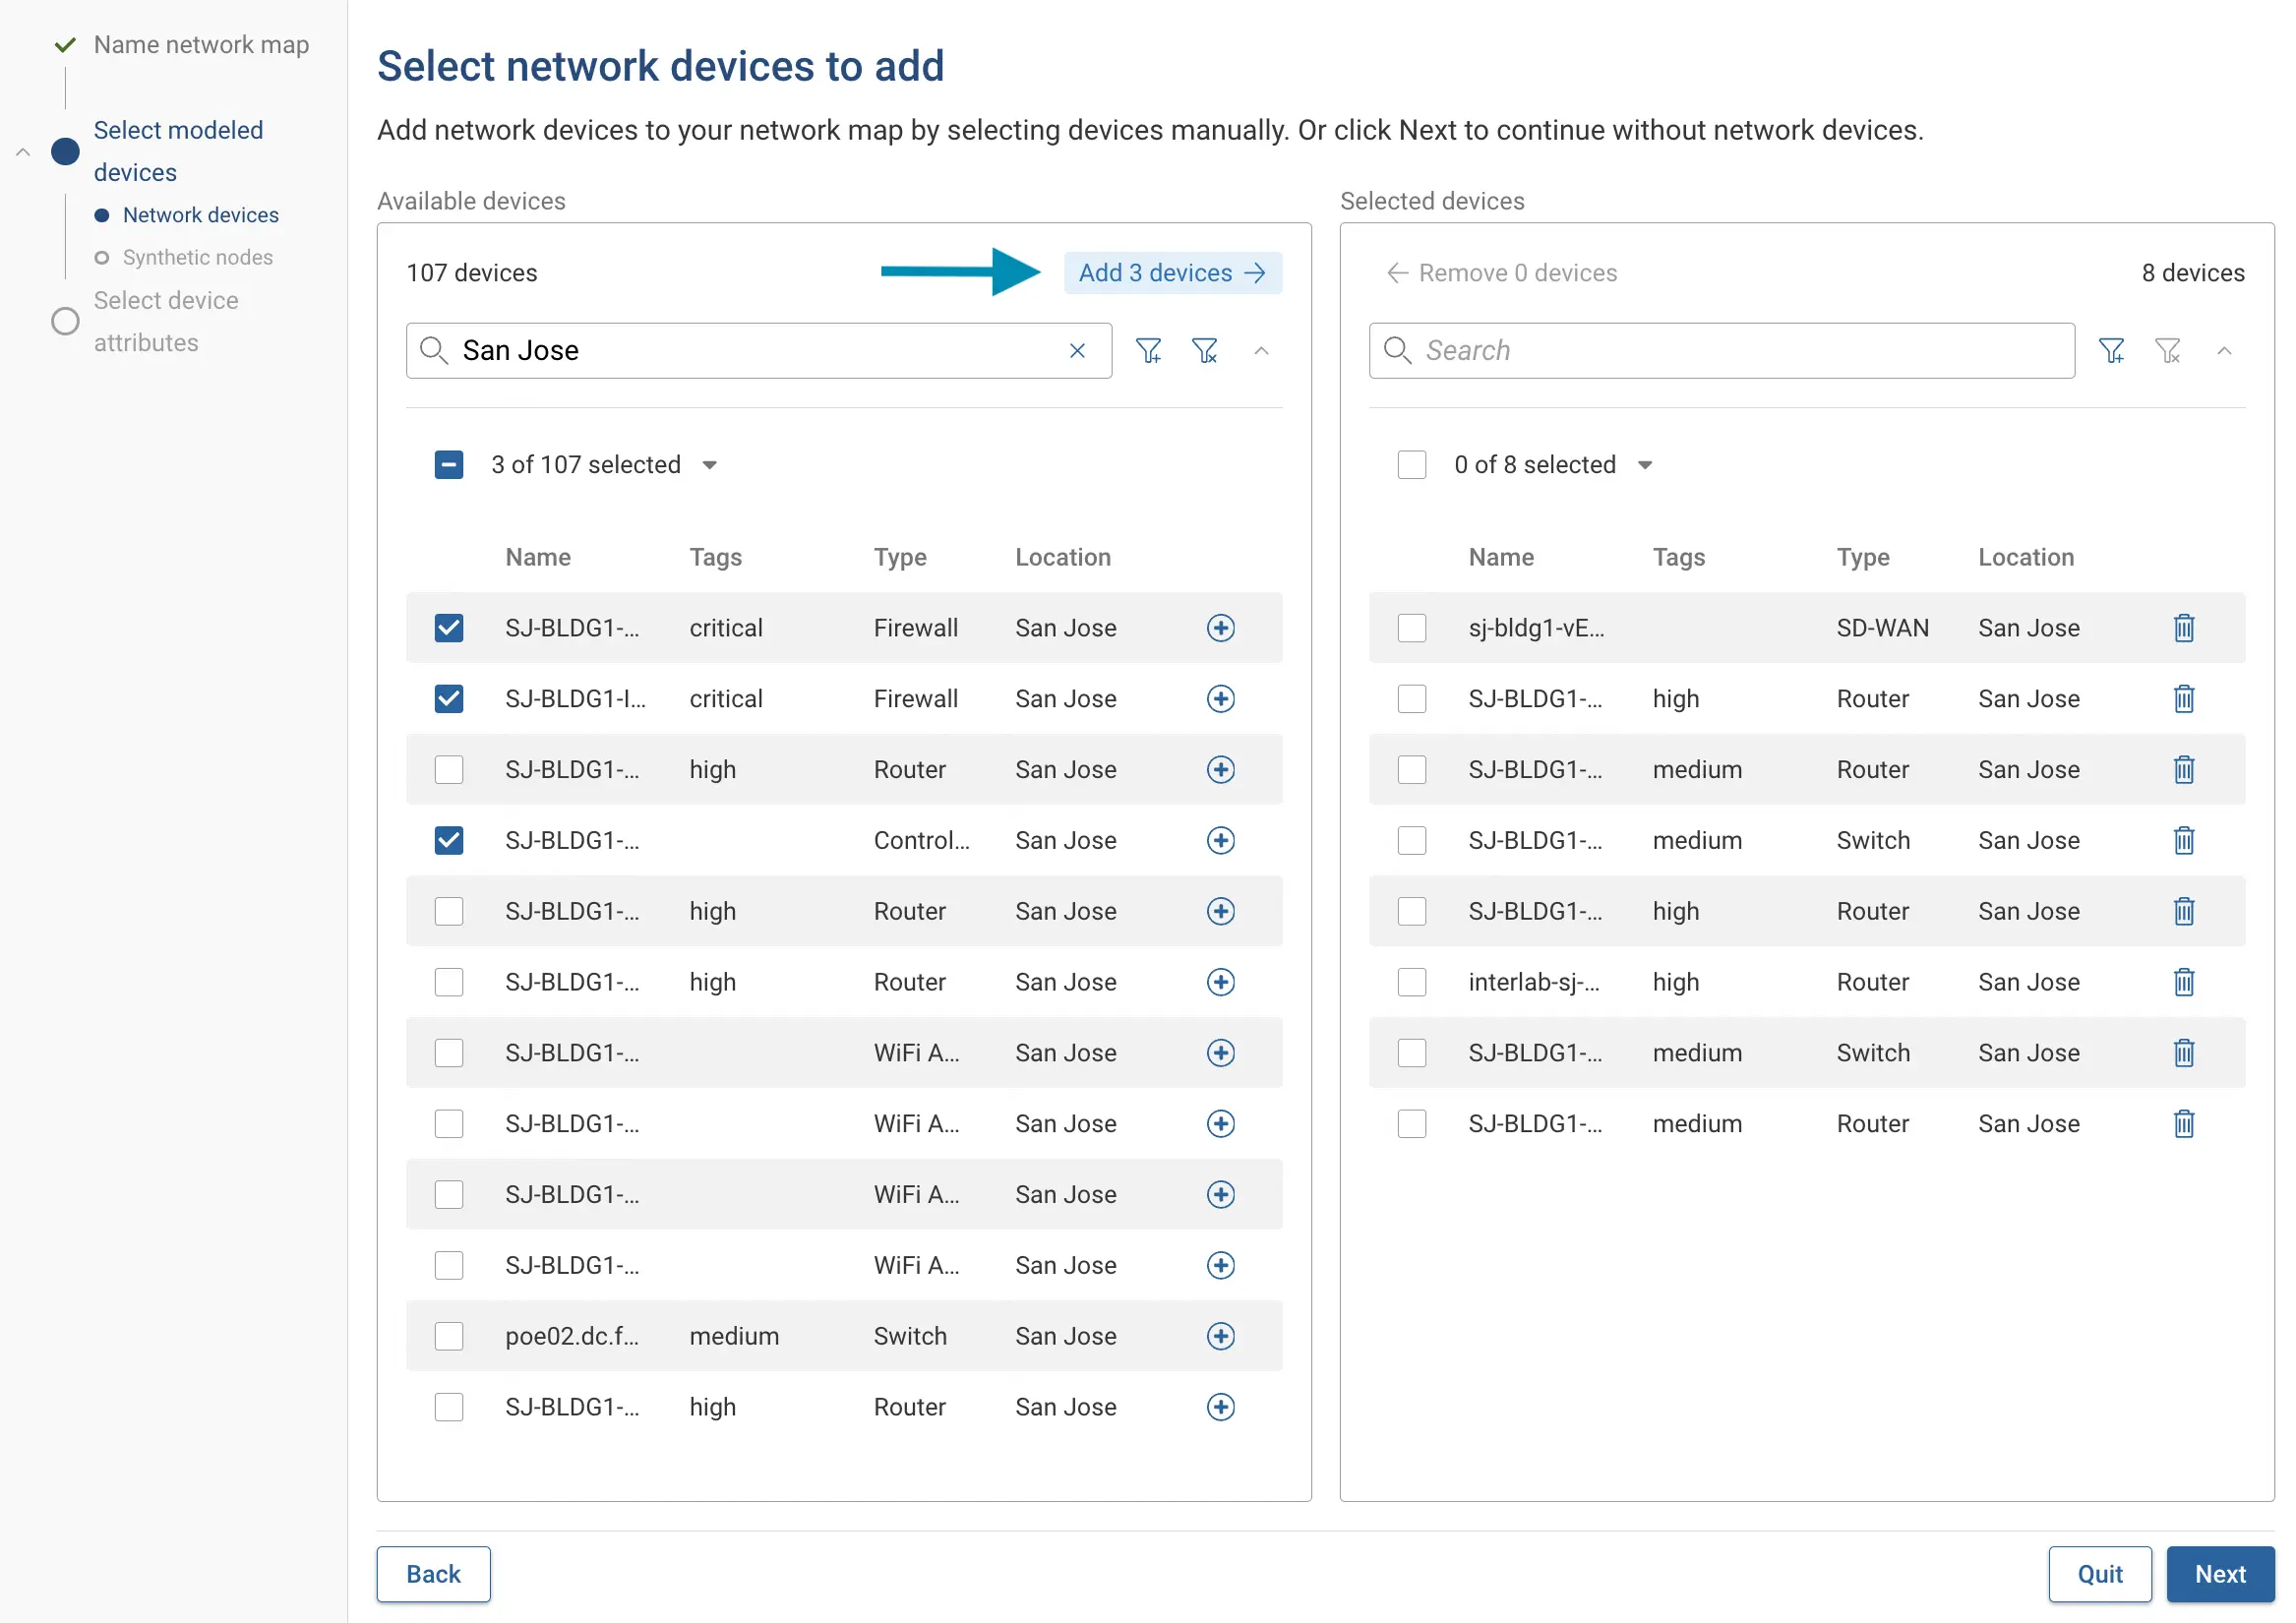
- Select the network devices to include. Use the search and filter options to find devices by name, tags, type, or
location. Devices from any location can be added to the same map. Click Add devices after selecting the devices
and then click Next.
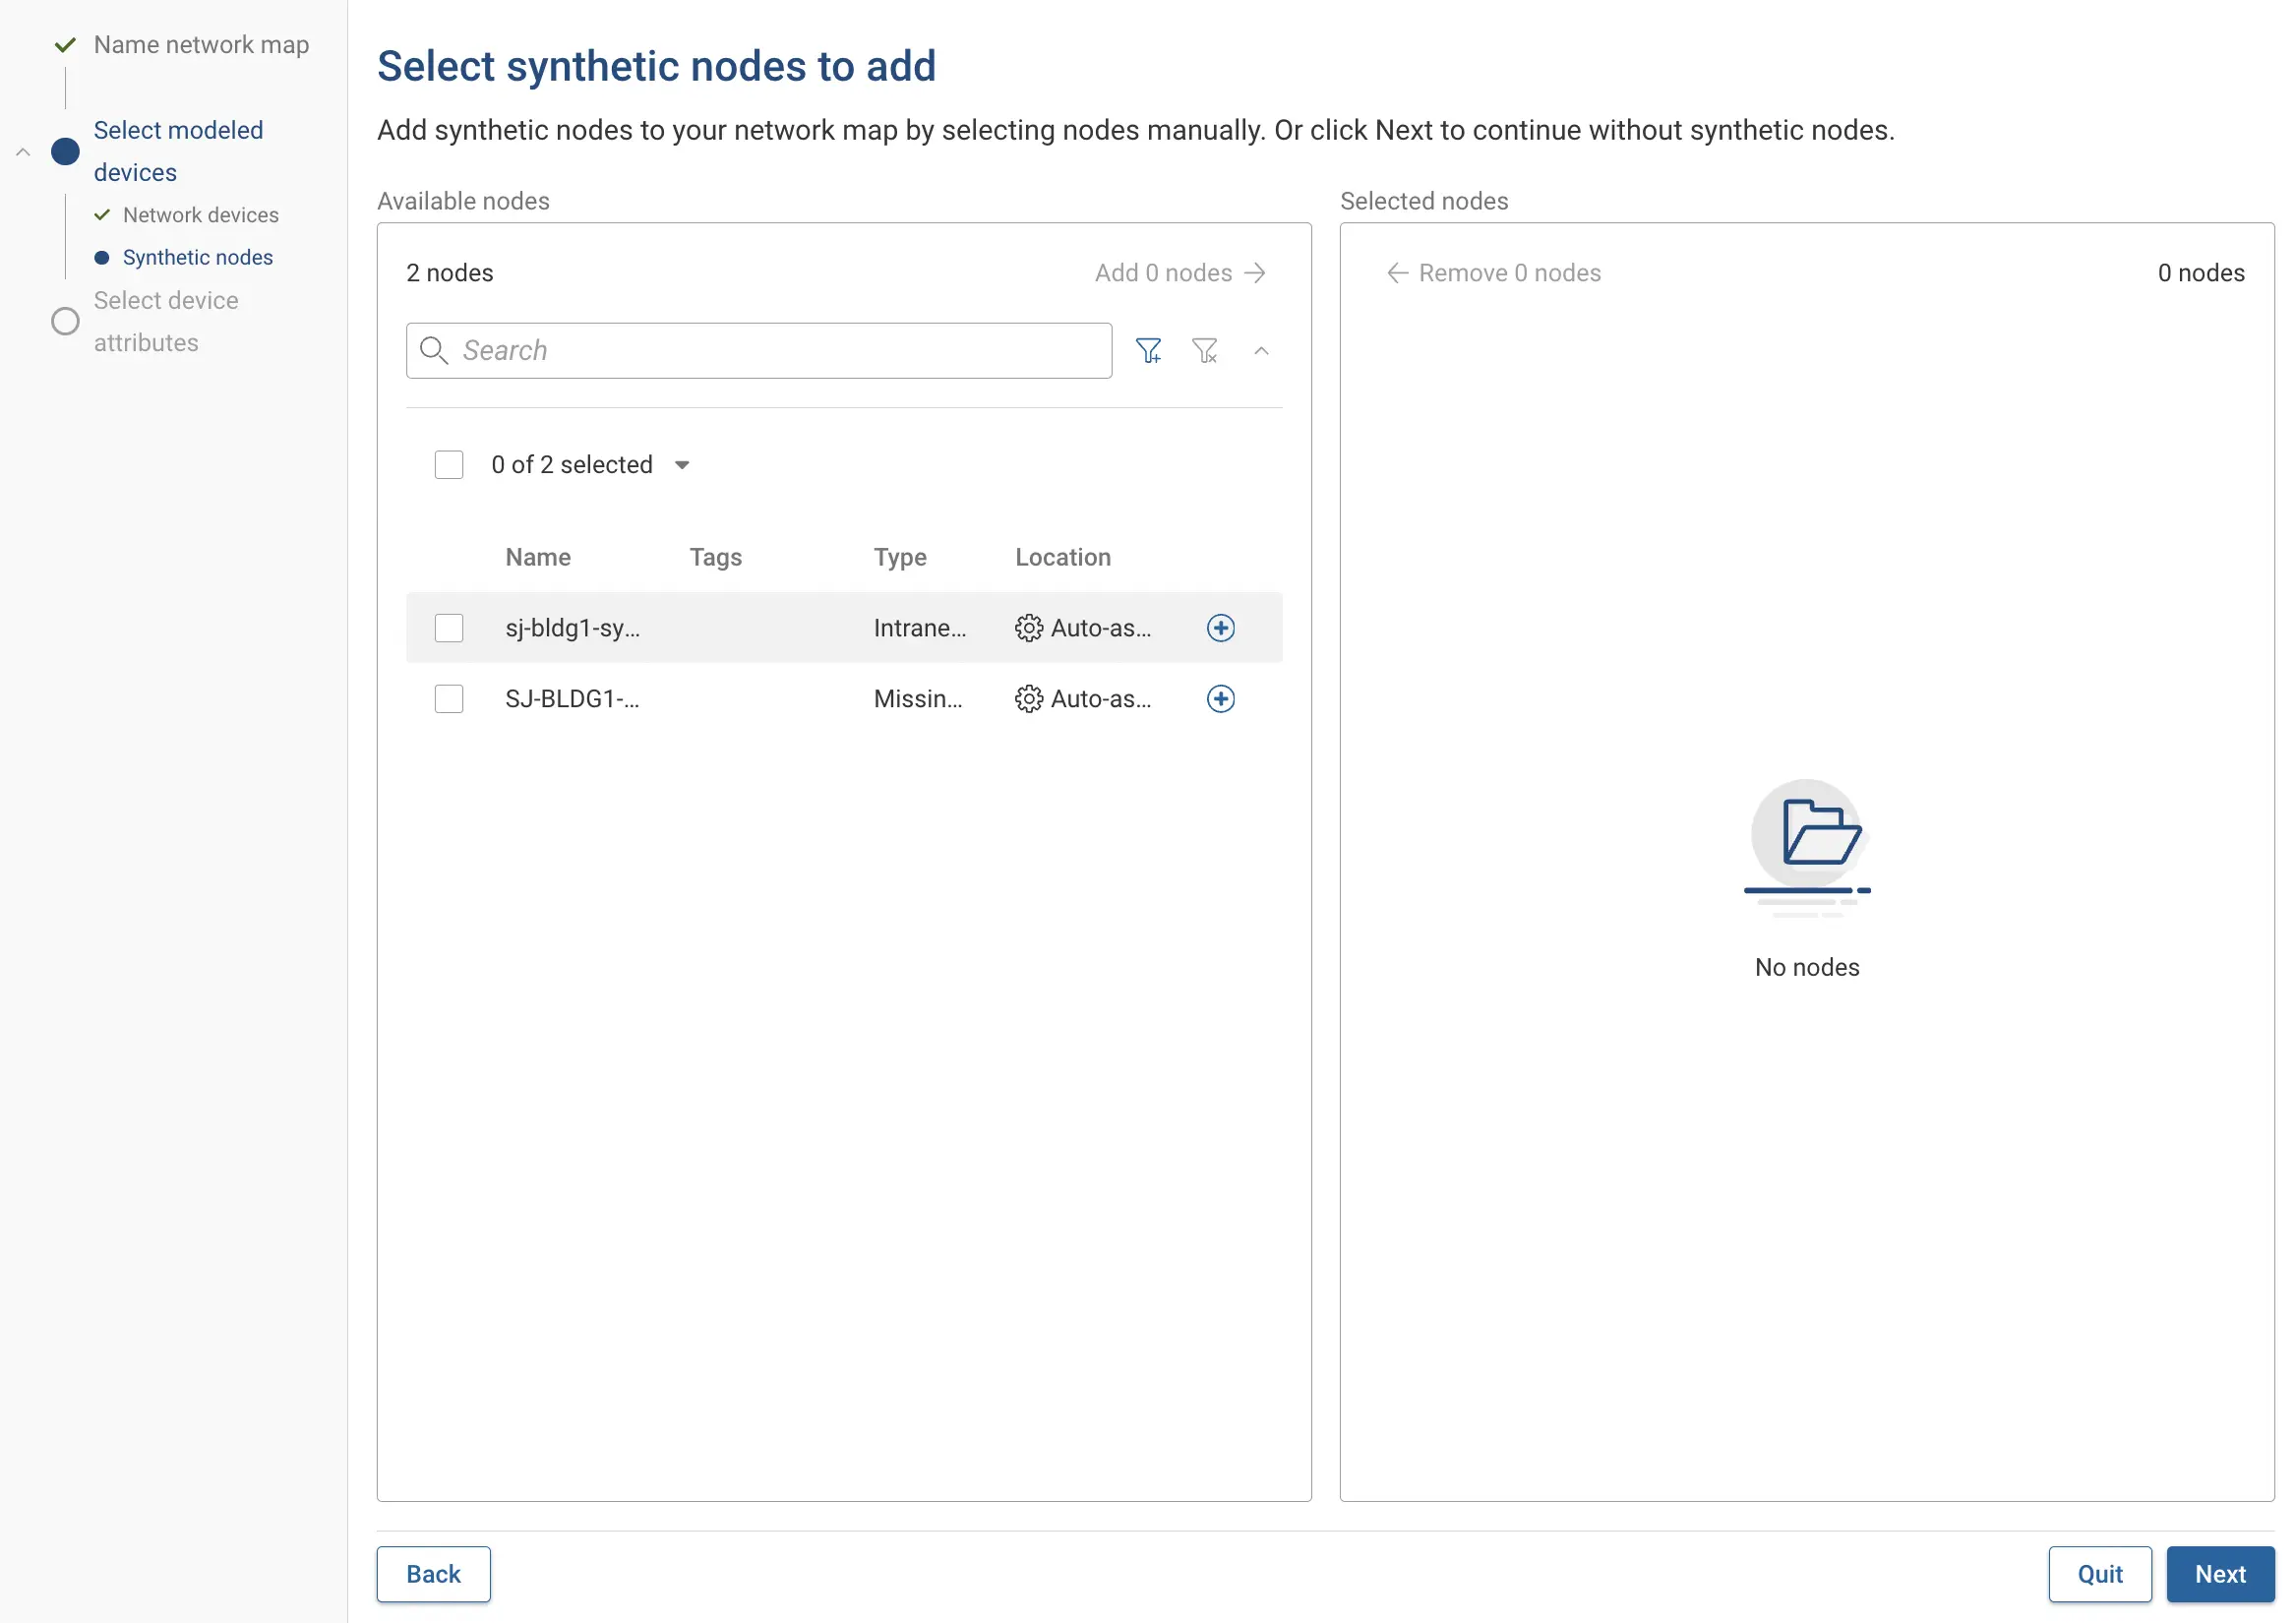
- Select synthetic nodes to include in the map and click Next. (Optional)
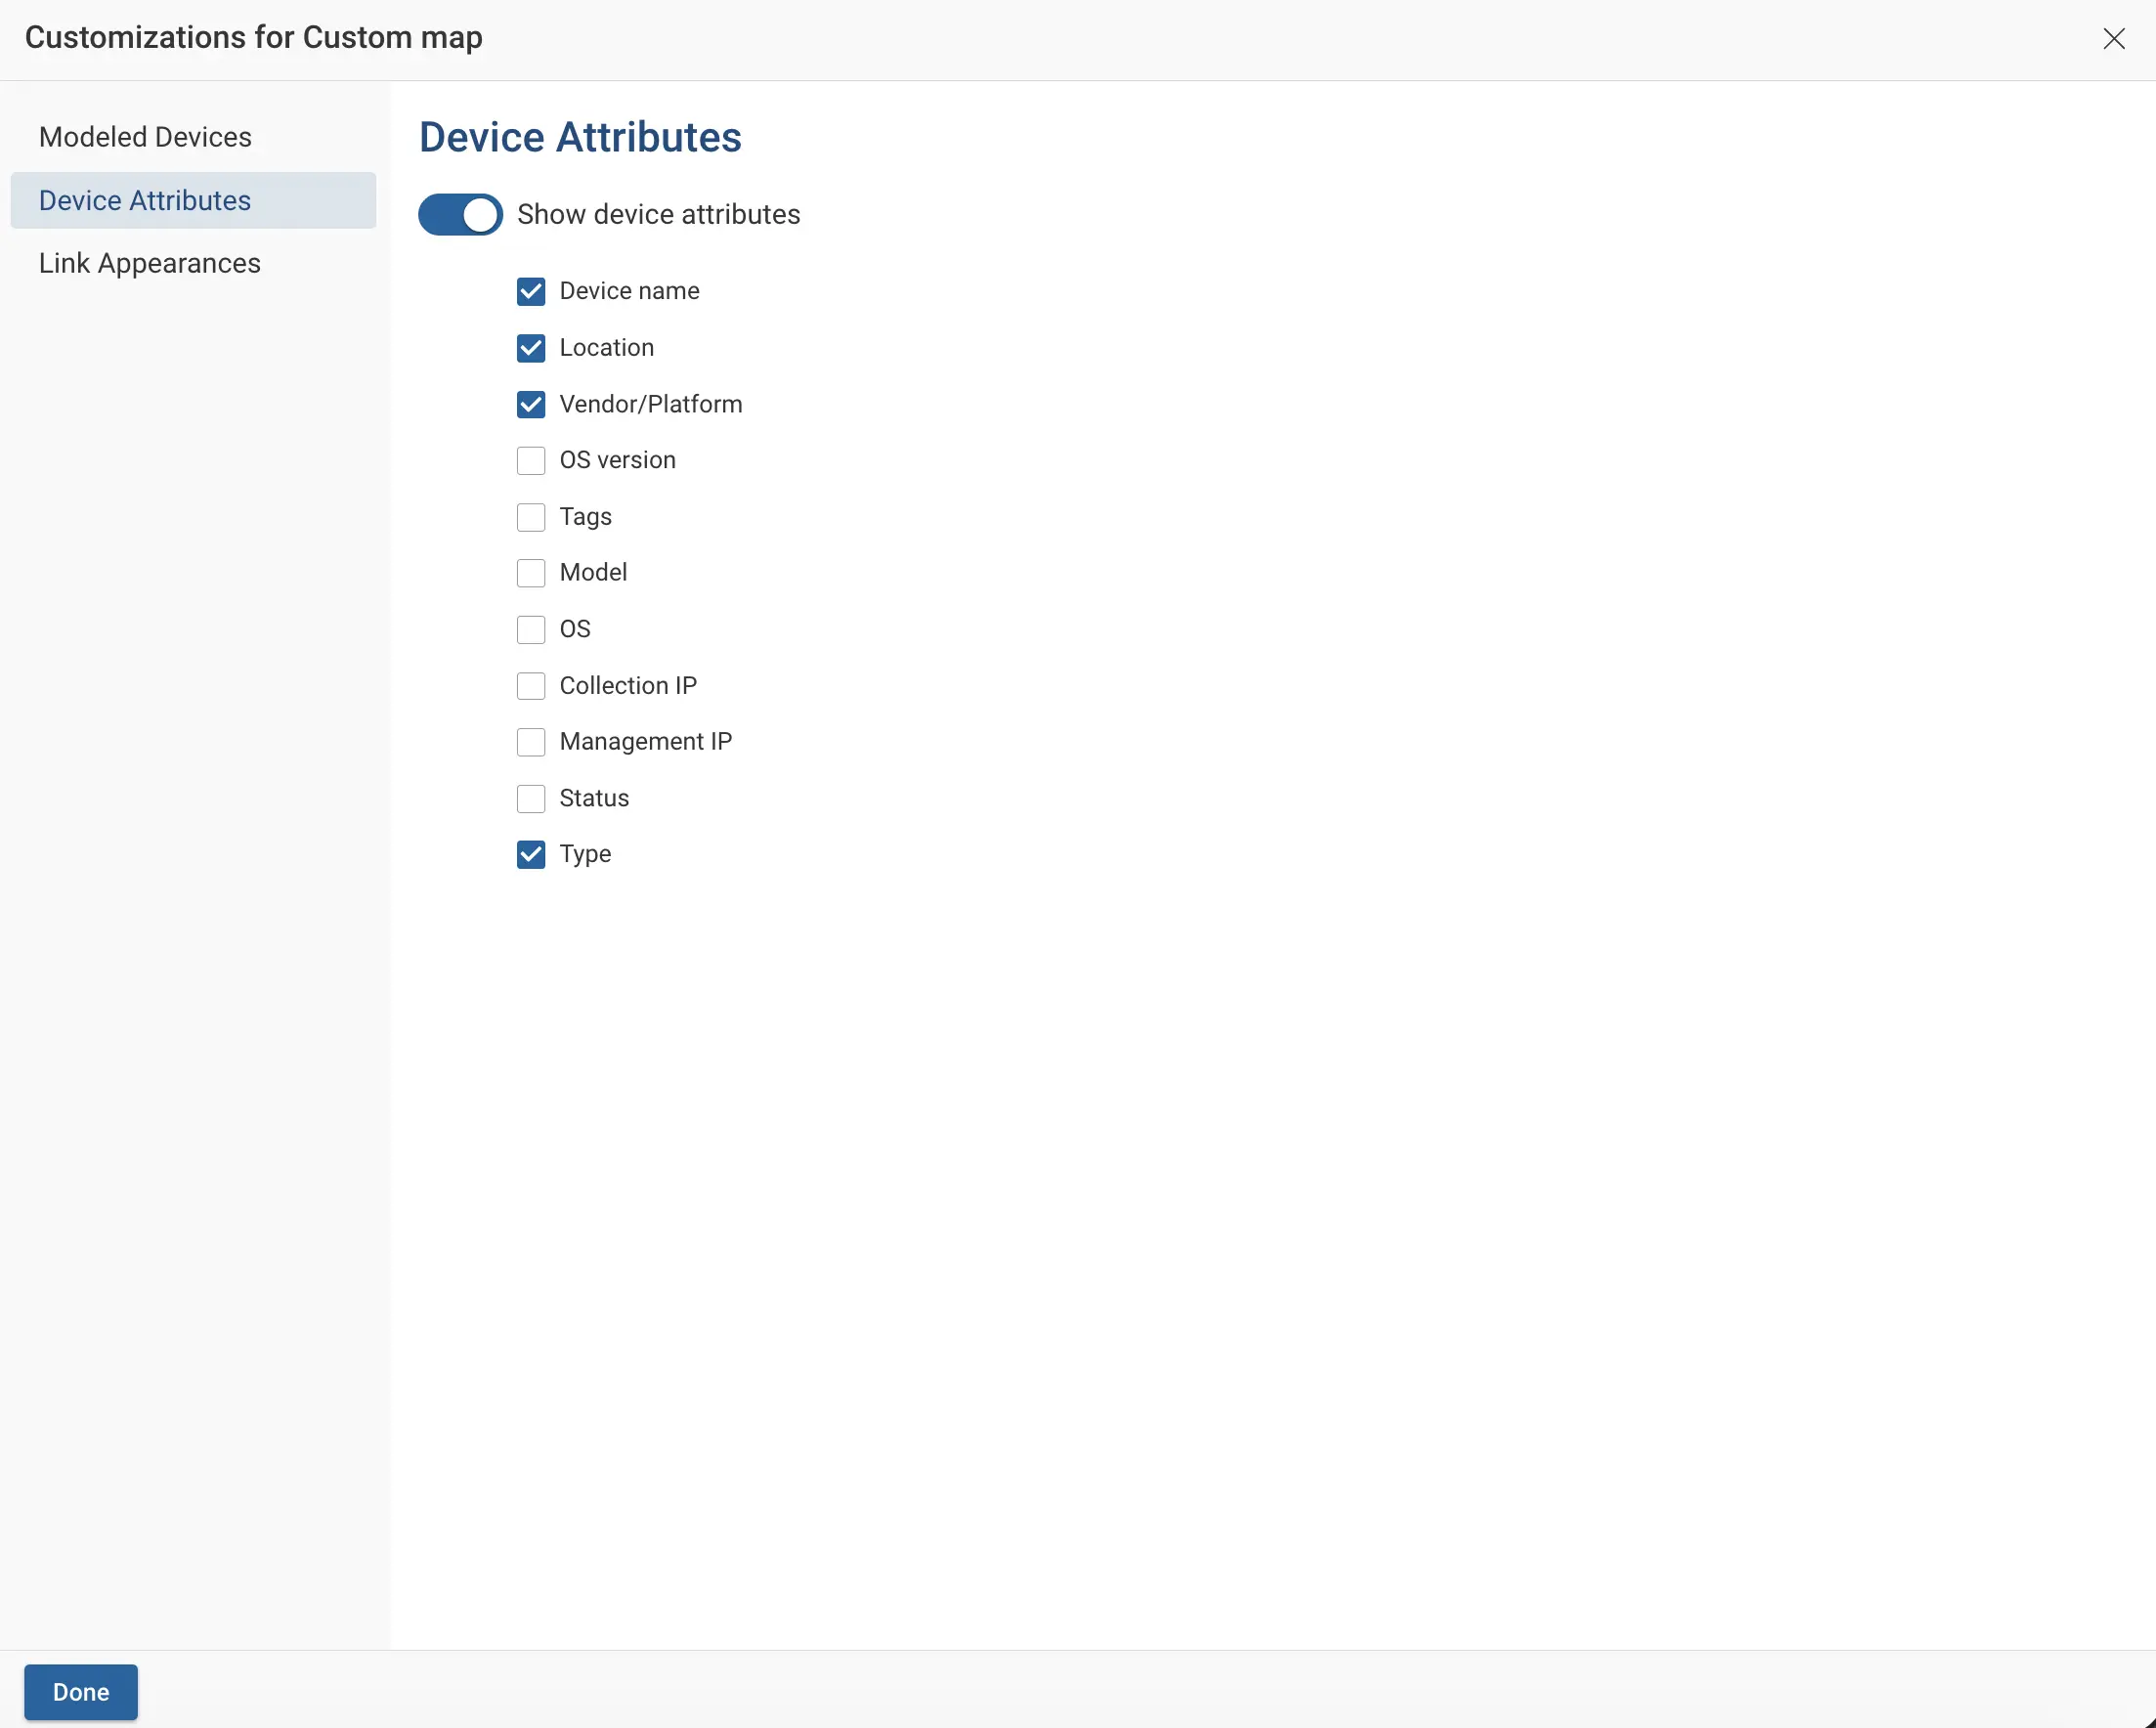
- Select the device attributes to display next to each device on the map, such as vendor, OS version, or collection
IP. Click Create Map.
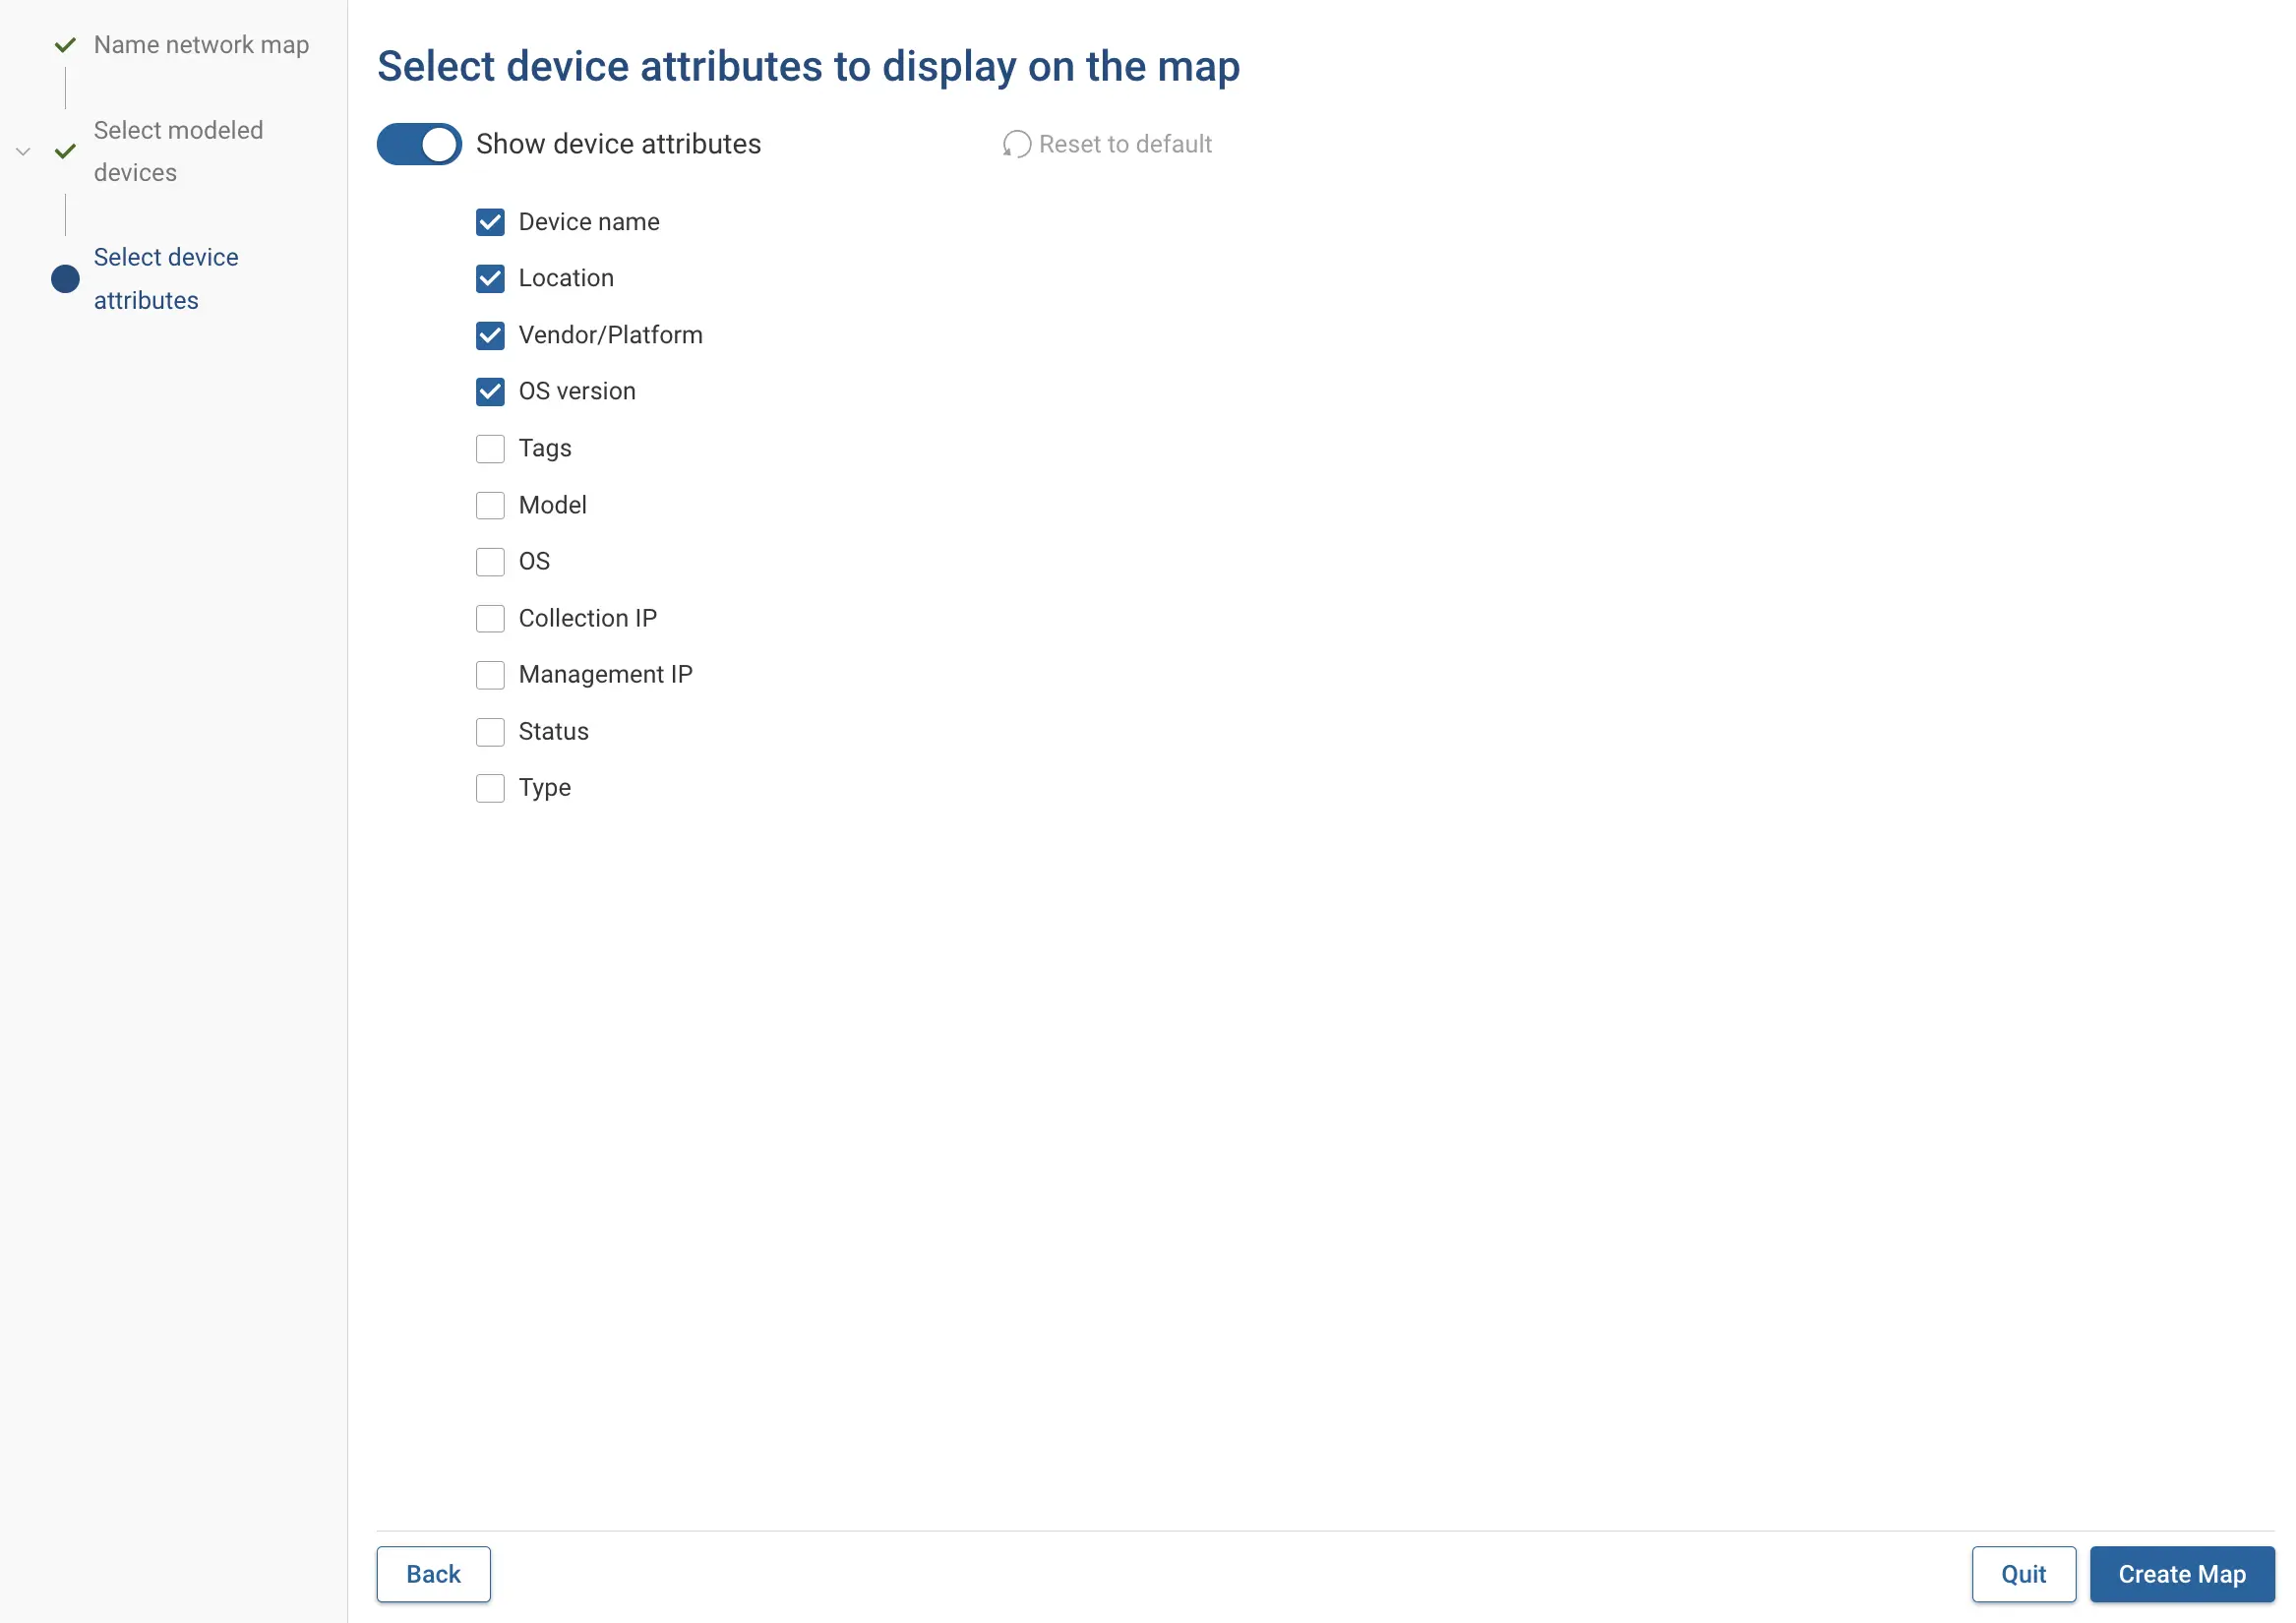
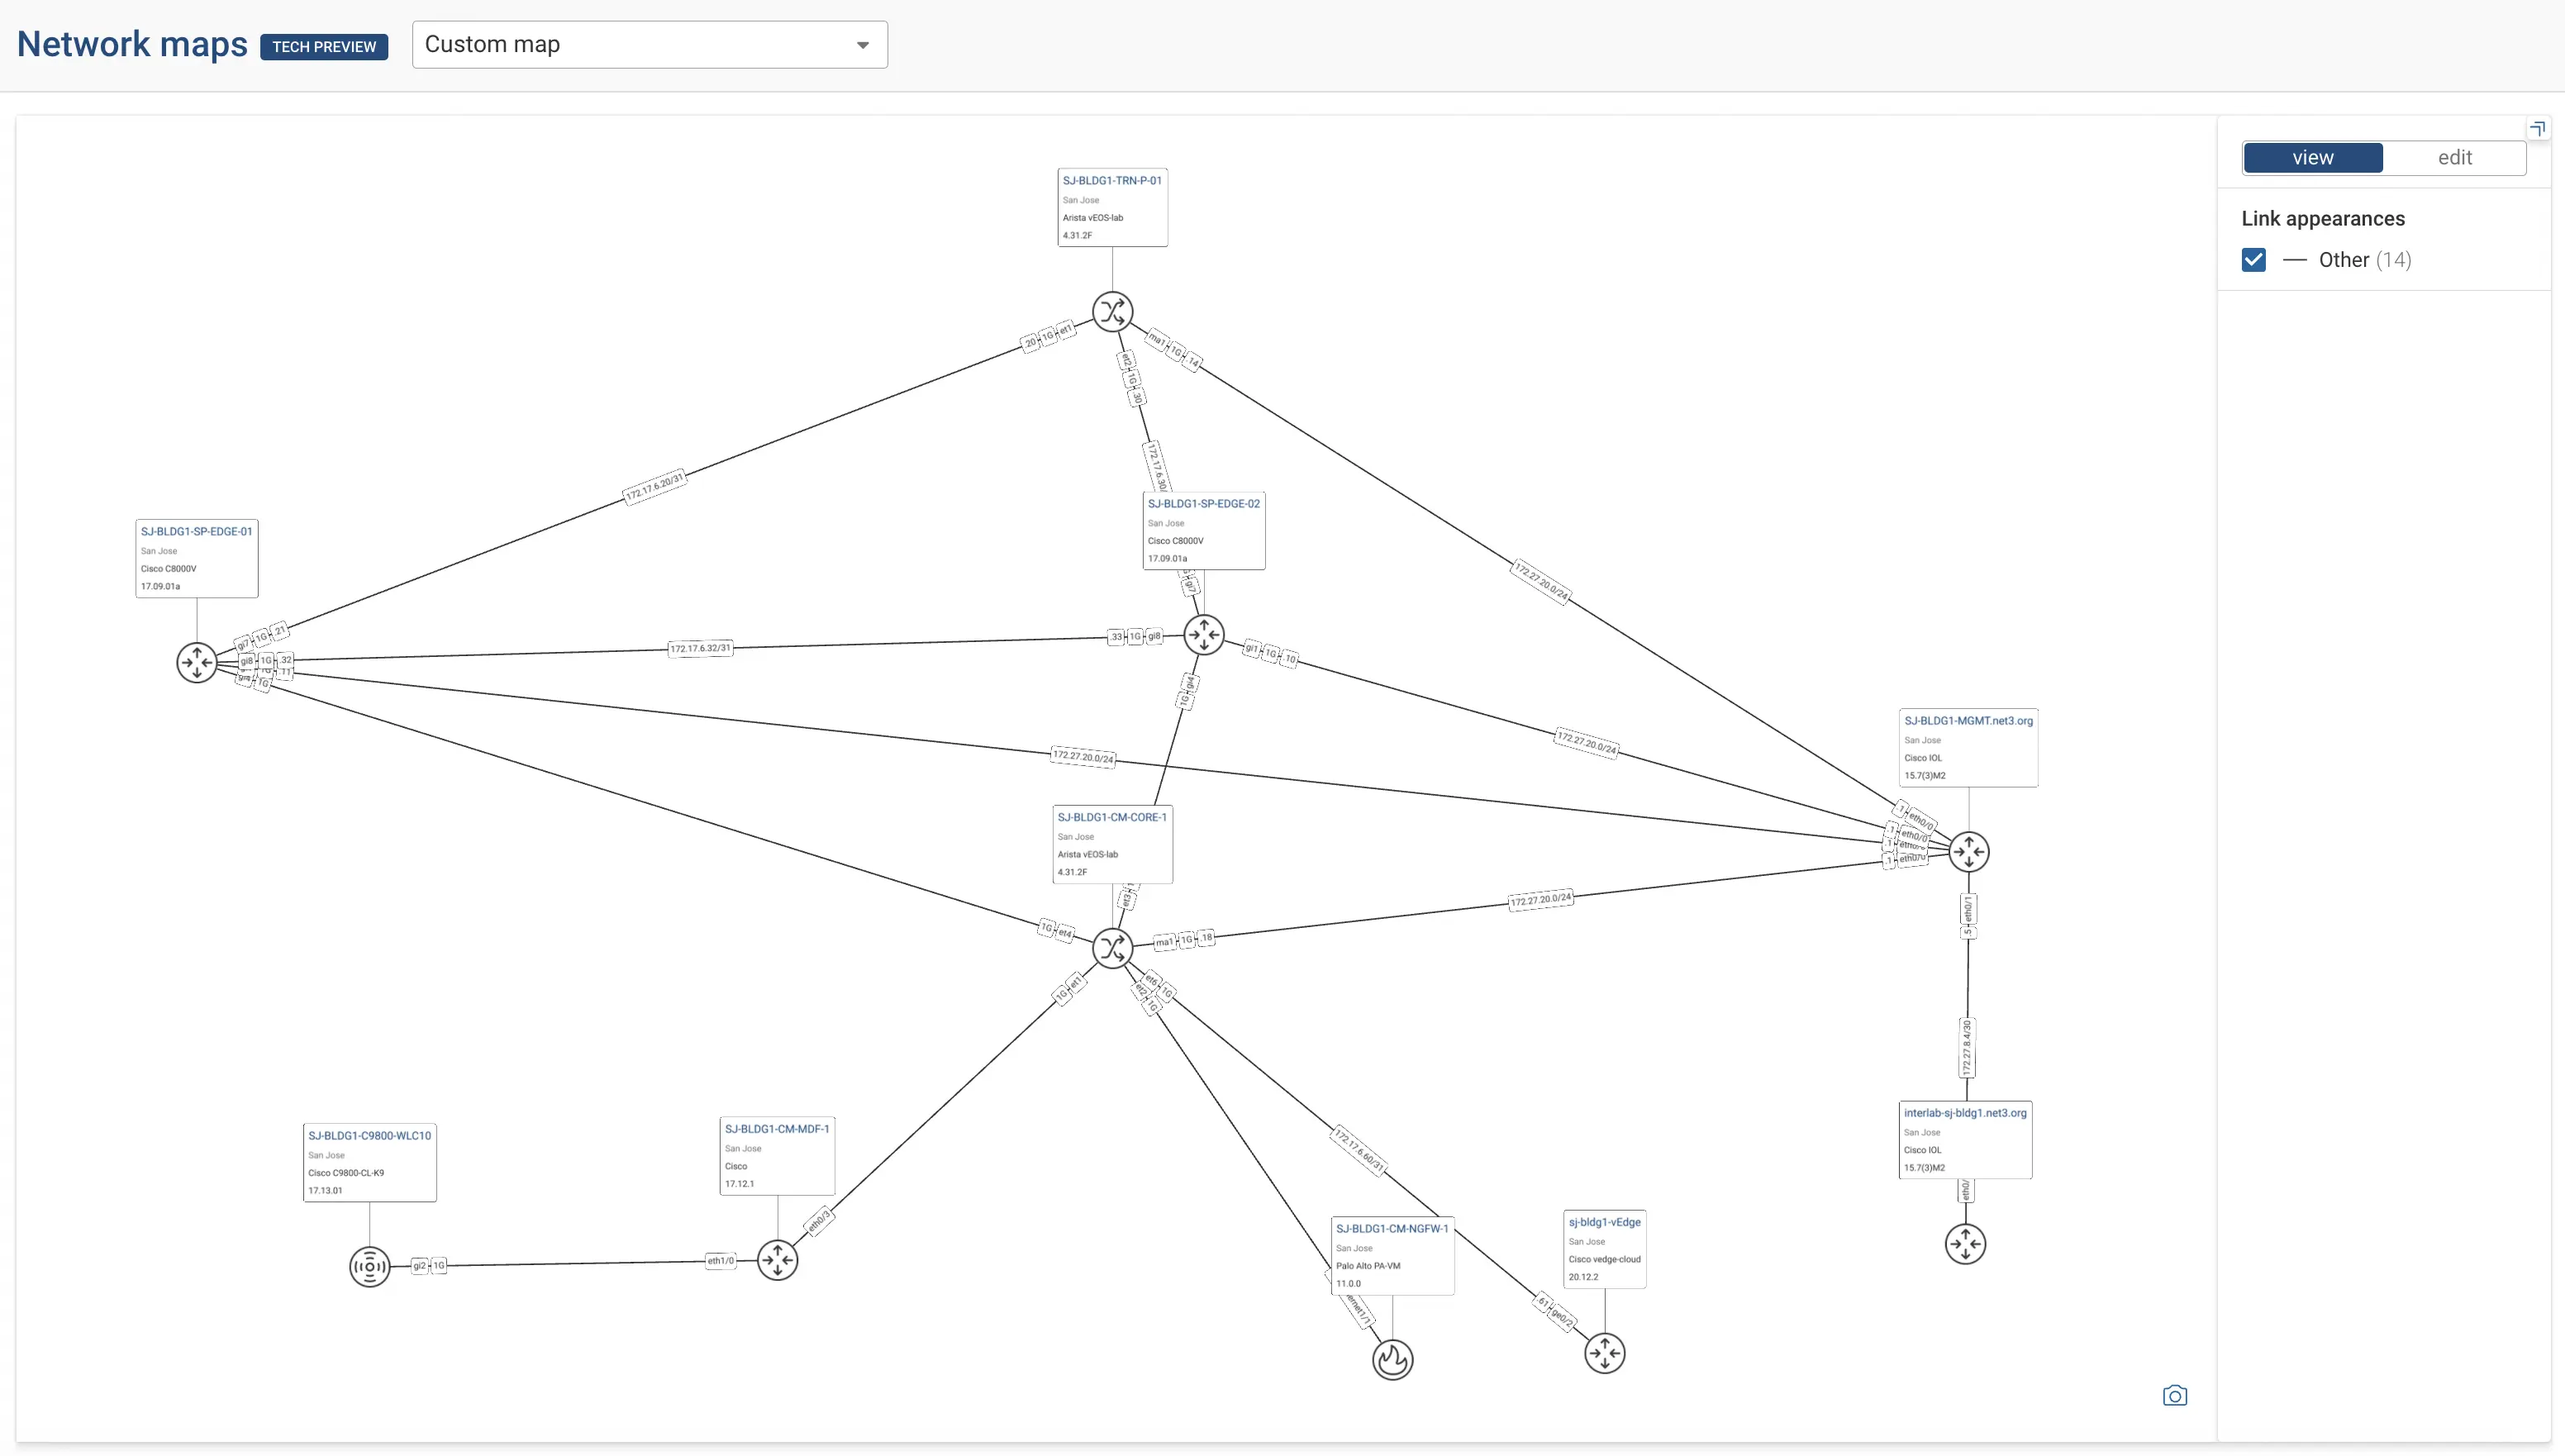
The newly created map opens with all the selected devices and links between them.
Editing the Map Layout
Network maps use the same layout tools as the topology diagram to edit the layout.
- Open the map and click edit in the toolbar on the right.
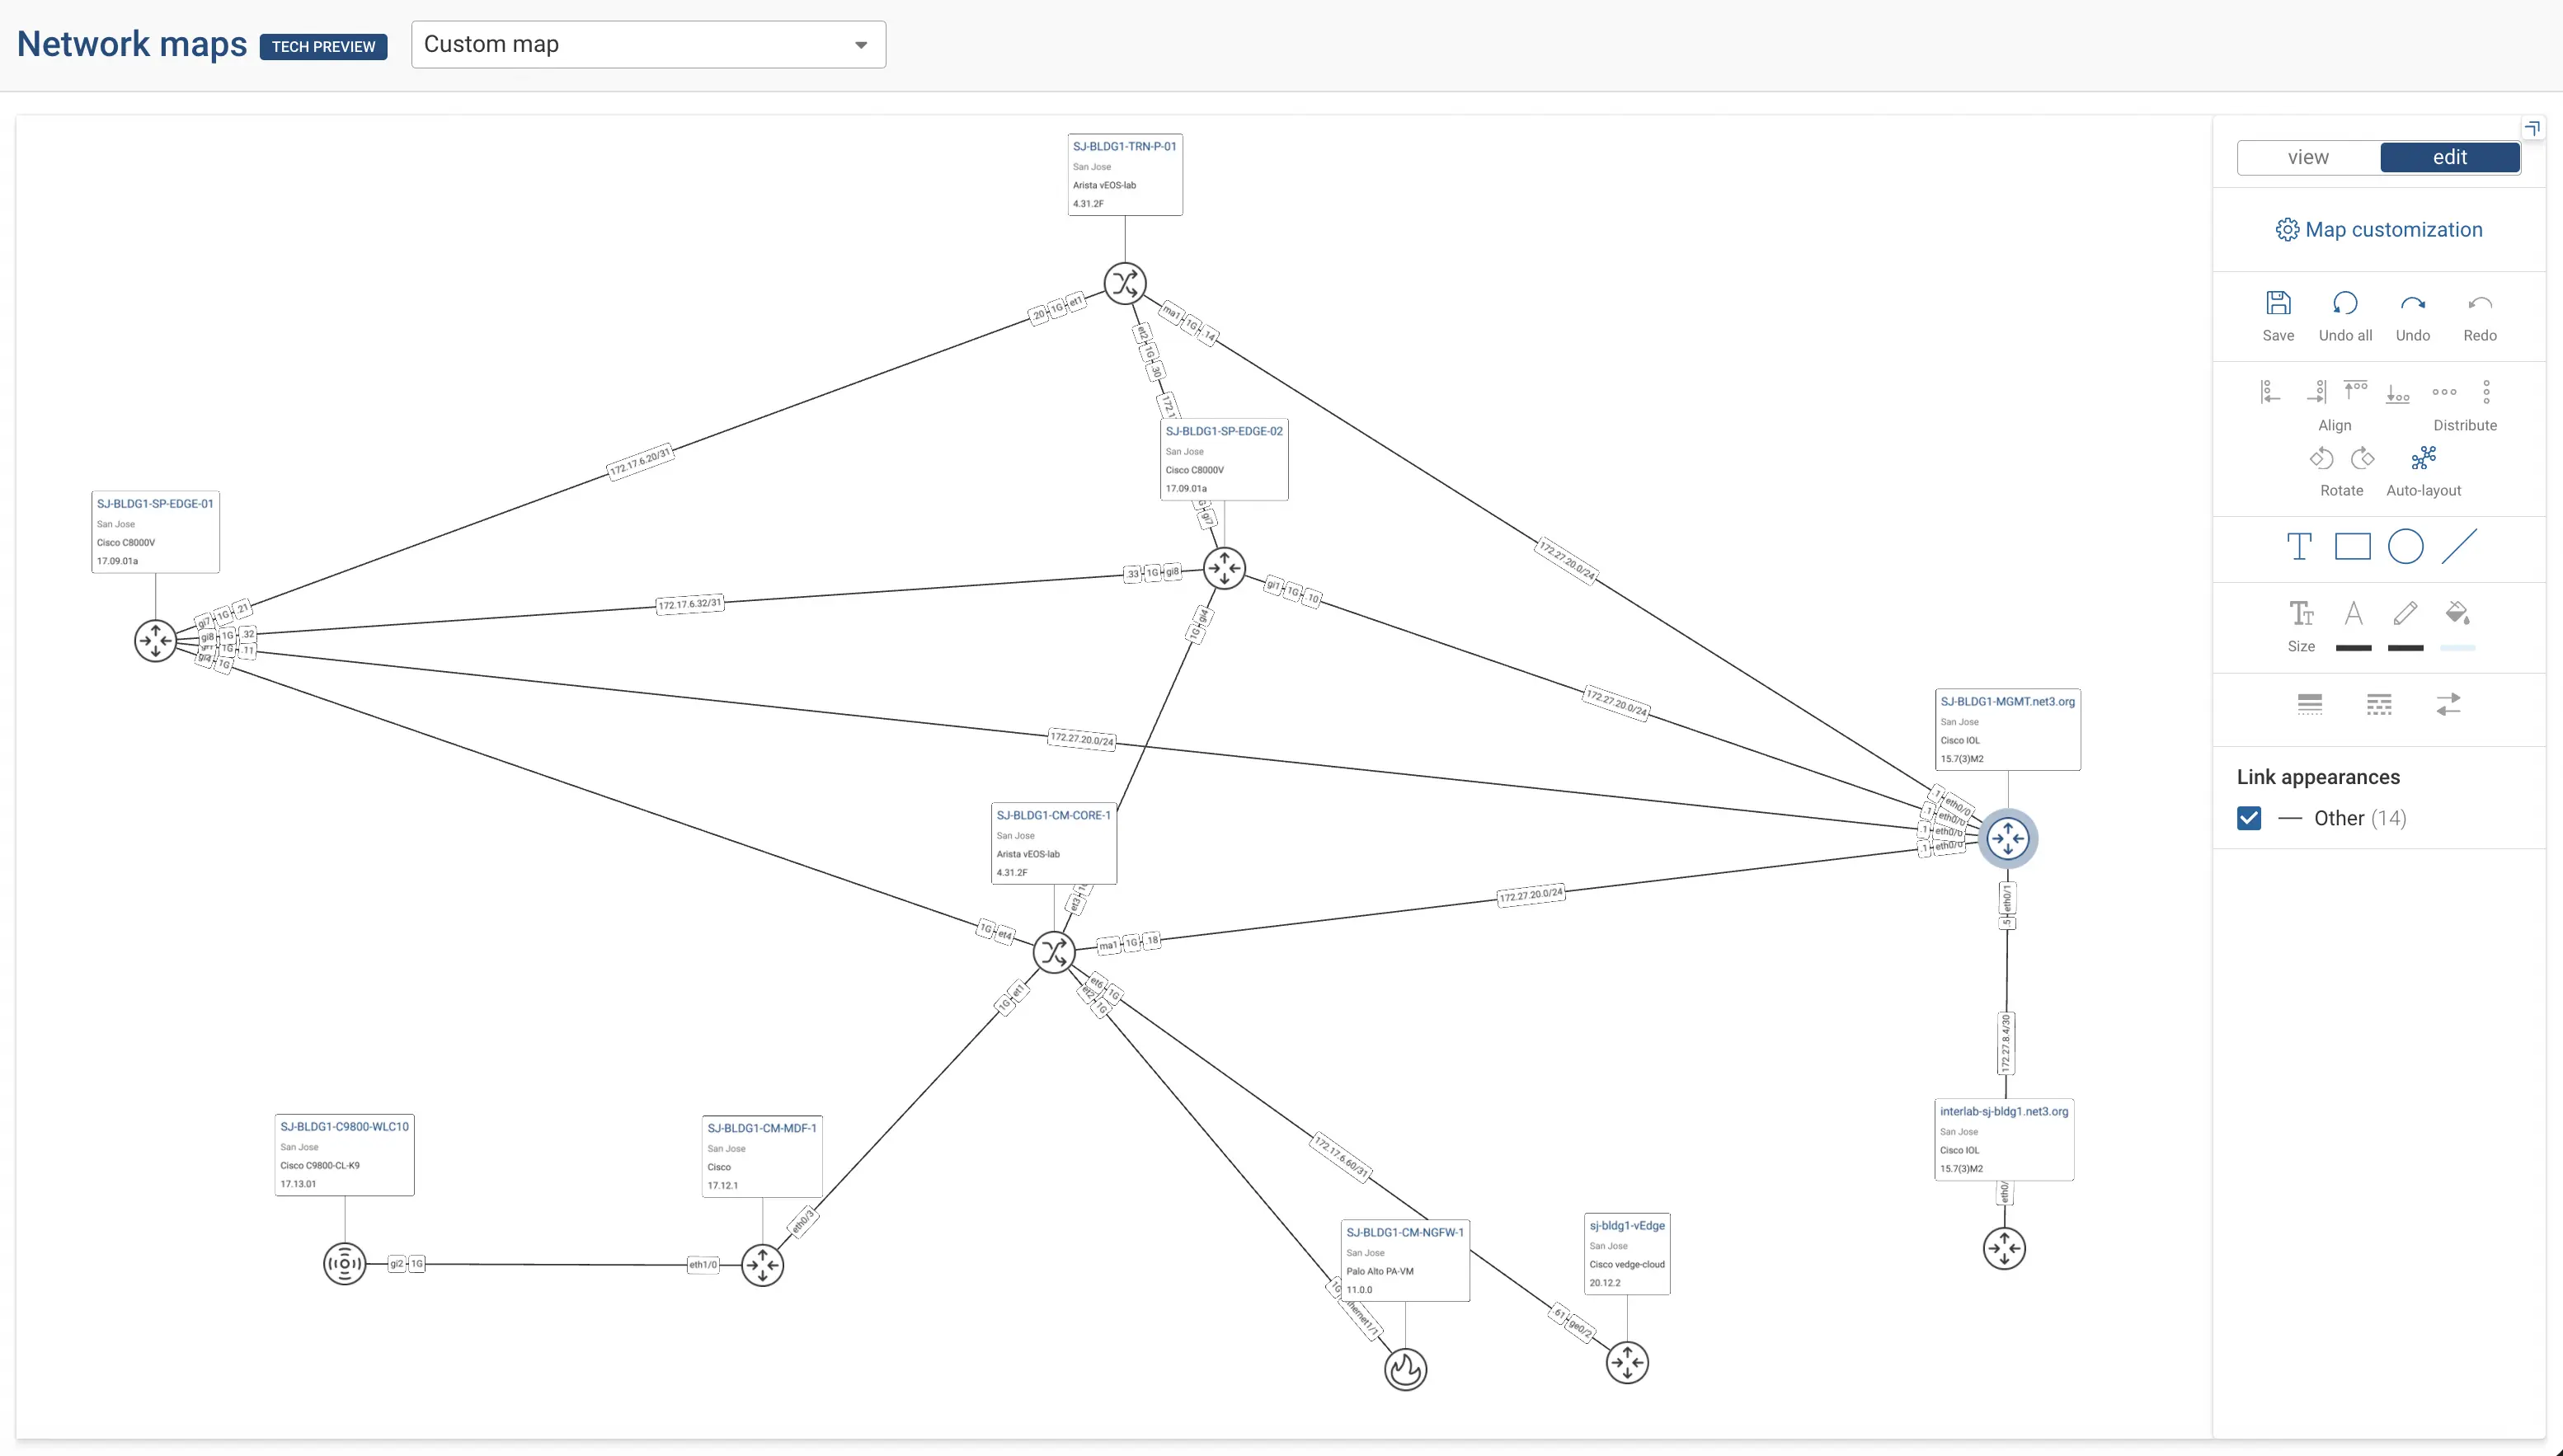
- Select one or more devices and drag them to reposition them.
- Use the alignment, distribution, and rotation tools to organize device nodes.
- Click Save to keep your changes.
Annotating the Map
Network maps support the same annotation tools as the topology view. You can add text, rectangles, circles, and lines to highlight parts of the map and adjust their color, thickness, and style. For details on the available annotation tools, see Topology Annotation.
Customizing the Map
Network maps can be customized by opening the Map Customization option in edit mode in the toolbar on the right.
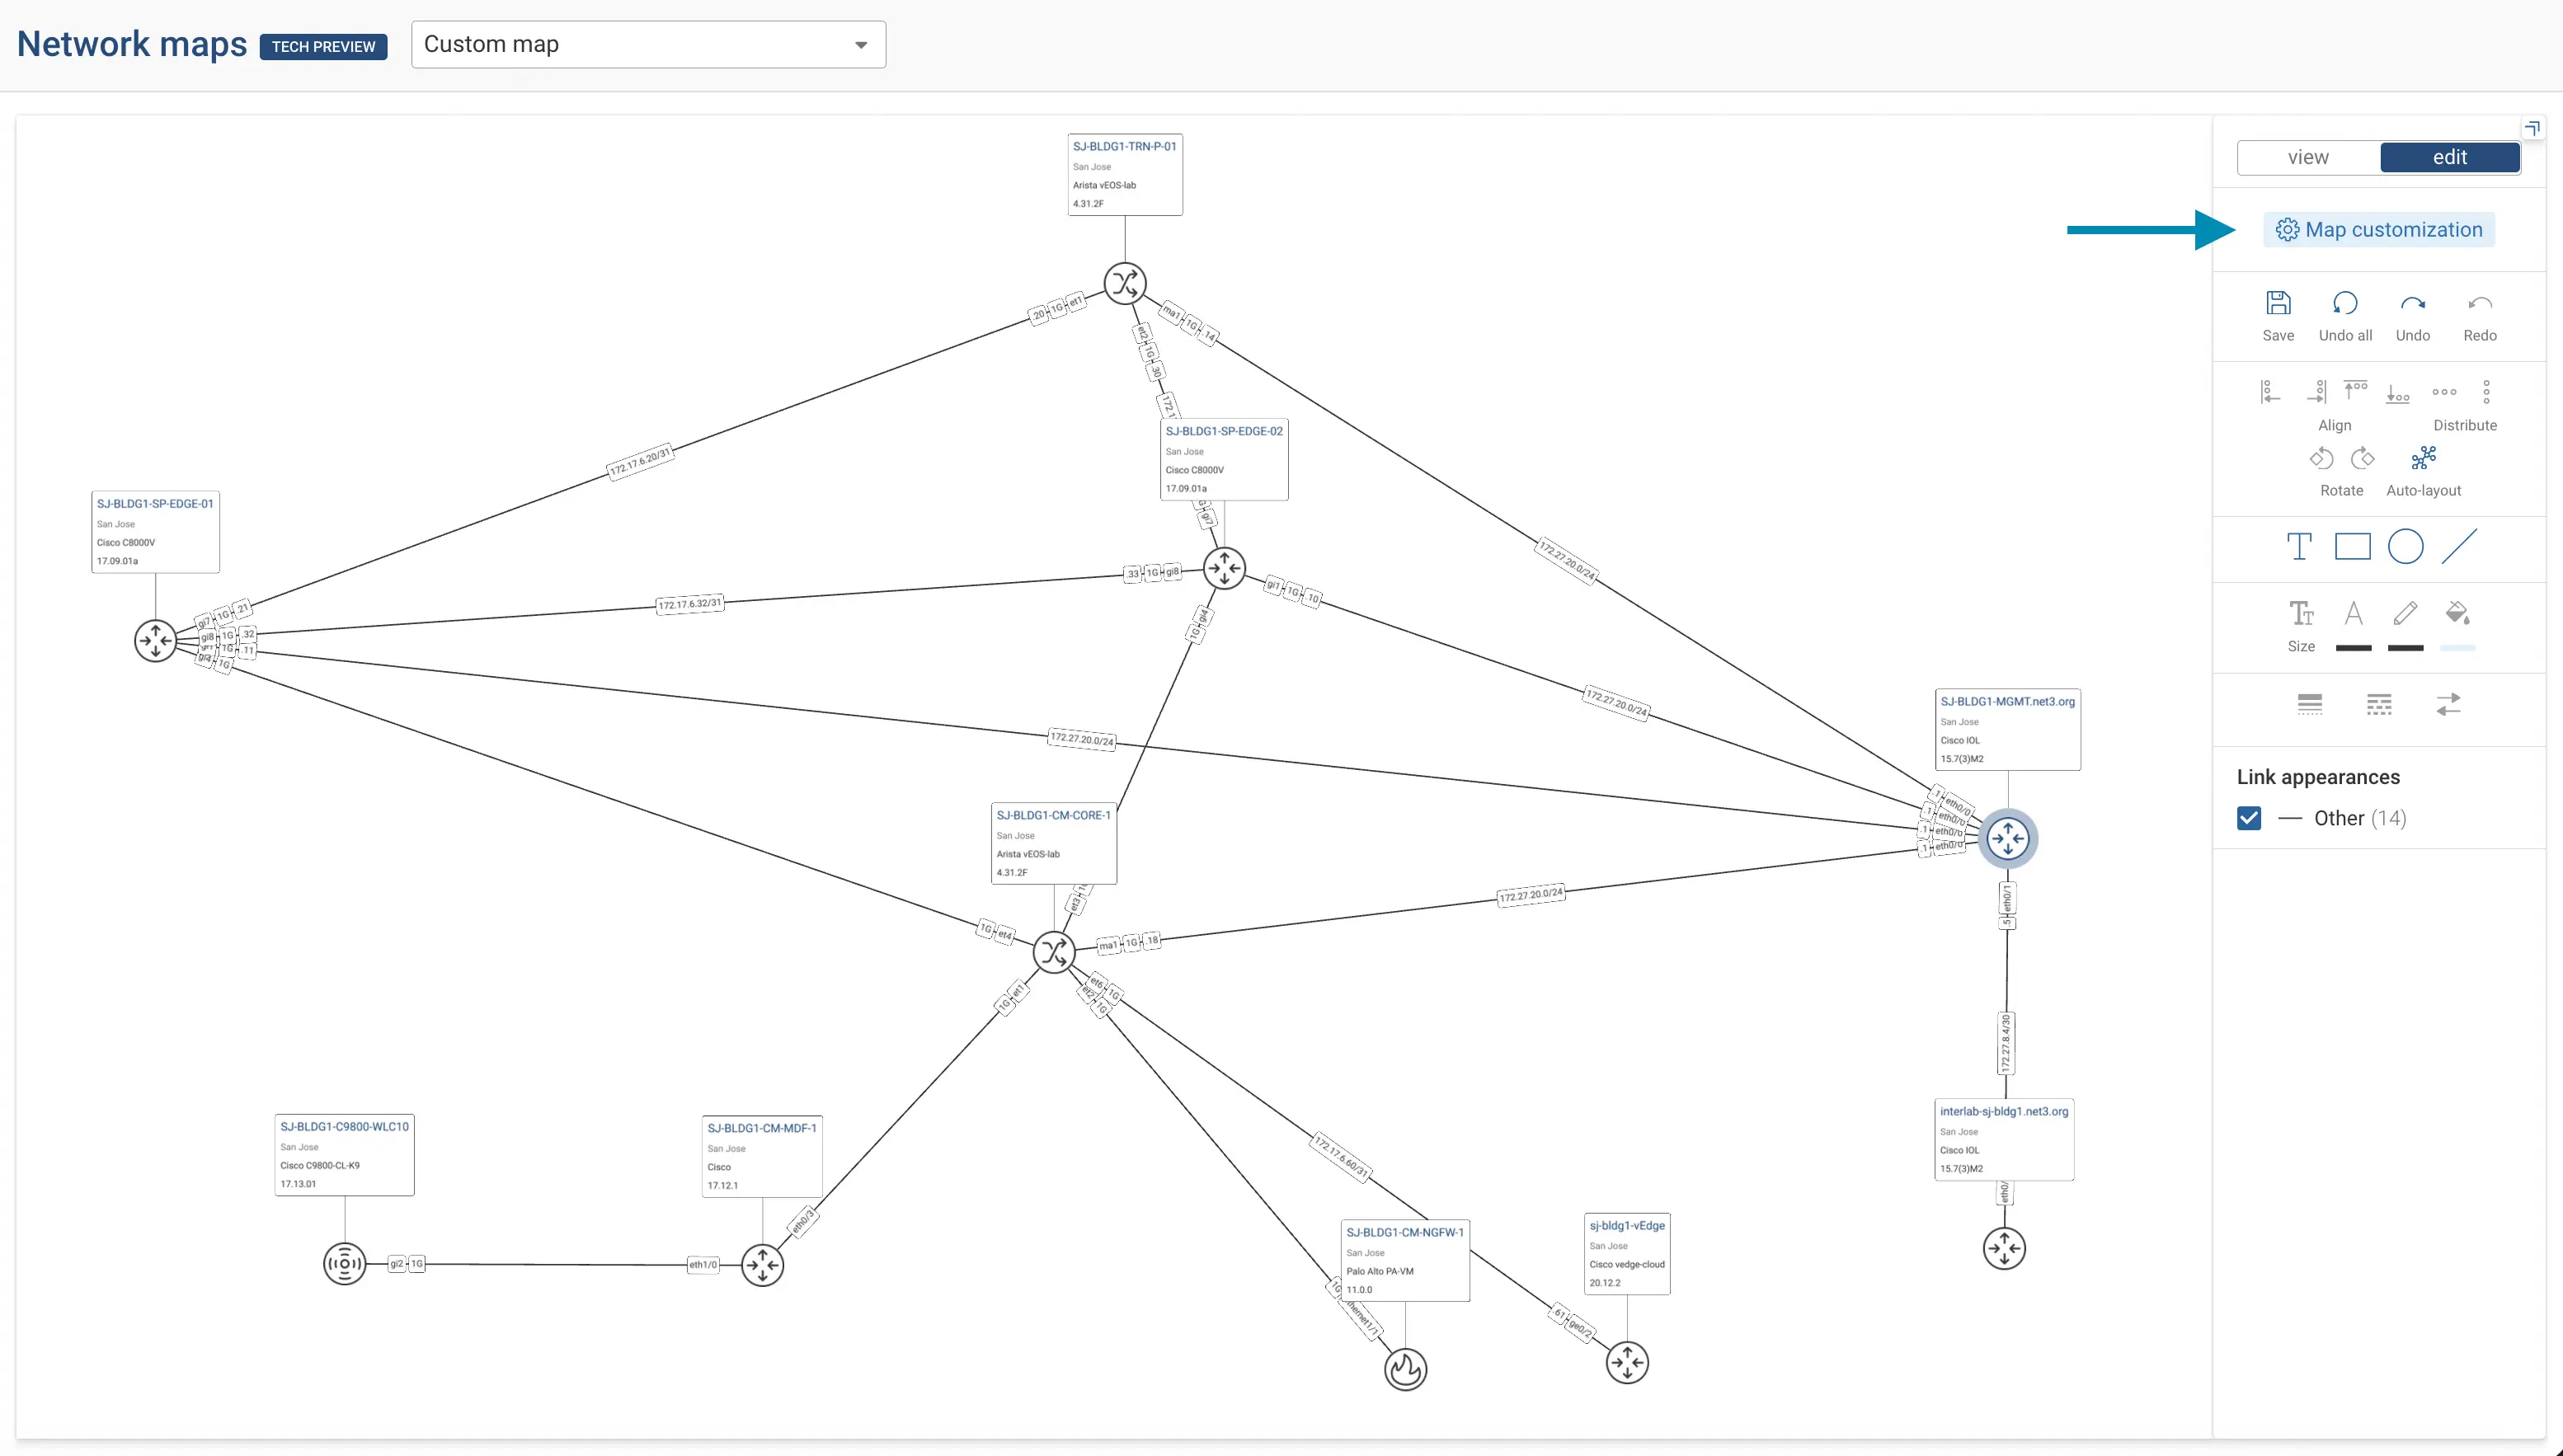
Map customization offers the following:
- Edit device cards by changing the selection of device attributes.
- Add or remove devices from the network map.
- Configure links and link appearances.
Device Cards
Each device on the map shows a device card with the attributes you selected when creating the map (for example, vendor, OS version, and collection IP). To edit the displayed attributes,
- Open Map customization in edit mode.
- Update the device attributes selection or disable device cards by toggling the Show device attributes option and
click Done.
Device attribute configuration is currently global and applies to all devices in the network map.
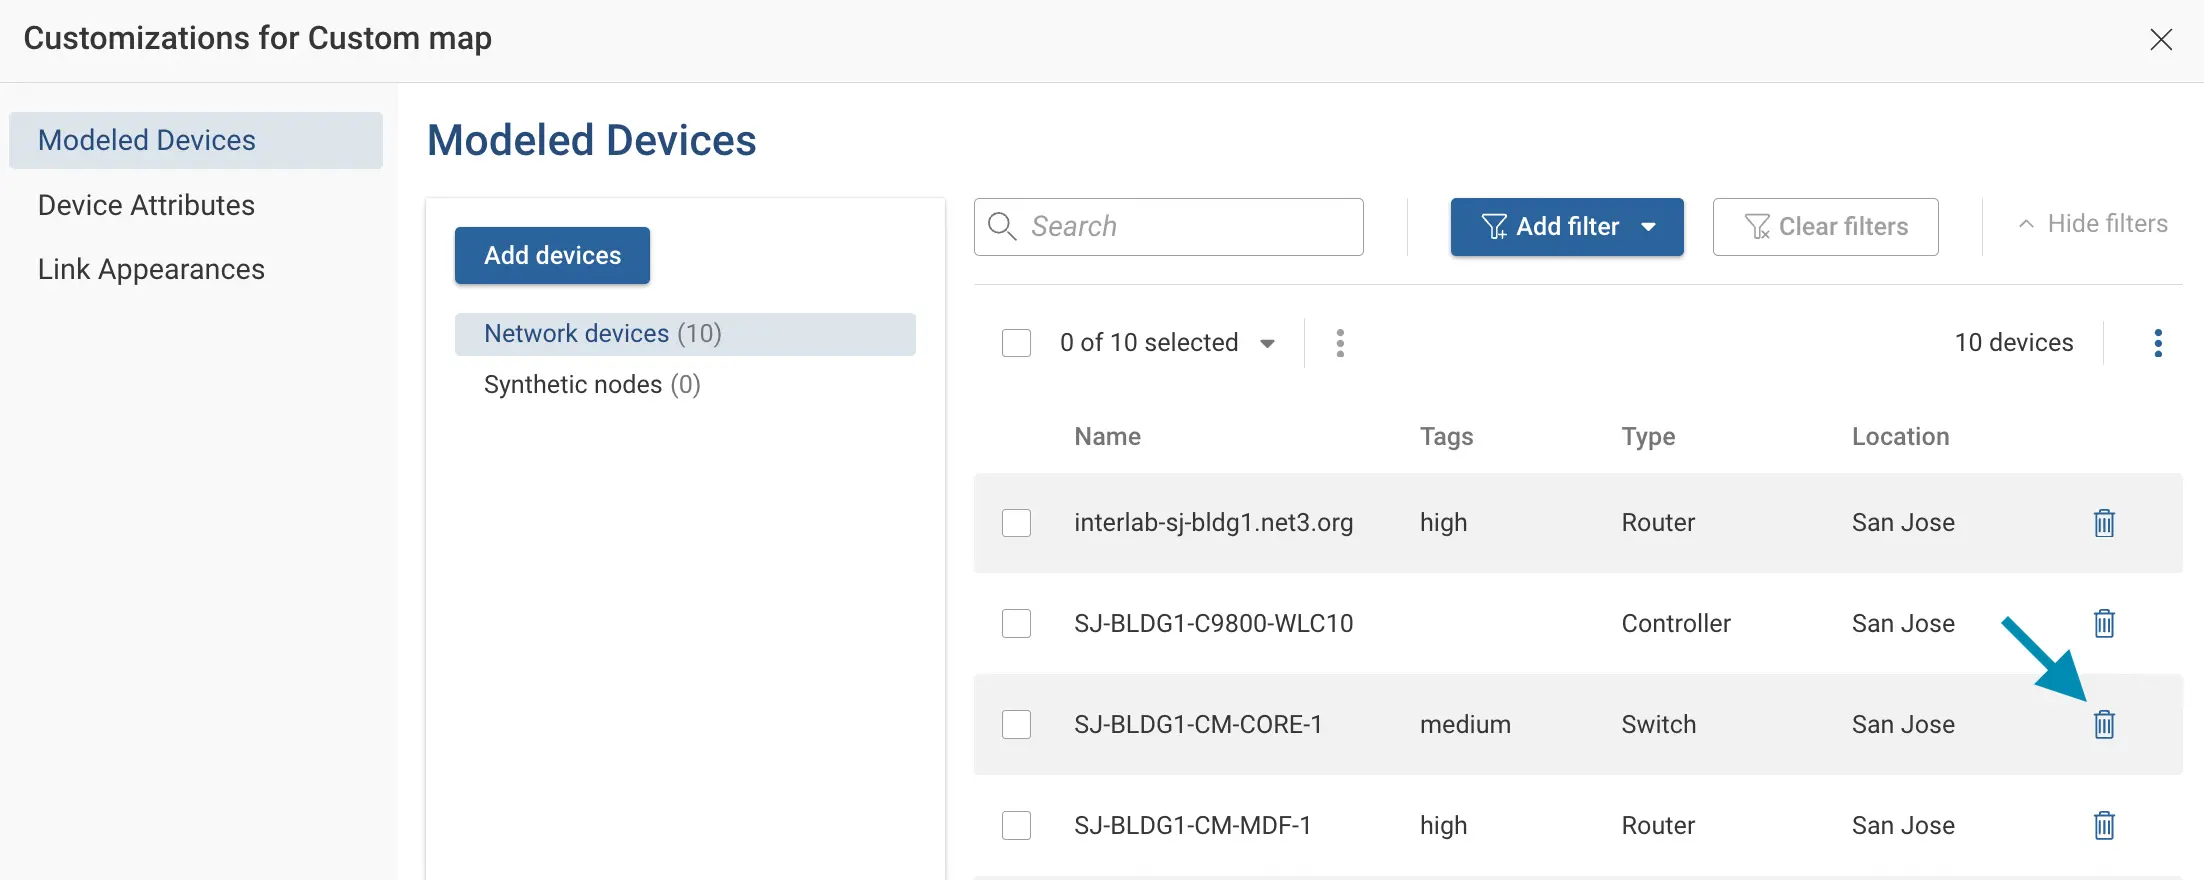
Add or remove devices
You can also customize network maps by adding or removing devices.
- In edit mode, open Map customization and go to Modeled Devices.
- Click on Add devices to reopen the add devices wizard that we used while creating a new network map.

- To remove devices from a map, click the Bin icon in front of the listed device's name.
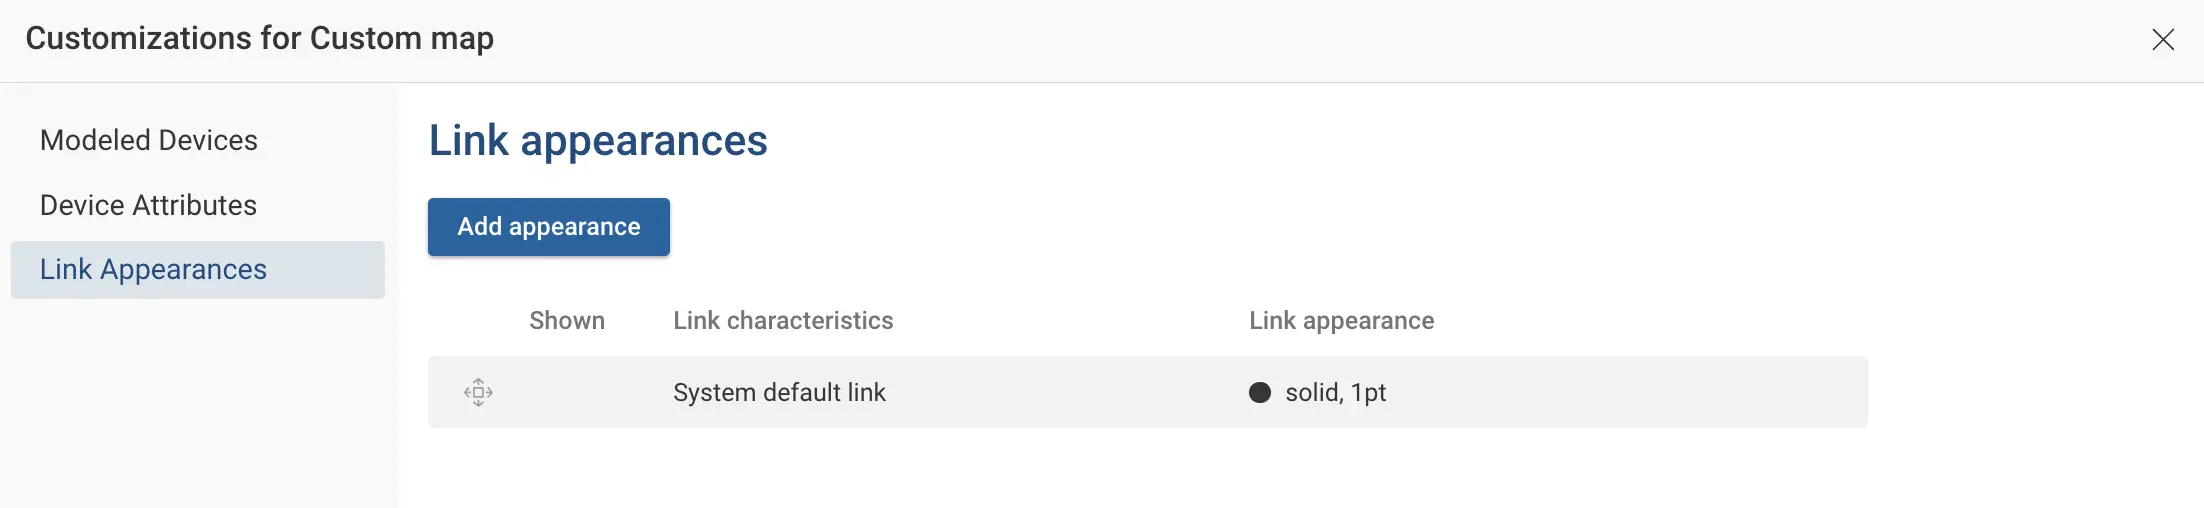
Links and Link Appearances
By default, each link displays the connecting interface names and, when known, the interface speed. Links can be styled with custom appearance rules to highlight specific link types on the map.
- In edit mode, open Map customization and go to Link Appearances.
- Click Add appearance to create a custom link appearance.
- Define the appearance rule by specifying match conditions. Pick at least one link characteristic: link type or link
speed. (For example, Physical 1 Gbps links). Next, pick at least one link appearance option: color, style, or
thickness. (For example, a Purple solid line).

- Click Save to save the rule and click Done.
Links matching a rule are highlighted on the map with the configured style. Each rule is shown on the right toolbar, along with the number of links it matches.
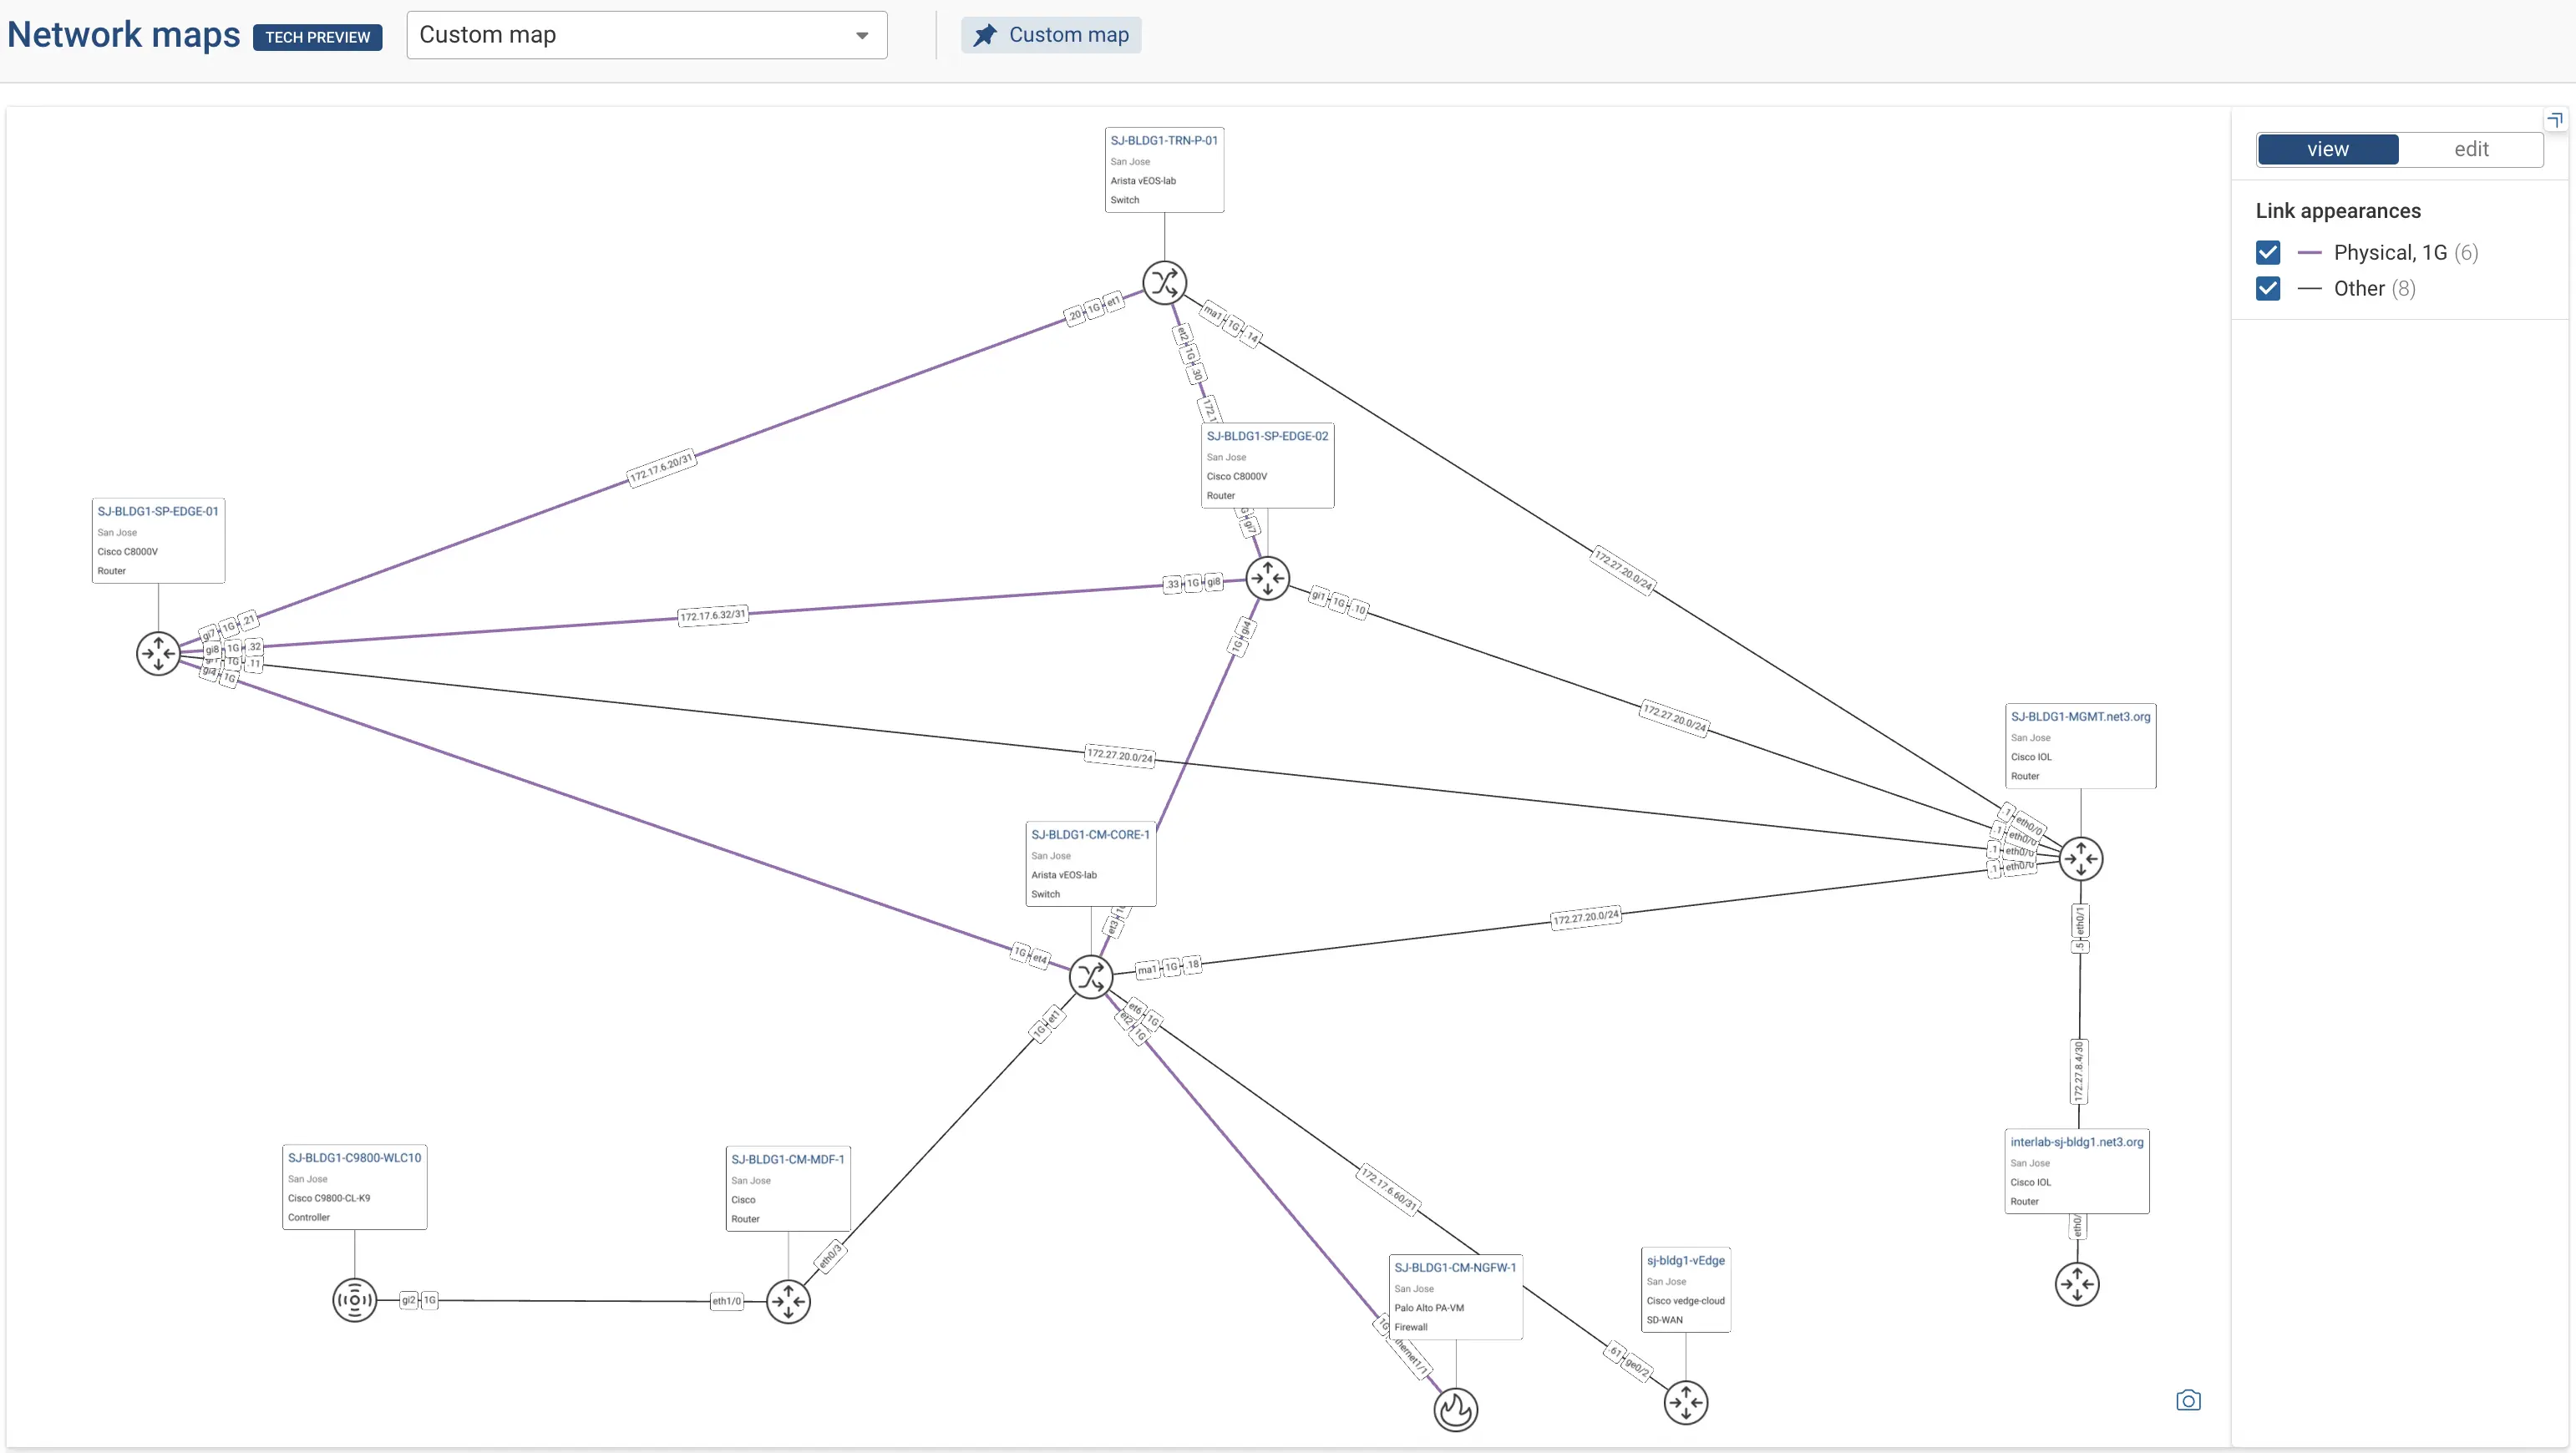
You can define multiple such rules and set their priority in case more than one rule matches the defined link. Rules are applied from top to bottom based on this order.
Pinning a Network Map
You can pin network maps to keep a selected map at the top of the Network Maps list for faster access. Open the map list and click the Pin icon next to the map name. Pinned maps appear above unpinned maps, making them easier to access.

Exporting a Network Map as an Image
To use a map outside the platform, click the Export as an image button on the map view. The browser renders the map to a high-resolution PNG and downloads it to your local machine. This is the same export behavior offered with the topology view. For more details on the export feature, see Export Topology as Image.