Multiple Accounts Collection
Configure Multiple Accounts Collection
For multiple accounts within the same organization, select the option as shown below and click Next.
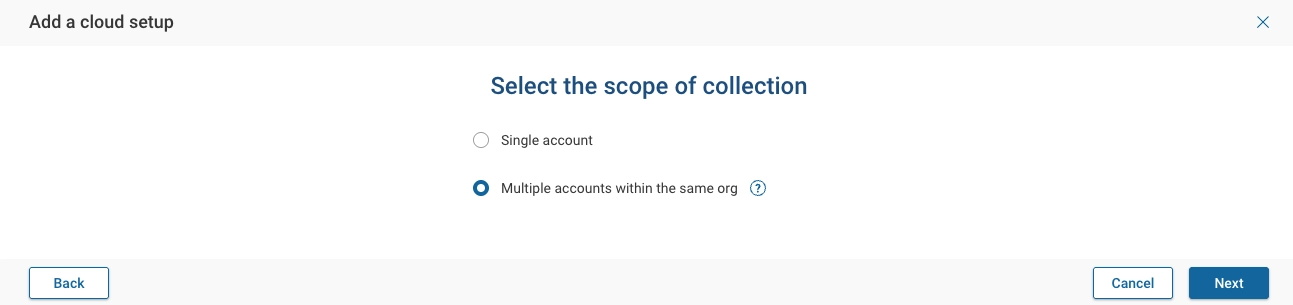
This selection requires an Enterprise-enabled account. All child accounts need to be Enterprise-managed. Requires service ID in the hub account.
Create an IBM Cloud Service ID
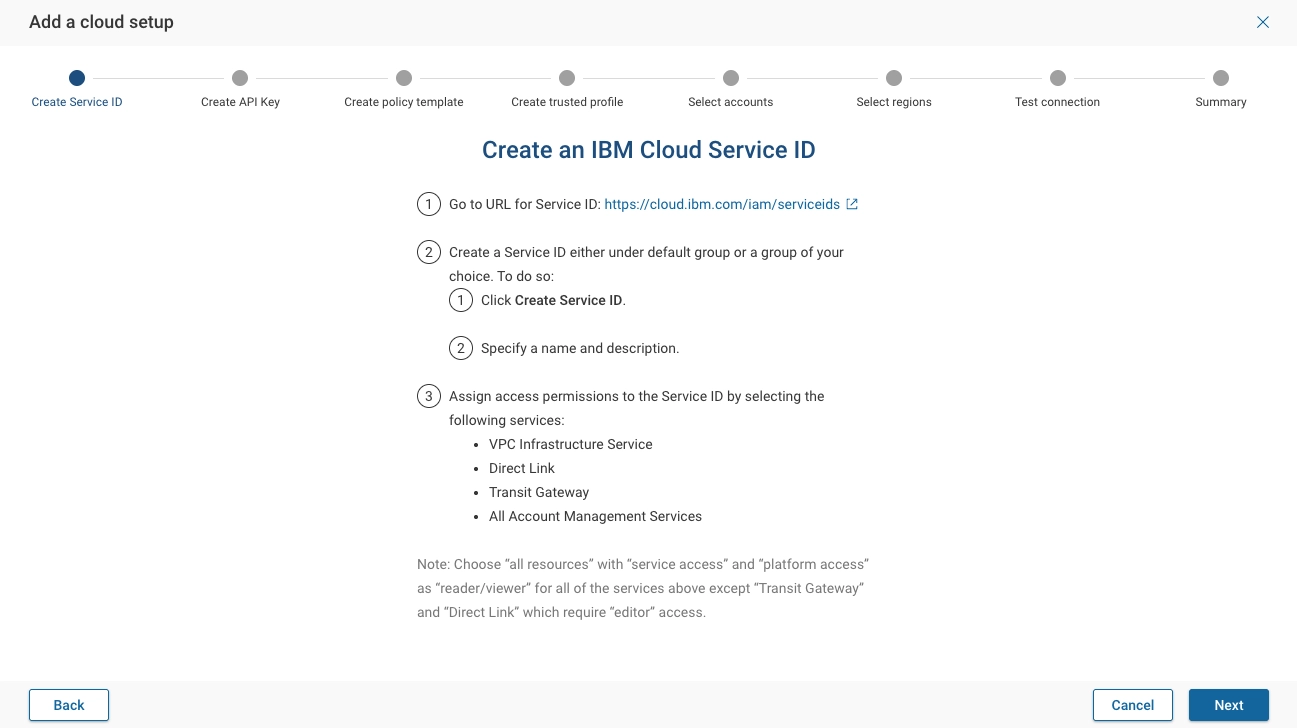
In this step, the wizard will guide you through creating an IBM Cloud Service ID.
- Go to URL for Service ID: https://cloud.ibm.com/iam/serviceids
- Create a Service ID either under default group or a group of your choice. To do so:
- Click Create Service ID.
- Specify a name and description.
- Assign access permissions to the Service ID by selecting the following services:
- VPC Infrastructure Service
- Direct Link
- Transit Gateway
- All Account Management Services
Choose all resources with service access and platform access as reader/viewer for all of the services above
except Transit Gateway and Direct Link which require editor access.
Click Next to continue.
Create API key for Service ID
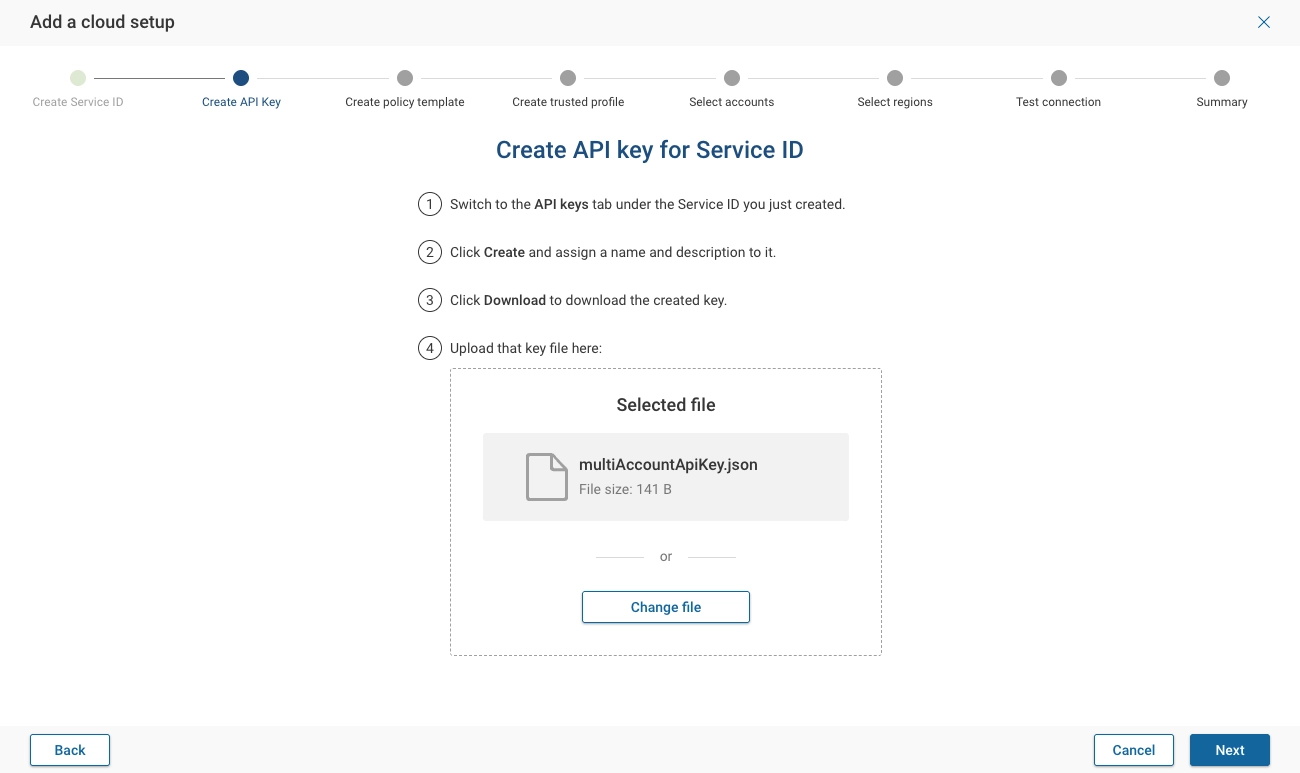
Follow the instructions below to create an API key for the Service ID created above:
- Switch to the API keys tab under the Service ID you just created.
- Click Create and assign a name and description to it.
- Click Download to download the created key.
- Upload that key file.
Click Next to continue.
Create policy template
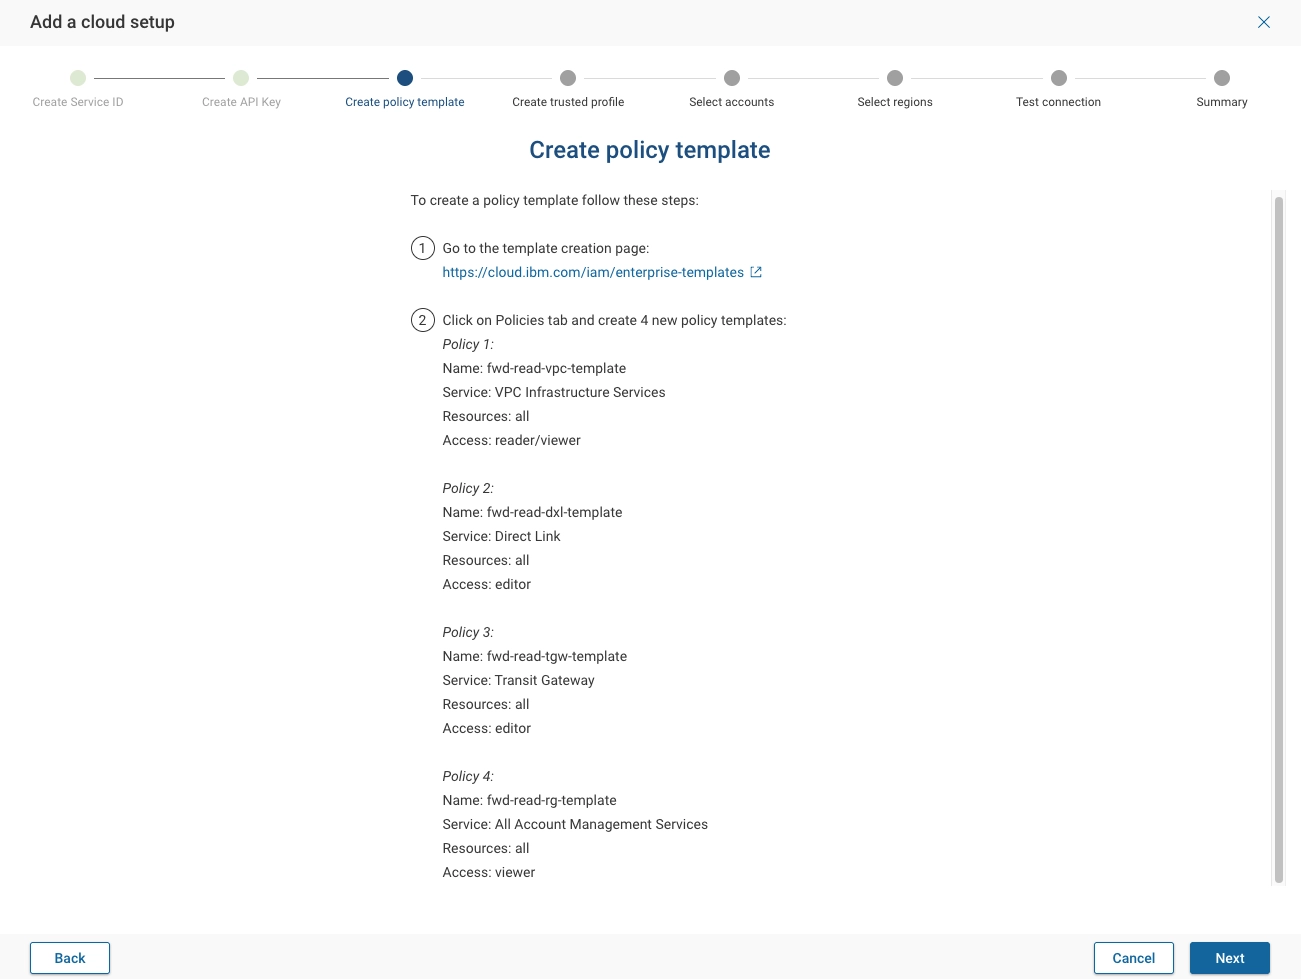
To create a policy template follow these steps:
-
Go to the template creation page: https://cloud.ibm.com/iam/enterprise-templates
-
Click on Policies tab and create 4 new policy templates:
Policy 1:
Name: fwd-read-vpc-template
Service: VPC Infrastructure Services
Resources: all
Access: reader/viewerPolicy 2:
Name: fwd-read-dxl-template
Service: Direct Link
Resources: all
Access: editorPolicy 3:
Name: fwd-read-tgw-template
Service: Transit Gateway
Resources: all
Access: editorPolicy 4:
Name: fwd-read-rg-template
Service: All Account Management Services
Resources: all
Access: viewer
Click Next to continue.
Create Trusted Profile
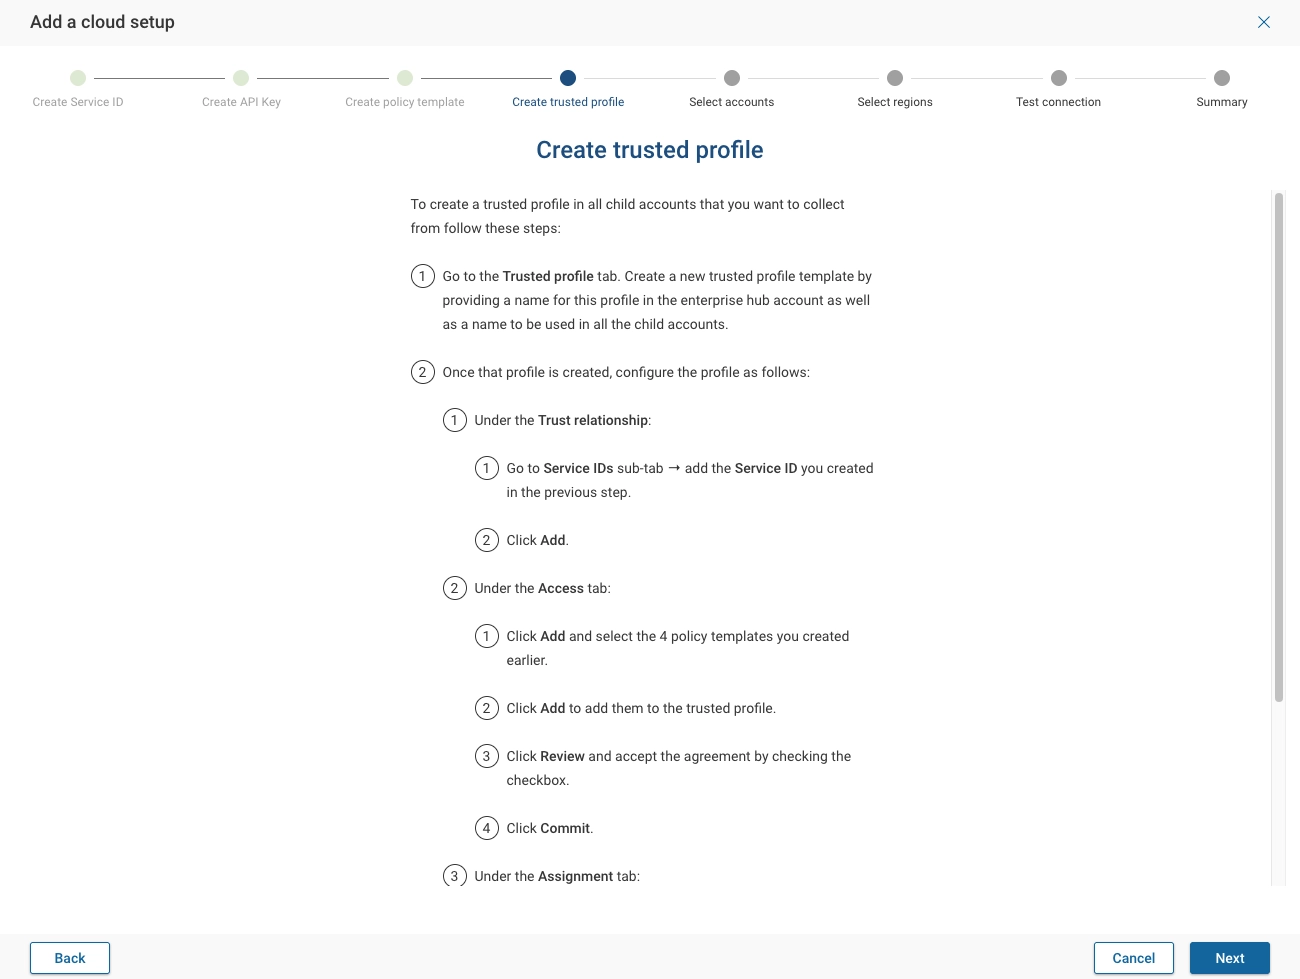
To create a trusted profile in all child accounts that you want to collect from follow these steps:
- Go to the Trusted profile tab. Create a new trusted profile template by providing a name for this profile in the enterprise hub account as well as a name to be used in all the child accounts.
- Once that profile is created, configure the profile as follows:
-
Under the Trust relationship:
- Go to Service IDs sub-tab → add the Service ID you created in the previous step.
- Click Add.
-
Under the Access tab:
- Click Add and select the 4 policy templates you created earlier.
- Click Add to add them to the trusted profile.
- Click Review and accept the agreement by checking the checkbox.
- Click Commit.
-
Under the Assignment tab:
- Click Assign accounts.
- In the pop up, select all accounts that you want this profile to be applied to. Note that these are the accounts that Forward will be able to collect from.
- Click Assign accounts to push the template to all the child accounts.
-
Click Next to continue.
Select accounts
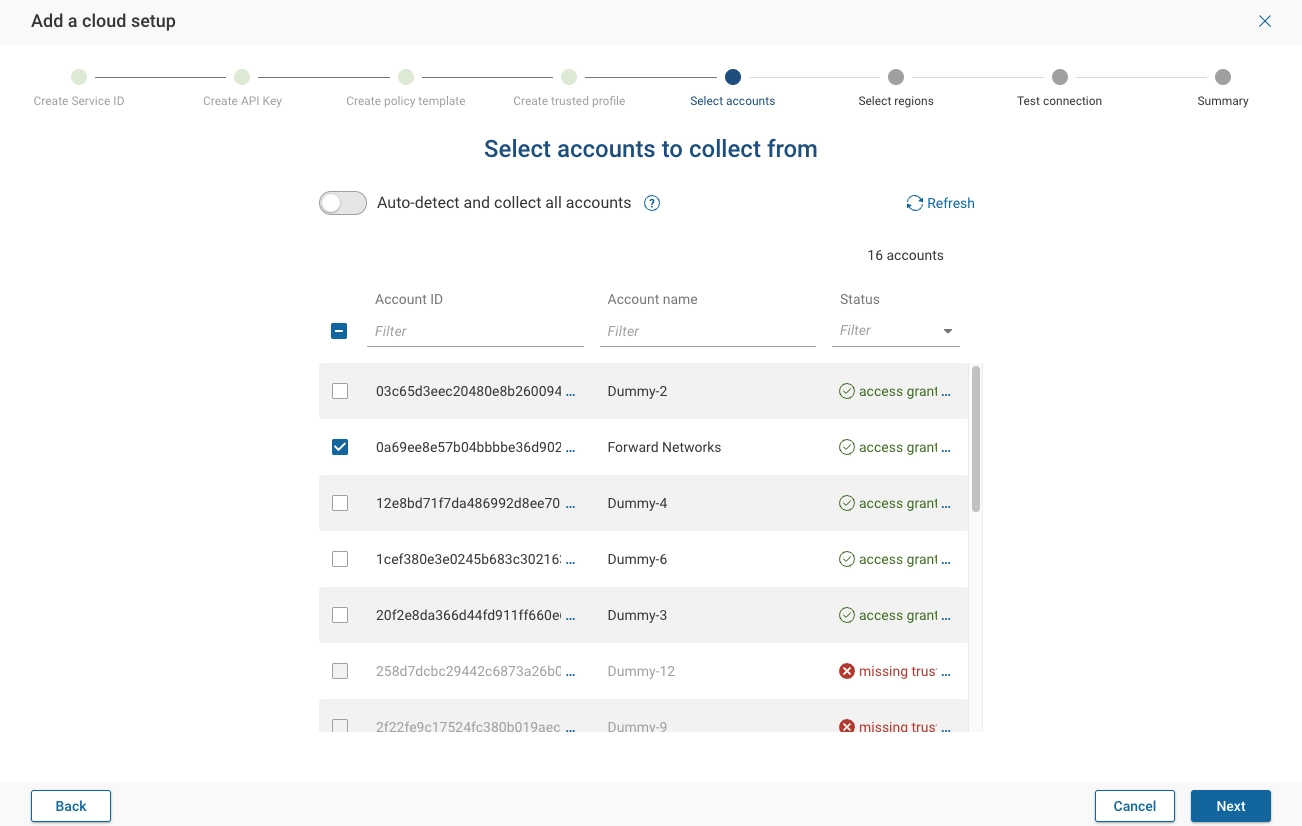
When the Auto-detect and collect all accounts option is enabled, the Collector will attempt to collect all accounts discovered from this account, including any new accounts created in the future.
Disable this option to customize account selection.
Click Next to continue.
Select Regions
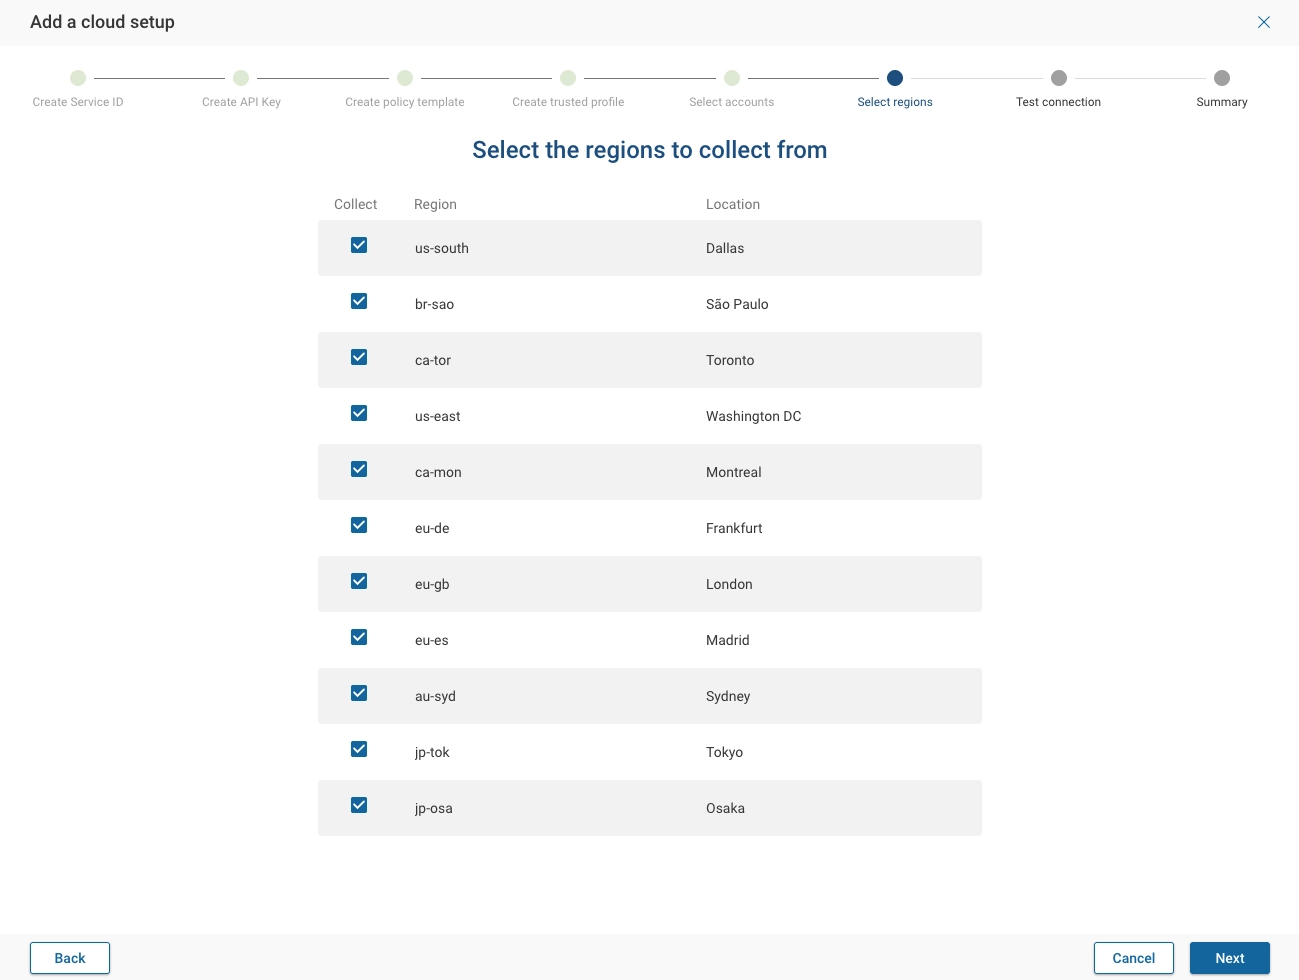
Select one or more region to collect from, then click Next.
Click Next to continue.
Test Connection
Provide a unique Account name, and click on Test connection. Forward Enterprise will test the connection with the IBM cloud regions selected.
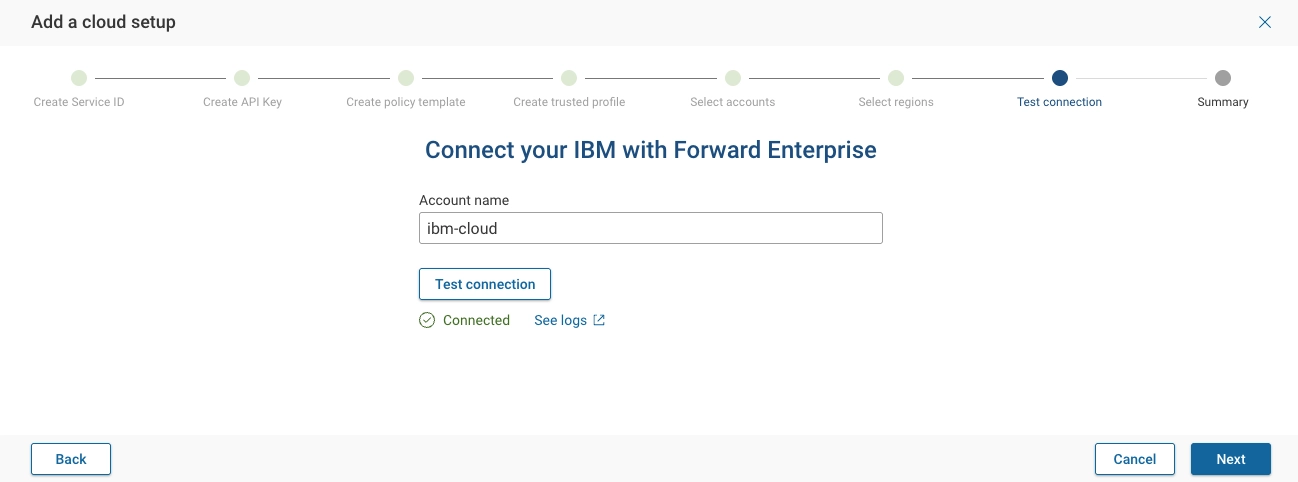
Clicking See logs, opens a new window with all the connection logs. Click Next to continue.
Summary
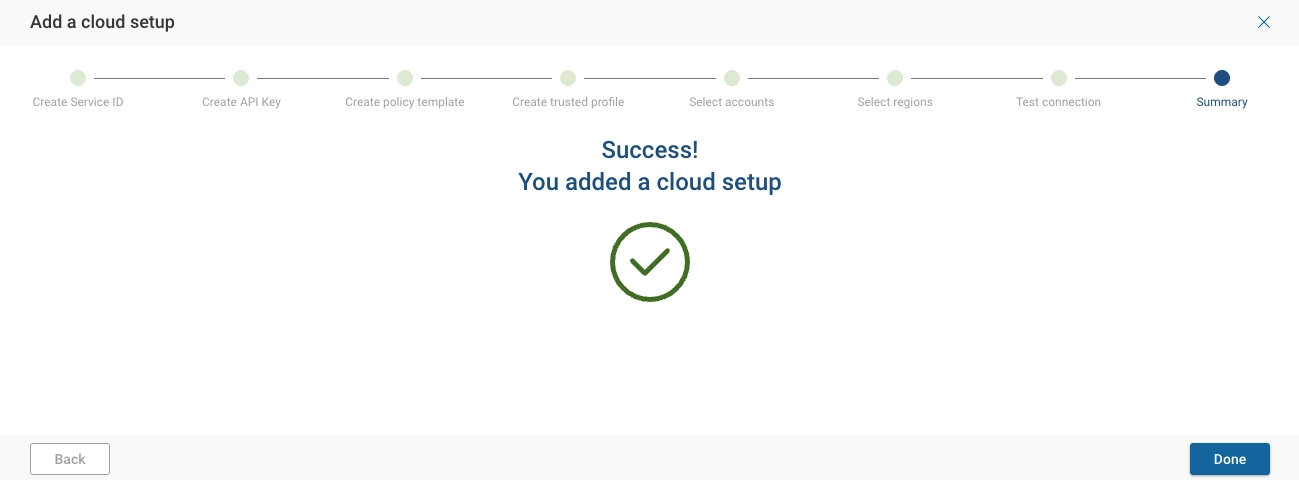
Click Done to complete the setup.
Managing Your IBM Cloud Setup
Setup Edit
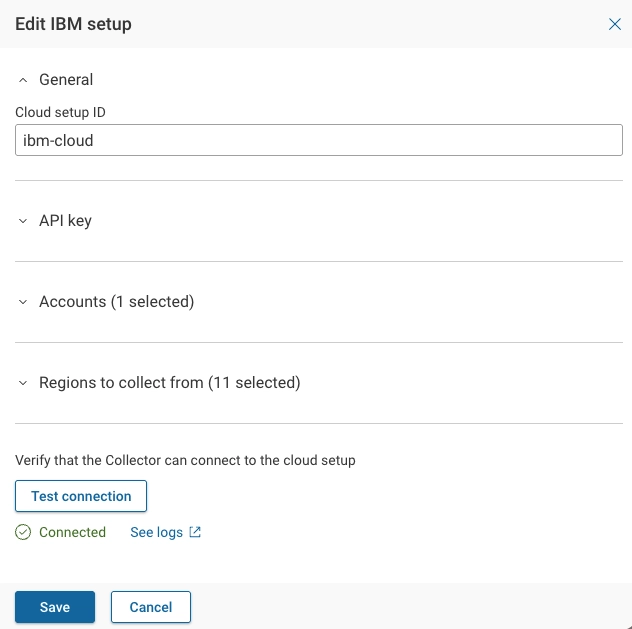
To update an existing IBM Cloud setup:
- Click the Edit icon.
- Expand the Accounts section to update accounts selections.
- Expand the Regions to collect from section to update region selections.
- Click Test connection to revalidate the setup.
- Click Save to apply changes.
Exclude Setup from Collection
To exclude an IBM Cloud setup from active collection, toggle the switch on the left side of the setup.

Delete Setup
To permanently delete an IBM Cloud setup:
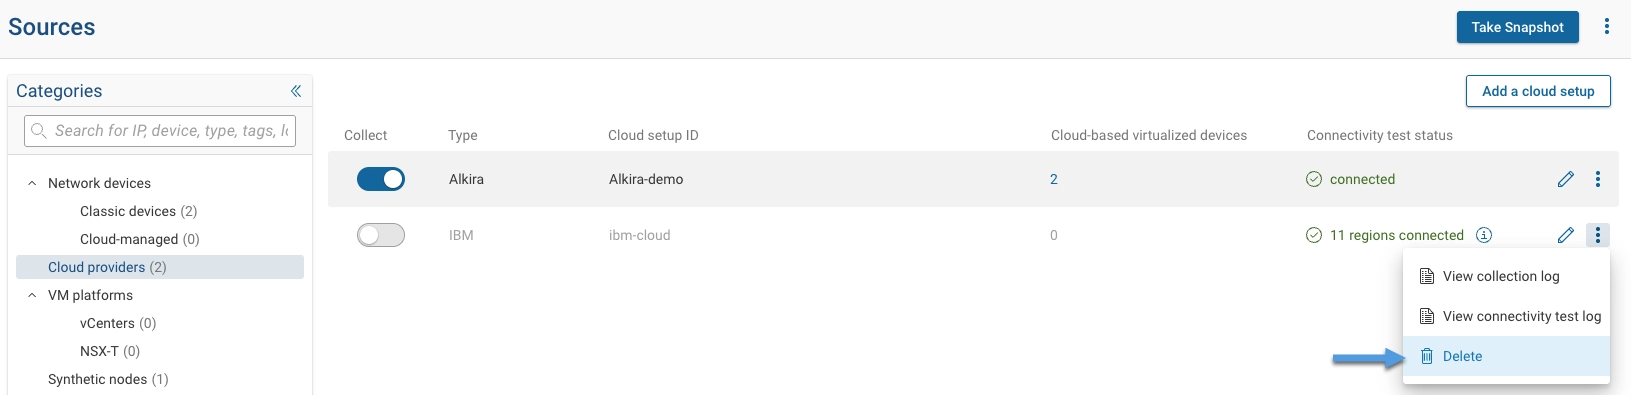
- Click the kebab (three-dot) icon.
- Select Delete.
- Confirm the deletion.