Post Installation
Expand VM disk after initial installation
During the initial installation, the installer script automatically resizes the disk if possible. This section covers the steps needed to expand the available disk space after the initial installation.
Expand the disk on a cluster node
To expand the available space on the disk after the underlying VM disk has been increased:
- SSH into the node.
- Select Node > Expand disk from the TUI.
- The TUI will display the current disk layout and allow you to extend the partition to use the newly available space.
The above step should complete quickly. If after one minute you still see Extending partition..., double-check that the space was expanded for the VM, and that it was rebooted after that change. After the expansion completes, space can be further verified in the node information panel on the right side of the TUI.
Warning: if you would like to expand the disk later, after the VM has booted, beware that any size changes made in vCenter to a running VM will not make space visible to the running OS, even after running the expand from the TUI. To add space in vCenter:
- Modify the desired size in vCenter
- Reboot the VM from vCenter
- Use Node > Expand disk in the TUI
To add space on AWS:
- Increase the size of your disk in the AWS console
- Wait until that operation has completed
- Reboot the instance from the AWS console
- Use Node > Expand disk in the TUI
...and the disk expansion should succeed.
Export Logs
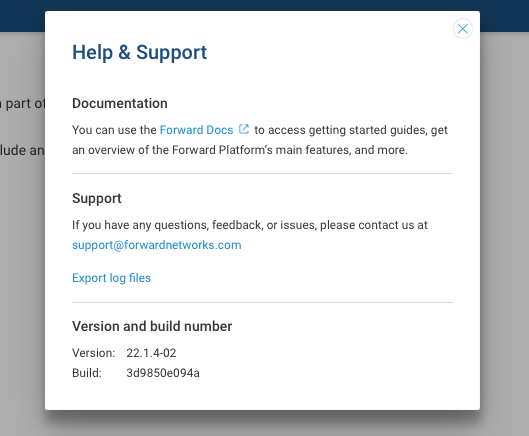
You can export logs from the Forward Enterprise UI: click the ? icon in the top right corner of the screen. In the Support section, click Export log files and select which files to export and where to export them.
Logs can also be viewed and exported from the TUI via Troubleshooting > View logs and Troubleshooting > Export logs. For details, see Troubleshooting.
Follow the steps in the Cluster Diagnostics documentation to generate a support bundle.
Application logs can be viewed in app: https://<VM_IP>/api/system/logs/list
Admin Account Best Practices
The following best practices help avoid getting locked out:
- Create multiple org admins. If one user is locked out, another admin can help reset the password.
- Set up and test the SMTP integration. This enables password reset emails when needed.
- If neither option is available, the built-in
adminpassword can be reset from the TUI as a last resort. See Reset the Forward Enterprise Admin Password.